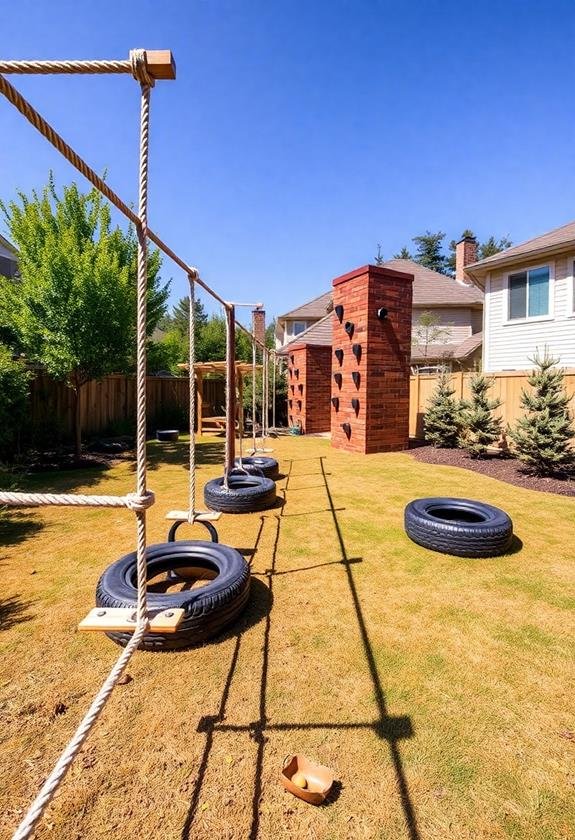
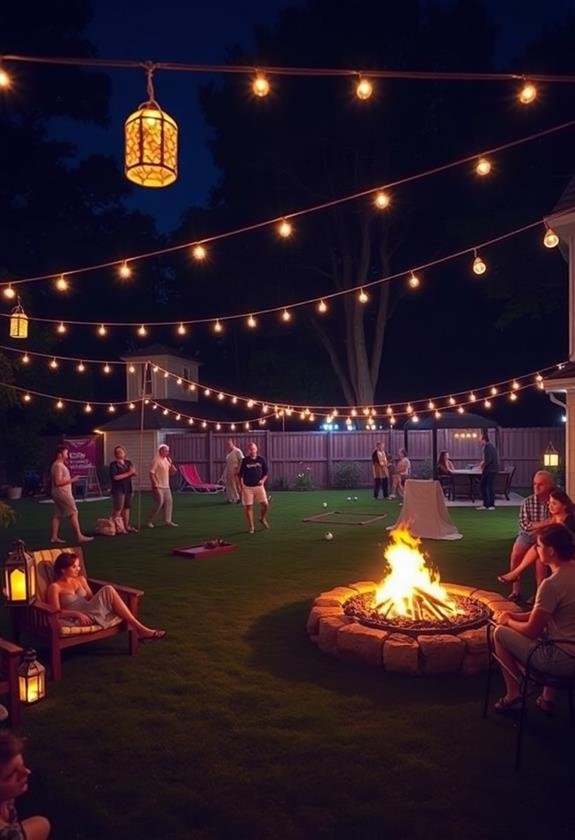
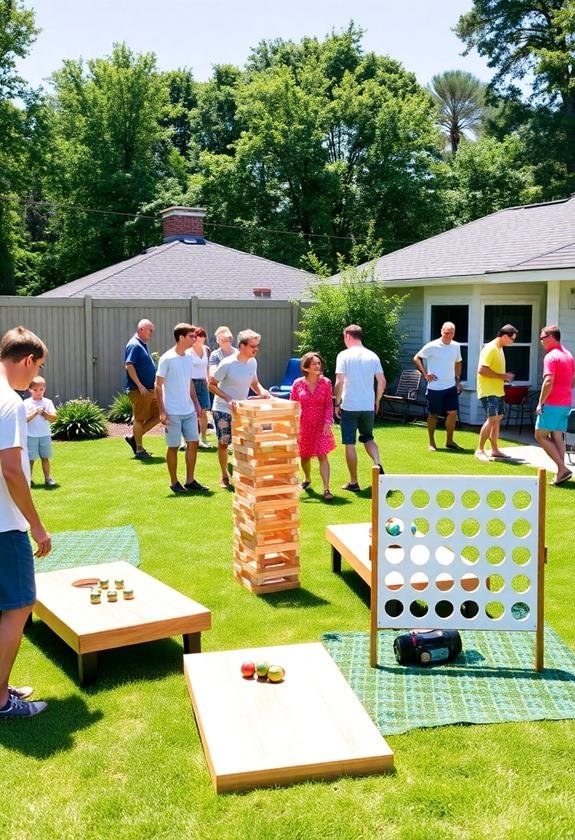
Ready to transform your backyard into an adventure playground? Building a thrilling obstacle course is easier than you think! Start by sketching a layout that fits your space and family’s fitness levels. You’ll need basic materials like lumber, PVC pipes, and rope, plus tools like a saw and drill. Safety’s key, so use soft landing areas and non-slip surfaces. Get creative with obstacles: try a rope climb, tire run, or wall climb. Secure everything properly during construction, and don’t forget to involve the whole family in the building process. Regular maintenance keeps the fun going strong. With a bit of planning and elbow grease, you’ll soon be conquering challenges in your own backyard. The adventure awaits!
Key Takeaways
- Plan your course layout carefully, considering space, fitness levels, and safety requirements.
- Select diverse obstacles like balance beams, climbing walls, and tire runs for varied challenges.
- Use durable materials such as lumber, PVC pipes, and cargo netting to construct sturdy obstacles.
- Prioritize safety with proper anchoring, soft landing areas, and regular equipment inspections.
- Maintain and upgrade your course regularly, applying weatherproof sealants and introducing new elements for continued excitement.
Planning Your Obstacle Course
Envision your backyard transformed into an exciting obstacle course. It’s time to bring that vision to life! Start by evaluating your available space and considering your family’s fitness levels.
I remember when I first planned mine, I got a bit carried away and had to scale back—lesson learned! When designing your course, think about incorporating multi-function nozzles for added versatility and fun water elements. These can create revitalizing spray stations or challenging water obstacles.
Here are some key steps to get you started:
- Sketch a rough layout:
- Map out potential obstacles
- Consider flow and difficulty progression
- Leave room for rest areas
- Choose your obstacles:
- Balance beams (my kids’ favorite!)
- Climbing walls or ropes
- Tire runs or hurdles
- Crawling tunnels
- Safety first:
- Guarantee soft landing areas
- Check for hazards like roots or rocks
- Plan for proper drainage to avoid slippery spots
Essential Materials and Tools
Several essential materials and tools are needed to bring your backyard obstacle course to life.
Let’s explore the must-haves for your DIY adventure!
- Building Materials:
- Lumber (2x4s, plywood sheets)
- PVC pipes
- Rope (various thicknesses)
- Tires (old ones work great!)
- Cargo netting
- Tools:
- Saw (circular or hand)
- Drill and screws
- Hammer and nails
- Measuring tape
- Level
- Safety Equipment:
- Foam padding
- Non-slip surfaces
- Protective gear (helmets, knee pads)
Don’t forget landscaping tools like shovels and rakes – you’ll need them to prep your yard.
I once forgot my trusty wheelbarrow and regretted it when hauling materials around!
Pro tip: Check your local hardware store for discounts on bulk purchases.
You’d be surprised how many 2x4s you’ll go through!
Safety Considerations
In light of the exciting possibilities your backyard obstacle course offers, it’s crucial to prioritize safety. As someone who’s built a few courses myself, I can’t stress this enough! Here are some key considerations to keep in mind:
- Surface padding: Use rubber mulch or foam mats under high-risk areas like climbing walls or balance beams. Trust me, your knees will thank you!
- Stability: Confirm all structures are securely anchored. I once saw a wobbly tire swing send my nephew flying – not fun!
- Height limits: Keep elements at a reasonable height. Remember, you’re not training for American Ninja Warrior (yet).
- Supervision: Always have an adult present when kids are using the course.
- Regular inspections: Check for wear and tear, especially on ropes and wooden elements.
- Weather-proofing: Use weather-resistant materials and consider how rain might affect safety.
- Clear rules: Post visible guidelines for proper use of each obstacle.
- First-aid kit: Keep one nearby, just in case.
Designing Challenging Obstacles
With safety considerations in mind, let’s plunge into designing challenging obstacles for your backyard course. You’ll want to create a mix of physical and mental challenges that’ll keep participants engaged and excited. Here are some ideas to get you started:
- Rope Climb: Attach a sturdy rope to a tree branch or beam, ensuring it’s securely fastened.
- Tire Run: Lay out old tires in a zigzag pattern for quick footwork.
- Balance Beam: Use a fallen log or construct one from lumber.
- Crawl Net: String a cargo net between posts or trees.
- Wall Climb: Build a wooden wall with handholds and footholds.
Remember, variety is key! I once made the mistake of focusing solely on upper body strength in my course, leaving my legs feeling left out.
Mix it up with:
- Agility challenges: Slalom poles or hurdles
- Coordination tasks: Bean bag toss or ring toss
- Problem-solving elements: Puzzles or riddles between obstacles
Don’t forget to incorporate your landscape features. That old stump? Perfect for a leap frog station!
The slight incline in your yard? Ideal for a hill sprint. Get creative and have fun designing your course!
Construction and Assembly
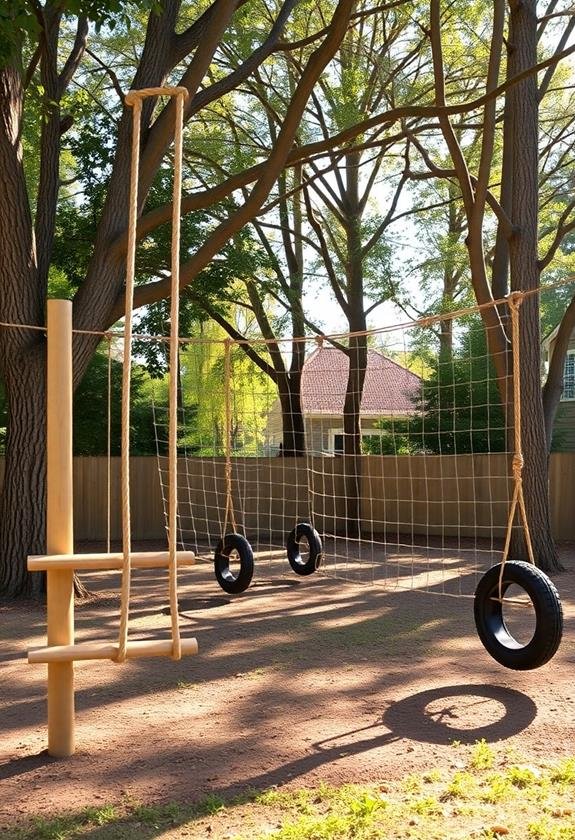
Grab your tools and let’s get building! Now that you’ve designed your obstacles, it’s time to bring them to life. Start with the foundation, guaranteeing each element is securely anchored. For wooden structures, use weather-resistant materials and galvanized hardware to withstand the elements.
I remember building my first tire run – it was a wobbly mess until I properly secured each tire! When selecting materials, consider durable options like heavy-duty steel with anti-rust coating for longevity and support. These materials can typically handle up to 66 pounds per connection point, guaranteeing your obstacles remain stable and safe.
When constructing elevated elements, like balance beams or monkey bars, prioritize safety. Double-check all joints and connections, and consider adding rubber padding to high-impact areas.
As you assemble, keep these key points in mind:
- Safety first: Always wear protective gear and use tools properly
- Measure twice, cut once: Accuracy saves time and materials
- Test as you go: Guarantee stability before moving to the next obstacle
- Involve the family: It’s a great bonding experience (and extra hands help!)
- Have fun: Remember, building is part of the adventure
Don’t forget to sand rough edges and apply a weather-resistant finish to wooden elements. As you work, visualize how participants will interact with each obstacle. This mindset will help you create a course that’s not only challenging but also engaging and safe.
Maintenance and Upgrades
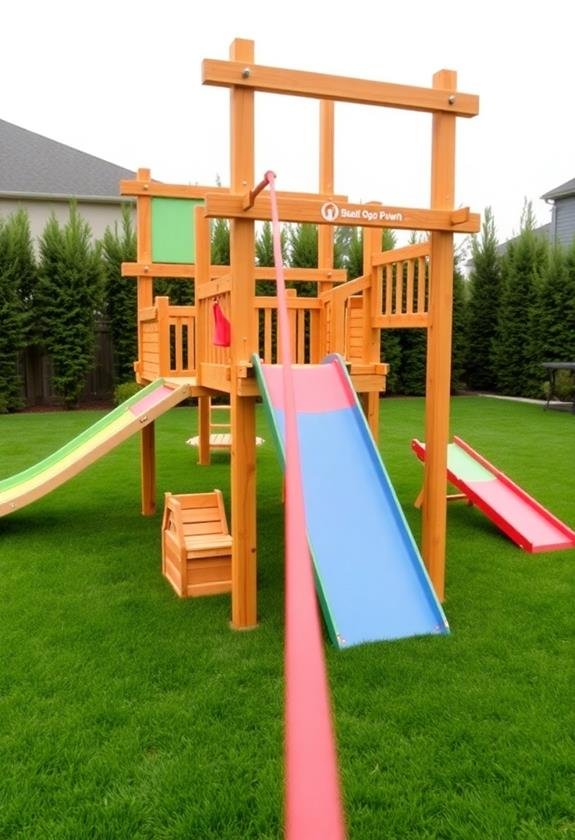
Your backyard obstacle course is up and running, but the work doesn’t stop there. Regular maintenance is key to keeping your course safe and exciting. Start by inspecting all components weekly, tightening bolts and checking for wear and tear.
Weather can be tough on outdoor structures, so apply a fresh coat of weatherproof sealant annually to protect wooden elements. Just like maintaining a pressure washer hose, regular inspections and proper care can notably extend the life of your obstacle course components.
Consider implementing a Total Stop System for any motorized elements to conserve energy and prolong their lifespan.
As for upgrades, the sky’s the limit! I once added a zipline to my course, and it quickly became the star attraction. Here are some ideas to keep things fresh:
- Seasonal themes:
- Halloween haunted course
- Winter wonderland obstacles
- Spring flower-themed challenges
- New elements:
- Rope swing over a kiddie pool
- Tire flips for strength training
- Balance beam with moving parts
- Tech upgrades:
- Timer system for competitions
- LED lights for nighttime runs
Frequently Asked Questions
How Can I Make My Obstacle Course Suitable for Different Age Groups?
Picture a course that transforms with a twist of imagination! You’ll want to create versatile stations that can be easily adjusted.
For little ones, keep obstacles low and simple. As kids grow, raise the bar (literally!) and add complexity. Try using adjustable ropes, removable hurdles, and modular climbing walls.
I’ve found that incorporating adaptable elements, like balance beams with varying widths, works wonders.
Don’t forget to include options for adults too – they’ll love joining in on the fun!
What Are Some Eco-Friendly Material Options for Building an Obstacle Course?
You’ve got plenty of eco-friendly options for your obstacle course! Consider using:
- Reclaimed wood: Old pallets or lumber from demolished buildings
- Natural ropes: Hemp or jute for climbing elements
- Recycled tires: Great for hurdles or balance beams
- Bamboo: Sustainable and sturdy for poles or barriers
- Mulch or wood chips: Soften landing areas
I’ve used old tree stumps as stepping stones in my course – they’re a hit!
How Do I Incorporate Timing Systems for Competitive Use?
Ready to turn your backyard challenge into a race against the clock? You’ve got options!
For a budget-friendly solution, use a simple smartphone app or stopwatch. If you’re tech-savvy, consider investing in an electronic timing system with sensors. I’ve used both, and they’re a blast!
For a DIY approach, set up a start/finish line with pressure plates connected to a digital timer. Remember, accuracy is key – you don’t want any disputed times ruining the fun!
Can I Design a Portable Obstacle Course for Events or Parties?
You can design a fantastic portable obstacle course for events or parties.
Start by choosing lightweight, collapsible equipment like folding hurdles, pop-up tunnels, and inflatable barriers. I’ve found that using PVC pipes for creating modular structures works wonders!
Don’t forget to include versatile elements like balance beams, agility ladders, and hanging obstacles.
Pack everything in sturdy containers with wheels for easy transport.
Remember to prioritize safety with proper anchoring and padding.
Your portable course will be the hit of any gathering!
What Insurance Considerations Should I Keep in Mind for a Backyard Obstacle Course?
When it comes to insurance for your backyard obstacle course, you’ll want to take into account a few key points.
First, check your homeowner’s policy to see if it covers accidents on your property. You might need to increase your liability coverage or add an umbrella policy.
It’s also wise to have participants sign waivers, though they’re not foolproof.
I’ve found that installing safety features, like padding and proper lighting, can help reduce risks and potentially lower insurance costs.

