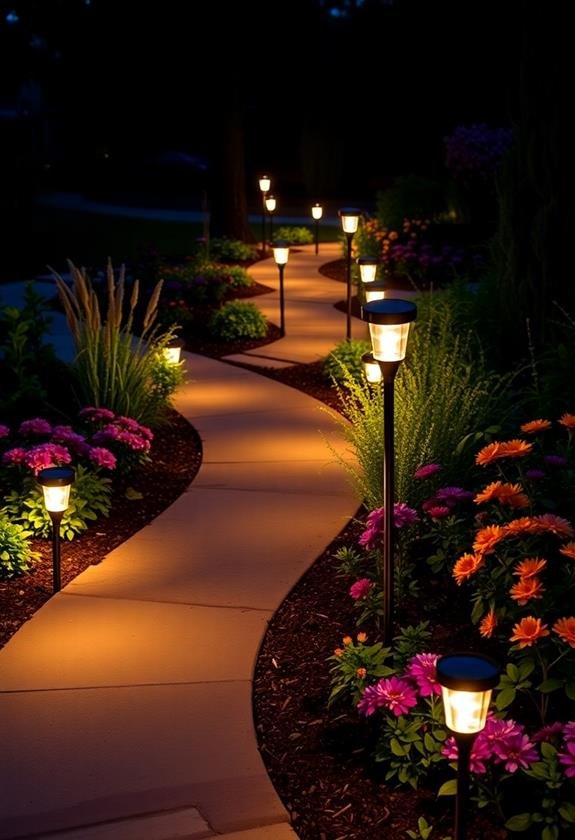
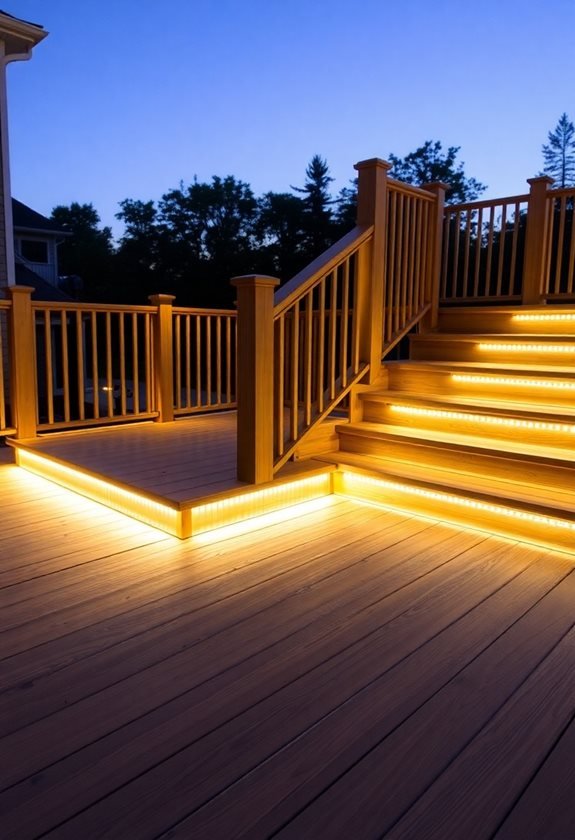
Transform your backyard with these 10 easy DIY solar path light projects! You’ll love creating eco-friendly illumination while expressing your creativity. From charming mason jar lights to whimsical fairy house designs, there’s something for every style. Upcycle wine bottles into elegant illuminators, or craft colorful mosaic lamps for a artistic touch. For water features, try floating lily pad lights – they’re magical! Don’t forget rustic options like driftwood sconces or painted rock markers. My personal favorite? The tin can constellation lights – they’re a stargazer’s dream! With these projects, you’ll save energy and add personality to your outdoor space. Ready to light up your nights? Let’s explore these illuminating ideas further!
Key Takeaways
- Mason jar solar lights combine rustic charm with eco-friendly technology, using simple materials and easy assembly steps.
- Upcycled wine bottles with solar cork lights offer a whimsical and sustainable outdoor lighting solution.
- Fairy house path lights merge solar functionality with decorative themes, creating enchanting garden accents.
- Painted rock path markers with attached solar lights serve as both functional guides and personalized artistic elements.
- Tin can constellation lights transform waste into decorative fixtures, using punched designs illuminated by solar inserts.
Mason Jar Solar Lights
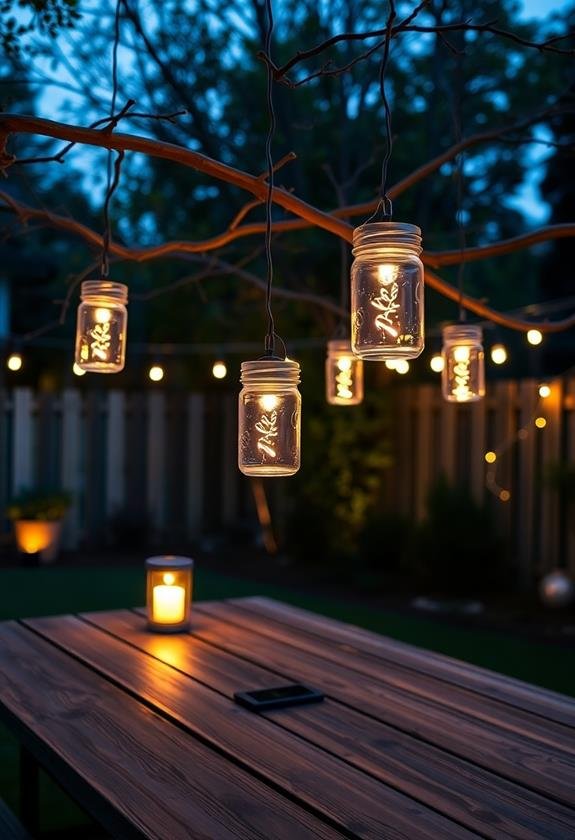
Mason jar solar lights are a charming way to brighten up your outdoor space. These delightful DIY creations combine rustic appeal with eco-friendly technology, perfect for adding a warm glow to your garden paths or patio.
I’ve made dozens of these over the years, and they never fail to impress guests! Energy-efficient LED technology guarantees these lights provide cost-effective illumination while enhancing your outdoor ambiance.
To create your own, you’ll need:
- Mason jars (any size works)
- Solar light inserts
- Wire for hanging
- Optional decorative elements (e.g., pebbles, faux flowers)
Here’s how to make them:
- Remove the solar light’s stake
- Attach the light to the jar lid
- Fill the jar with decorative items (if desired)
- Secure the lid and hang with wire
Pro tip: Use frosted glass spray paint for a softer, more diffused light. Trust me, it makes a world of difference!
These solar lights are incredibly versatile. You can hang them from shepherd’s hooks, tree branches, or even create a charming chandelier effect.
Plus, they’re practically maintenance-free – just let the sun do its work! With a bit of creativity, you’ll have a twinkling wonderland in no time.
Upcycled Wine Bottle Illuminators
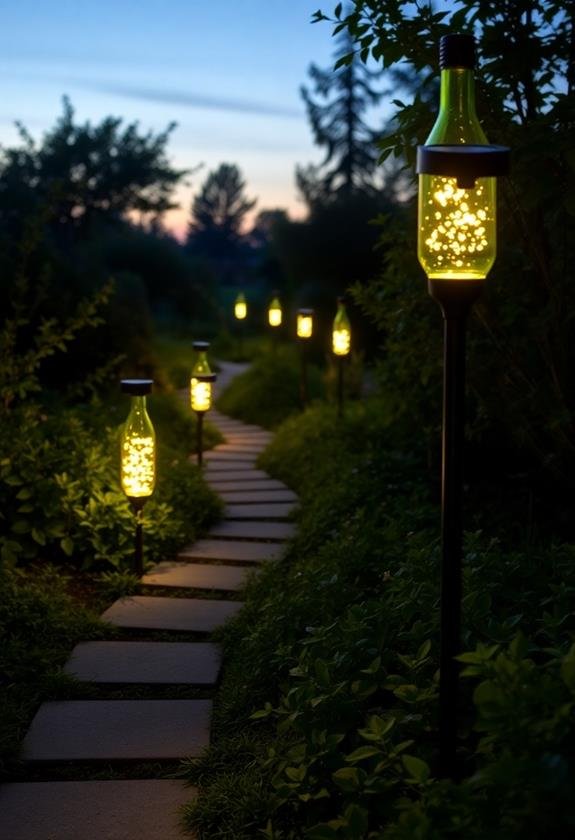
Another creative way to illuminate your outdoor spaces is with upcycled wine bottle lights. These charming illuminators not only add a touch of whimsy to your garden but also give new life to empty bottles.
I’ve used them in my own backyard, and they never fail to impress guests!
To create your own wine bottle lights, you’ll need:
- Empty wine bottles (clean and dry)
- Solar-powered cork lights
- Decorative elements (optional)
Here’s how to make them:
- Choose bottles with interesting shapes or colors.
- Insert a solar-powered cork light into each bottle’s opening.
- Place the bottles strategically along your path or in garden beds.
For added flair, try these ideas:
- Paint the bottles with outdoor-safe paint
- Wrap them with copper wire or twine
- Hang them from shepherd’s hooks
I once created a “bottle tree” by attaching several illuminated bottles to a dead tree in my yard – it became a stunning focal point!
Remember, positioning is key. Place your bottles where they’ll catch the most sunlight during the day to guarantee bright illumination at night.
With these upcycled wine bottle lights, you’ll add eco-friendly charm to your outdoor space.
Fairy House Path Lights
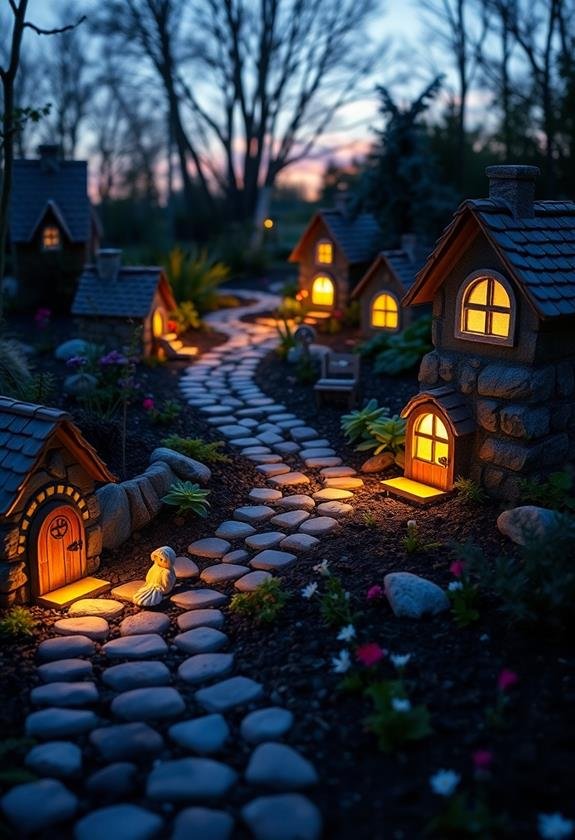
Moving from upcycled wine bottles to magical miniature dwellings, fairy house path lights offer a whimsical and enchanting way to illuminate your garden paths.
These charming creations combine the functionality of solar lighting with the fantasy of tiny fairy abodes. To craft your own, you’ll need:
- Small birdhouses or dollhouses
- Solar path lights
- Acrylic paint and brushes
- Miniature decorations (moss, pebbles, tiny furniture)
Start by painting your miniature house in vibrant colors. I love using pastel shades for a dreamy effect!
Next, carefully remove the stake from your solar light and attach it to the roof of your fairy house. Pro tip: Use a strong adhesive like E6000 for a secure bond.
For peak performance, consider using solar lights with high-power LEDs to guarantee your fairy houses shine brightly throughout the night. The brightness and durability of these lights will enhance the magical atmosphere of your garden.
Now comes the fun part – decorating! Add tiny windows, a miniature door, and landscaping around the base. I once created a fairy garden with a tiny clothesline and itty-bitty laundry – it was adorable!
Place your fairy house lights along your garden path, making sure the solar panels receive ample sunlight. As dusk falls, you’ll be treated to a magical display that’ll have your neighbors wondering if real fairies have moved in!
Colorful Mosaic Solar Lamps
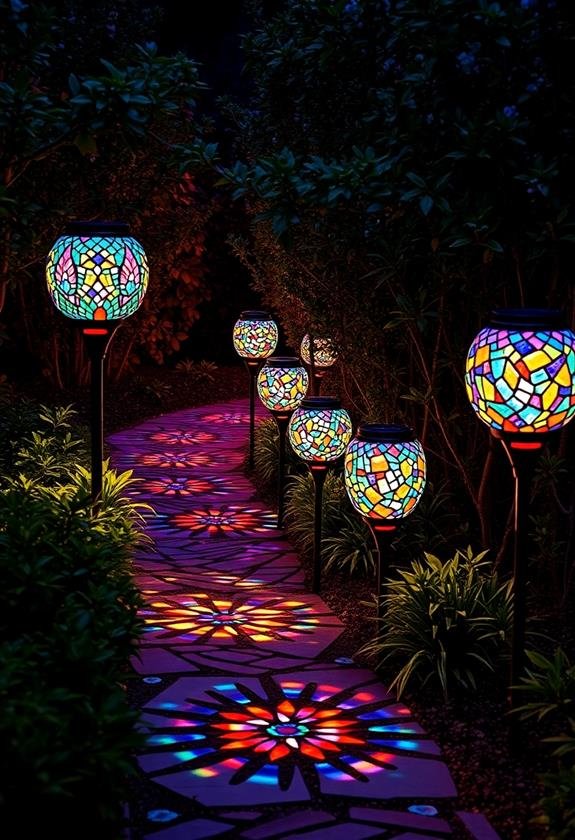
Vibrant and eye-catching, colorful mosaic solar lamps offer a stunning way to illuminate your outdoor spaces while showcasing your artistic flair.
These unique lights combine the practicality of solar power with the beauty of handcrafted mosaics, creating a mesmerizing display that’ll have your neighbors green with envy.
To create your own mosaic solar lamps, you’ll need:
- Solar-powered path lights
- Glass mosaic tiles
- Outdoor adhesive
- Grout
Start by removing the solar light’s cover and cleaning it thoroughly.
Then, get creative! Arrange your mosaic tiles in a pattern you love – I once made a swirling design that reminded me of Van Gogh’s “Starry Night.”
Once you’re happy with the layout, glue the tiles in place and let them dry overnight.
The next day, it’s time to grout. This can be a bit messy, but trust me, it’s worth it!
Apply the grout, wipe away the excess, and let it cure for 24 hours.
Floating Lily Pad Lights
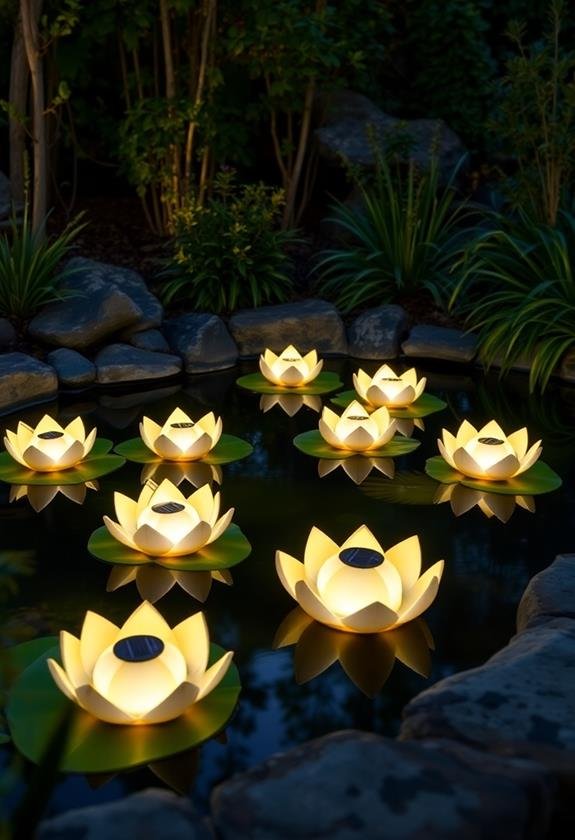
While traditional solar lights line your garden paths, floating lily pad lights bring a touch of whimsy to your water features.
These charming solar-powered lights mimic the look of water lilies, creating a magical ambiance in your pond or fountain. I’ve used them in my own backyard, and they never fail to impress guests!
To create your own floating lily pad lights, you’ll need:
- Plastic lily pad decorations
- Small solar lights
- Waterproof sealant
- Strong adhesive
Here’s how to make them:
- Clean the plastic lily pads thoroughly.
- Attach the solar lights to the center of each lily pad using strong adhesive.
- Apply waterproof sealant around the edges of the solar light to guarantee it’s watertight.
- Let the adhesive and sealant dry completely.
- Place your new lily pad lights in your water feature and watch them come to life at night!
Pro tip: Choose a variety of sizes and colors for a more natural look.
You can even add small LED fairy lights to create the illusion of fireflies dancing above the water. Trust me, it’s a sight to behold!
Rustic Lantern Solar Fixtures
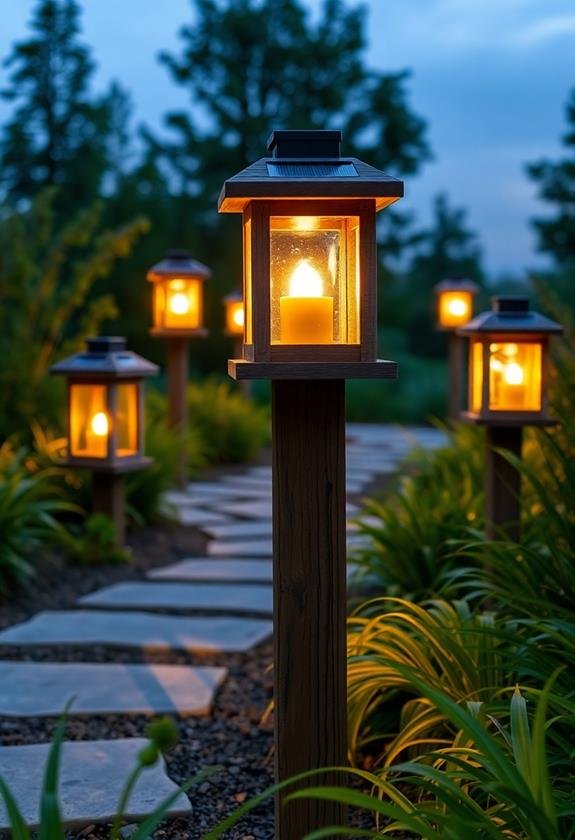
Three popular styles of rustic lantern solar fixtures can transform your outdoor space.
Let’s explore these charming options that’ll add a cozy, vintage vibe to your garden:
- Mason Jar Lanterns
- Repurpose old mason jars for a quaint, farmhouse look
- Install solar lids with built-in LEDs
- Hang from shepherd’s hooks or tree branches
- Vintage Kerosene Lamp Replicas
- Authentic-looking “oil lamps” with solar-powered flames
- Place on tabletops or mount on posts along pathways
- Choose antique brass or copper finishes for extra charm
- Wooden Lantern Boxes
- Construct simple boxes using reclaimed wood
- Insert solar light fixtures inside frosted glass panels
- Attach handles for easy hanging or moving
These rustic lanterns offer UV-resistant materials similar to modern outdoor curtains, ensuring longevity and maintaining their charm over time.
Their versatile designs allow for creative placement in various outdoor spaces.
I’ve used all three styles in my backyard, and they’re real showstoppers!
My favorite is the kerosene lamp replica – it fooled my neighbor into thinking I’d lit actual oil lamps.
These fixtures aren’t just pretty; they’re practical too.
They’ll light up your garden paths and create a warm, inviting atmosphere for evening gatherings.
Plus, they’re eco-friendly and cost-effective.
Give ’em a try, and you’ll be amazed at how they elevate your outdoor space!
Glowing Garden Globes
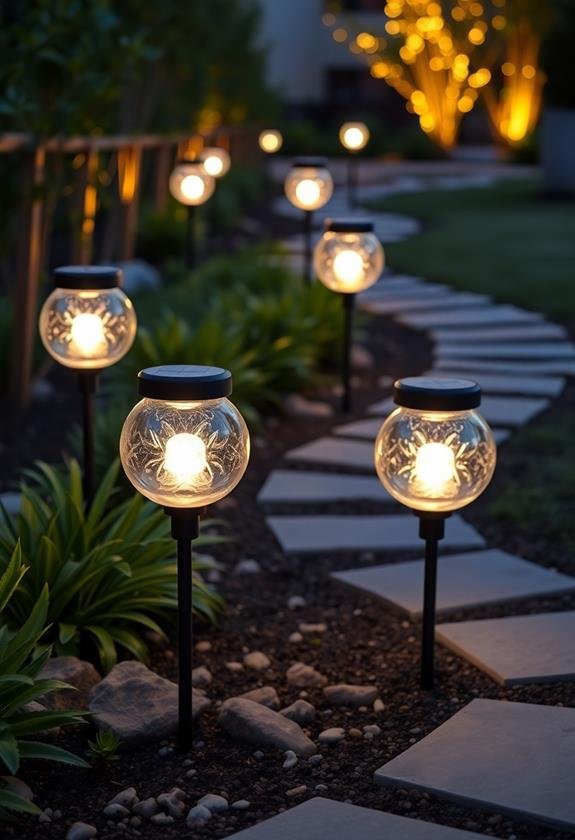
Countless garden enthusiasts are turning to glowing garden globes as an enchanting addition to their outdoor spaces.
These enchanting orbs cast a soft, ethereal light that transforms any landscape into a magical nighttime wonderland. I remember the first time I saw them in my neighbor’s yard – I was instantly smitten!
To create your own glowing garden globes, you’ll need:
- Large, clear glass globes
- Solar-powered fairy lights
- Decorative elements (e.g., pebbles, moss, or miniature figurines)
Here’s how to bring these luminous beauties to life:
- Clean the glass globes thoroughly.
- Carefully insert the solar fairy lights, ensuring the solar panel is accessible.
- Add your chosen decorative elements for a personalized touch.
- Place the globes in sunny spots around your garden.
Pro tip: Try clustering globes of different sizes for an enchanting display. You can even hang them from tree branches using sturdy wire or twine.
Tin Can Constellation Lights
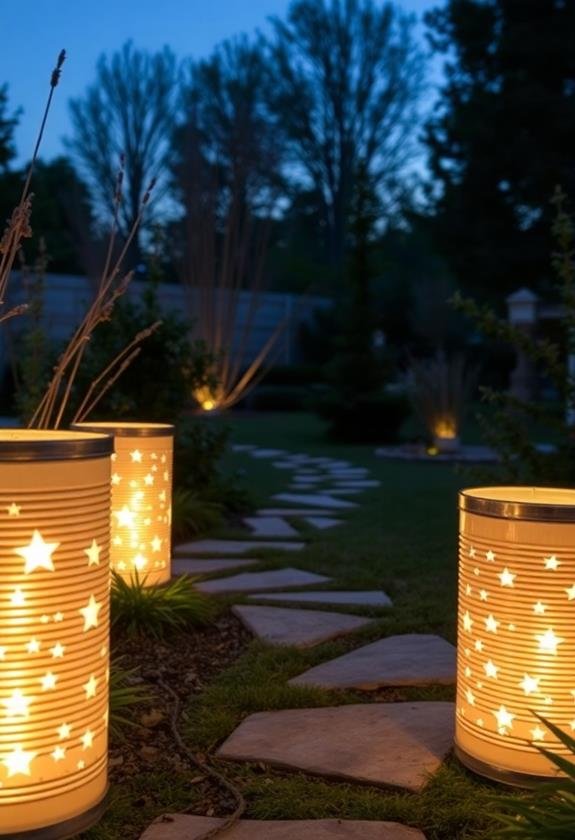
Crafting tin can constellation lights offers a whimsical way to upcycle everyday objects into stunning outdoor illumination. You’ll love how these charming lights transform your garden path while reducing waste.
I remember the first time I made these—my kids were amazed by the twinkling patterns!
Here’s how to create your own:
- Gather materials:
- Clean tin cans
- Hammer and nail
- Solar light inserts
- Spray paint (optional)
- Design your constellations:
- Sketch patterns on paper
- Transfer designs to cans
- Punch holes using nail and hammer
- Add solar lights:
- Insert solar light tops into cans
- Secure with weatherproof adhesive
Pro tip: Paint the cans for a cohesive look. I’ve used copper spray paint, and it’s gorgeous!
Place your tin can lights along pathways or hang them from shepherd’s hooks. They’ll cast enchanting starry patterns on the ground, creating a magical atmosphere.
Don’t forget to position them where they’ll receive ample sunlight during the day.
These DIY lights aren’t only eco-friendly but also budget-friendly. Plus, they’re a great conversation starter when guests visit your garden!
Driftwood Solar Sconces
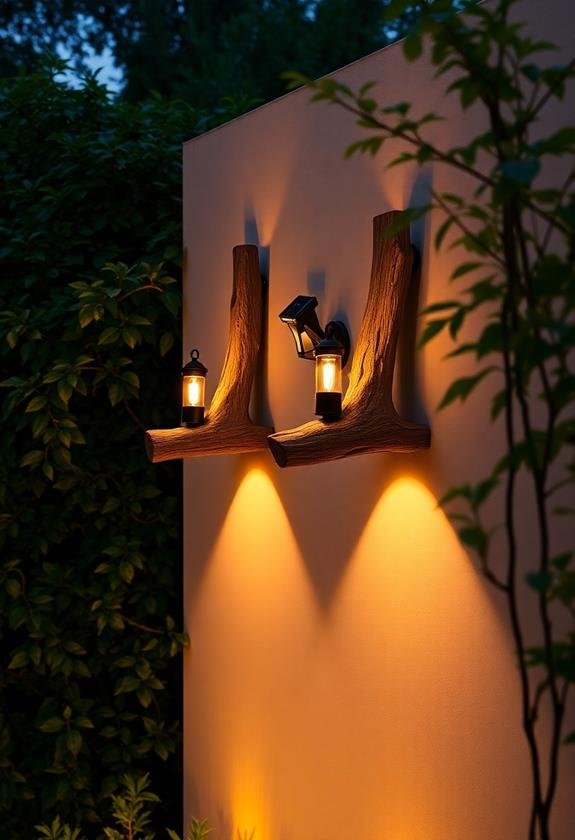
Elegance meets sustainability in driftwood solar sconces, a perfect blend of natural beauty and eco-friendly lighting.
You’ll love how these unique fixtures add a touch of coastal charm to your outdoor space. I remember stumbling upon a piece of driftwood during a beach vacation and thinking, “This would make a gorgeous light holder!” Now, you can create your own.
Here’s how to make driftwood solar sconces:
- Gather materials:
- Weathered driftwood pieces
- Solar-powered LED light fixtures
- Strong adhesive
- Mounting hardware
- Choose your driftwood carefully. Look for interesting shapes with natural nooks for the lights.
- Clean and dry the wood thoroughly.
- Attach the solar lights to the driftwood using adhesive. Pro tip: Test the placement before gluing!
- Mount your sconces on a fence, wall, or post.
These sconces aren’t just pretty; they’re practical too. They’ll charge during the day and illuminate your garden at night, creating a magical atmosphere.
Plus, you’ll feel good knowing you’re using renewable energy and upcycled materials. Get creative with placement – I’ve even seen them used as centerpieces for outdoor dining tables!
Painted Rock Path Markers
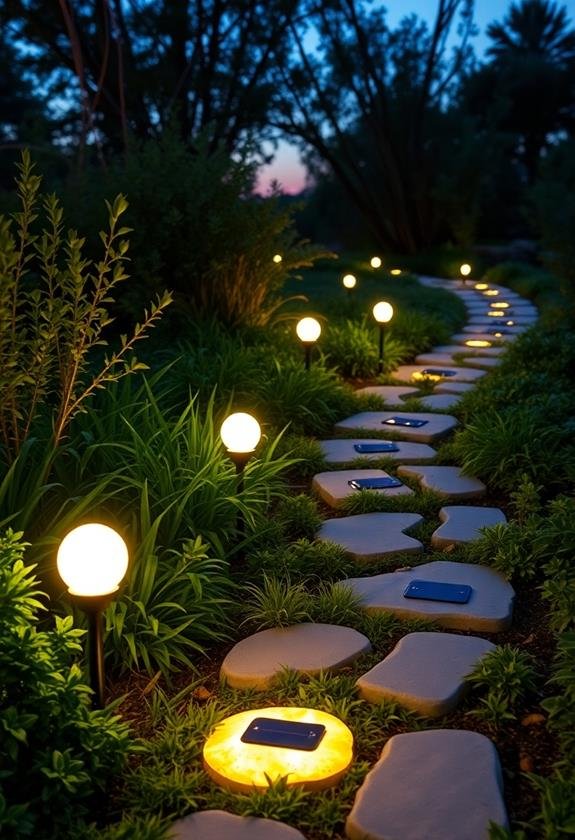
While driftwood sconces bring a coastal vibe, painted rock path markers offer a whimsical touch to your garden walkways. These charming solar-powered lights aren’t only beautiful but also functional, guiding you through your outdoor space after dark.
To create your own, you’ll need:
- Smooth, flat rocks
- Acrylic paint and brushes
- Small solar lights
- Strong adhesive
First, clean your rocks thoroughly and let them dry. Then, release your inner artist! Paint cute designs, patterns, or even house numbers on the rocks. I once painted a series of ladybugs that looked adorable lining my flower bed.
Once the paint dries, attach the solar lights to the top of each rock using a strong adhesive. Make sure the solar panel faces upward to catch maximum sunlight. Place your painted rock markers along your path, spacing them evenly for a cohesive look.
Pro tip: Choose light-colored paints to help reflect more light at night. You can also add glow-in-the-dark paint accents for an extra magical effect when the sun goes down.
Frequently Asked Questions
How Long Do Solar Path Lights Typically Last Before Needing Replacement?
Shining a light on your solar path question!
You’ll find that most solar path lights last about 2-3 years before they need replacing. However, I’ve had some that’ve lasted even longer.
Your mileage may vary depending on factors like:
- Quality of the light
- Weather conditions
- Maintenance
With proper care, you can extend their life.
Clean the solar panels regularly, protect them from harsh weather, and replace rechargeable batteries when needed.
Can Solar Path Lights Work Effectively in Shaded Areas?
Solar path lights can struggle in shaded areas, but don’t lose hope!
While they’re not at their best without direct sunlight, you’ve got options. Try placing them strategically where they’ll catch some rays during the day.
I’ve had success with reflective surfaces nearby to boost light absorption. Remember, even in partial shade, they’ll still charge – just not as efficiently.
If you’re determined, consider high-quality solar lights with larger panels or opt for hybrid models that can be recharged manually when needed.
Are There Waterproof Options for Solar Path Lights in Rainy Climates?
You’ll find plenty of waterproof solar path lights for rainy climates.
I’ve used them in my own garden, and they’re lifesavers. Look for lights with an IP65 or higher rating – they’ll stand up to heavy rain.
Some even have sealed batteries for extra protection. I love the ones with frosted glass covers; they’re not only waterproof but also create a lovely, soft glow.
Remember to clean them occasionally, as water spots can reduce efficiency. Happy lighting!
What Maintenance Is Required to Keep Solar Path Lights Functioning Optimally?
Like Prometheus tending his eternal flame, you’ll need to care for your solar path lights to keep them shining bright.
Here’s what you’ll need to do:
- Clean the solar panels regularly with a soft cloth to remove dirt and debris.
- Trim nearby plants that might shade the lights.
- Check for loose connections or corrosion.
- Replace batteries every 1-2 years.
- Store lights indoors during harsh winters.
I’ve found that a quick monthly check-up keeps my lights gleaming like stars in my garden!
How Do Solar Path Lights Compare to Traditional Electric Landscape Lighting in Terms of Cost?
You’ll find that solar path lights are generally more cost-effective than traditional electric lighting in the long run.
While they might’ve a higher upfront cost, you’ll save on electricity bills and wiring installation. I’ve used both in my garden, and I love how my solar lights are virtually maintenance-free!
Traditional lighting often requires bulb replacements and ongoing energy costs. Plus, solar lights are eco-friendly, which is a big win in my book.
Just remember, placement is key for ideal charging!

