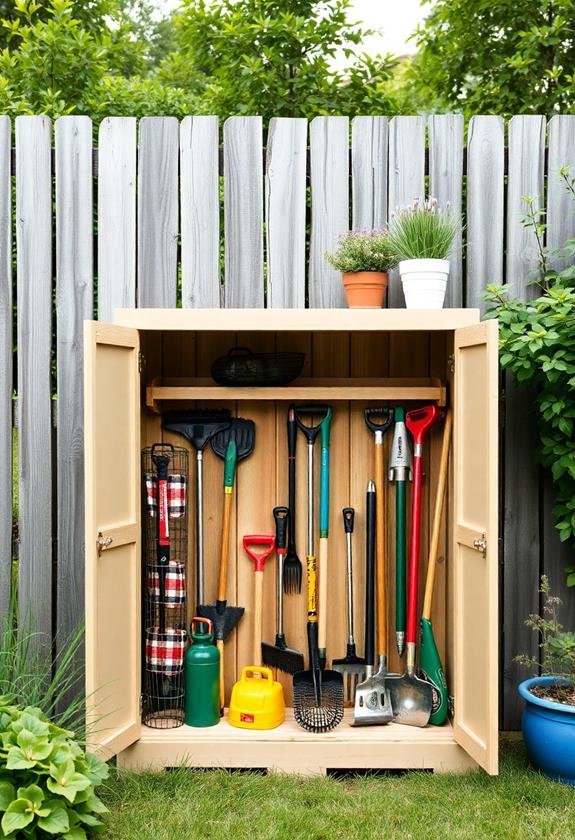
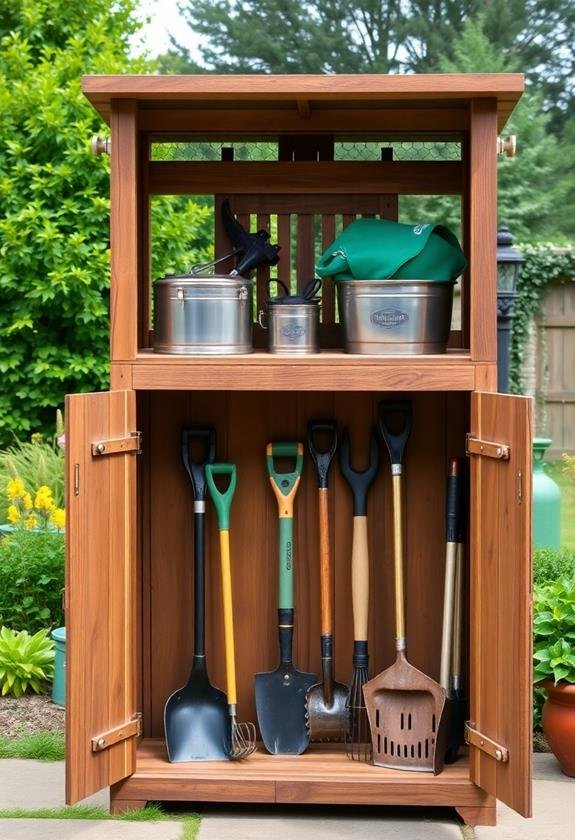
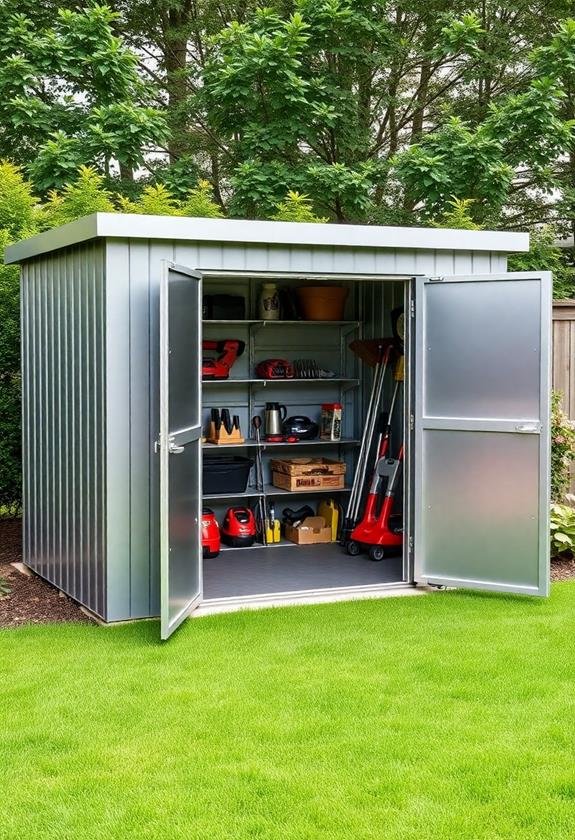
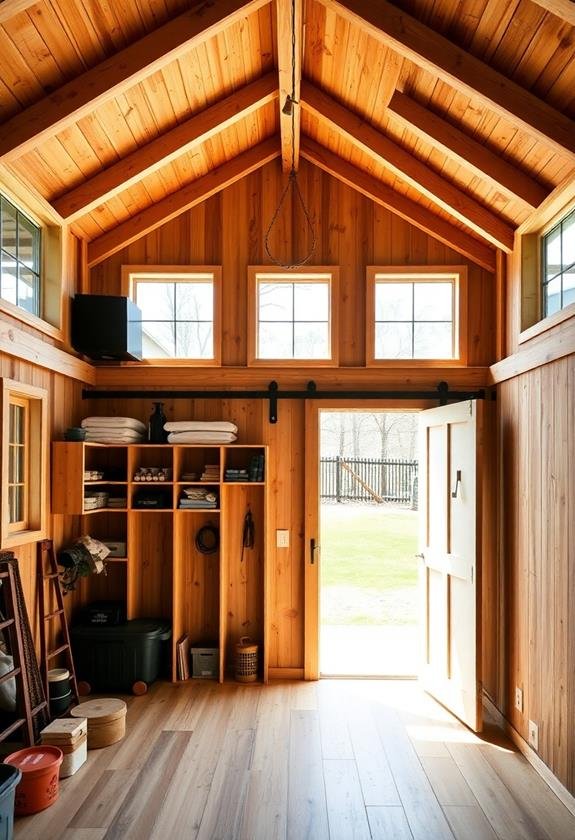
Building weather-resistant garden tool storage cabinets is a rewarding DIY project that’ll keep your precious tools safe and organized. You’ll want to start by evaluating your storage needs and choosing durable materials like cedar or pressure-treated lumber. Plan your design carefully, ensuring proper ventilation and adjustable shelving. Don’t forget to gather essential tools and prepare your construction site before diving in. When building, focus on weatherproofing techniques like applying sealants and installing weatherstripping. Once complete, organize the interior with pegboards, hooks, and custom shelving. Regular maintenance will keep your cabinet in tip-top shape for years to come. With a bit of elbow grease, you’ll soon have a storage solution that’s the envy of your gardening buddies.
Key Takeaways
- Choose weather-resistant materials like pressure-treated lumber, metal sheeting, or vinyl siding for the cabinet’s construction.
- Design the cabinet with proper ventilation, adjustable shelves, and hanging solutions for various tool sizes and shapes.
- Use stainless steel or brass hardware and apply water-resistant sealant to protect against rust and moisture.
- Install a sloped roof, weatherstripping, and drainage features to prevent water accumulation and keep tools dry.
- Organize the interior with pegboards, magnetic strips, and customizable shelving for efficient tool storage and accessibility.
Assessing Your Storage Needs

Before you start building your weather-resistant garden tool storage cabinet, it’s crucial to assess your specific storage needs.
Take a stroll through your garden and make a list of all the tools you own. Trust me, you’ll be surprised at how many you’ve accumulated over the years! Garden tool organizers can accommodate between 30 to 50 tools, making them suitable for both casual and serious gardeners.
Consider the following:
- Size and shape of your tools
- Frequency of use
- Special storage requirements (e.g., hanging space for rakes)
Don’t forget about seasonal items like your trusty snow shovel or those adorable holiday garden decorations.
I once built a cabinet without accounting for my collection of oversized planters – big mistake!
Next, think about your ideal organization system.
Do you prefer everything neatly lined up, or are you more of a “toss it in and hope for the best” kind of gardener? (No judgment here!)
Consider incorporating:
- Adjustable shelves
- Hooks and pegs
- Drawers for small items
Choosing Weather-Resistant Materials
In light of your storage needs assessment, selecting the right weather-resistant materials is essential for your garden tool cabinet’s longevity.
You’ll want to choose materials that can withstand the elements while keeping your tools safe and dry. Trust me, I’ve learned this the hard way after my first attempt at a storage solution turned into a moldy mess!
For the cabinet’s frame, consider these options:
- Pressure-treated lumber
- Cedar or redwood
- Marine-grade plywood
When it comes to the exterior, you can’t go wrong with:
- Metal sheeting (galvanized or powder-coated)
- Fiber cement boards
- Vinyl siding
Don’t forget about hardware! Opt for stainless steel or brass hinges, locks, and handles. They’ll resist rust and keep your cabinet functioning smoothly for years to come.
For added protection, apply a water-resistant sealant or paint to any wooden components.
I once skipped this step and ended up with a warped door that wouldn’t close properly. Learn from my mistakes, folks!
Planning Your Cabinet Design
Designing your garden tool storage cabinet requires careful consideration of both form and function. You’ll want to create a space that’s not only weather-resistant but also practical and easy to use.
Start by measuring your tools and determining how much space you’ll need. Trust me, I’ve learned the hard way that it’s better to overestimate than to end up with a cramped cabinet!
Next, sketch out your design. Consider these key elements:
- Shelving: Adjustable shelves are a game-changer, allowing you to customize as your tool collection grows.
- Hooks and pegs: Great for hanging long-handled tools like rakes and shovels.
- Door storage: Don’t forget to utilize this space for smaller items!
- Ventilation: A must-have to prevent mold and mildew.
When I built my first cabinet, I forgot about ventilation and ended up with some rusty surprises. Learn from my mistake!
Essential Tools and Equipment
To kick off your garden tool storage cabinet project, you’ll need to round up the right tools and equipment. Trust me, having everything on hand before you start will save you countless trips to the hardware store (I’ve been there!).
Consider incorporating weather-resistant features like UV-resistant materials and innovative lid designs to guarantee your cabinet withstands the elements year-round.
Here’s what you’ll need:
- Power tools:
- Circular saw or table saw
- Drill and drill bits
- Jigsaw (for any curved cuts)
- Sander (orbital or palm)
- Hand tools:
- Hammer
- Screwdrivers (Phillips and flathead)
- Measuring tape
- Level
- Carpenter’s square
- Safety gear:
- Safety glasses
- Work gloves
- Dust mask
- Materials:
- Weather-resistant wood (cedar or pressure-treated pine)
- Exterior-grade screws and nails
- Wood glue
- Hinges and handles
- Weather stripping
- Exterior paint or sealant
Don’t forget a sturdy workbench or sawhorses to support your work.
Oh, and a pencil – you’d be surprised how often I’ve misplaced mine mid-project!
With these tools at your fingertips, you’ll be ready to tackle your cabinet build like a pro.
Preparing the Construction Site
Choosing the right spot for your garden tool storage cabinet is essential for its longevity and functionality.
You’ll want to find a level area that’s easily accessible from your garden but not in the way of foot traffic. I once made the mistake of placing mine too close to a sprinkler – what a soggy mess that turned out to be!
Before you start building, clear the area of any debris, rocks, or vegetation. If you’re placing the cabinet on grass, consider laying a foundation of gravel or pavers to prevent moisture damage.
Here’s a quick checklist to guarantee you’re ready to go:
- Measure and mark the footprint of your cabinet
- Remove sod or dig a shallow trench if necessary
- Level the ground using a spirit level
- Add a layer of landscaping fabric to prevent weed growth
- Fill with gravel or place pavers for a solid base
Building the Cabinet Frame
The cabinet frame forms the backbone of your storage solution, so it’s crucial to get it right. Start by selecting sturdy, weather-resistant lumber like cedar or pressure-treated pine. I’ve learned the hard way that skimping on materials here can lead to a sagging, sorry-looking cabinet down the line!
Next, cut your pieces to size according to your plan. Remember to measure twice and cut once – a lesson I wish I’d learned before my first attempt! Assemble the frame using weatherproof screws and galvanized brackets for extra strength.
Here’s a quick checklist to keep you on track:
- Use a level to verify your frame is square and plumb
- Pre-drill holes to prevent wood splitting
- Apply wood preservative to cut ends for added protection
- Double-check measurements before securing joints
As you build, think about how you’ll use the cabinet. I like to add extra support where I know I’ll be storing heavier items, like bags of fertilizer.
Don’t forget to leave space for shelves and doors – trust me, it’s much easier to plan for these now than to retrofit later!
Installing Doors and Hardware
Many DIY enthusiasts consider installing doors and hardware the most rewarding part of building a garden tool storage cabinet. It’s where your creation truly comes to life!
I remember the first time I tackled this step – I was so excited, I nearly put the hinges on backward. Don’t make my mistake!
Here’s how to nail it:
- Choose your hardware wisely:
- Opt for weather-resistant materials like stainless steel or brass
- Consider magnetic catches for a satisfying “click” when closing
- Measure twice, drill once:
- Use a spirit level to guarantee your doors hang straight
- Pre-drill holes to prevent wood splitting
- Hang those doors:
- Start with the top hinge, then the bottom
- Adjust as needed for a perfect fit
Pro tip: Add a rubber seal around the door frame to keep out moisture and critters.
Trust me, you don’t want to open your cabinet to find a family of mice has taken up residence!
Weatherproofing Techniques
Four key weatherproofing techniques will guarantee your garden tool storage cabinet stands up to the elements. First, apply a high-quality exterior sealant to all wood surfaces. I’ve found that marine-grade sealants work wonders, even in my rainy Pacific Northwest garden.
Next, install weatherstripping around the doors to create a tight seal. Trust me, you’ll thank yourself when you open the cabinet to find dry tools after a storm!
For added protection, consider these tried-and-true methods:
- Install a sloped roof to promote water runoff
- Use rust-resistant hardware and hinges
- Apply silicone caulk to all joints and seams
- Add rubber feet to elevate the cabinet off the ground
Don’t forget to treat the interior, too. A coat of mildew-resistant paint will keep your cabinet fresh and prevent musty odors. I once skipped this step and regretted it all season!
Lastly, create proper ventilation by drilling small holes near the top and bottom of the cabinet. This airflow will help prevent condensation and keep your tools in tip-top shape.
With these techniques, your garden tool storage will weather any storm, just like a seasoned gardener!
Organizing the Interior Space
Countless options exist for organizing your garden tool storage cabinet‘s interior, but a few key strategies will maximize space and efficiency. Let’s explore!
- Vertical Storage Solutions:
- Install pegboards or slatted walls for hanging tools
- Use magnetic strips for small metal items
- Add hooks and racks to the cabinet doors
- Customizable Shelving:
Adjustable shelves are a game-changer! I once struggled with odd-sized sprayers and fertilizer bottles, but now they fit perfectly.
Consider:
- Removable shelf pegs for easy adjustment
- Wire shelves for better airflow
- Plastic bins for small items like gloves and twine
3. Tool-Specific Organizers:
- PVC pipe sections make great holders for long-handled tools
- Repurpose old file organizers for hand trowels and pruners
- Use a lazy Susan for frequently-accessed items
4. Labeling System:
Trust me, you’ll thank yourself later!
Use:
- Color-coded labels for different tool types
- Clear plastic pockets for seed packets
- A whiteboard for seasonal reminders
Maintenance and Upkeep Tips
How can you guarantee your garden tool storage cabinet stays in top shape for years to come? It’s all about regular maintenance and a few simple upkeep tricks.
I’ve learned the hard way that neglecting your cabinet can lead to rusty tools and a shabby-looking outdoor space. Trust me, you don’t want to be that gardener!
Here are some key tips to keep your cabinet in prime condition:
- Clean and dry tools before storing them
- Apply a thin coat of oil to metal surfaces
- Check for loose screws or hinges monthly
- Repaint or reseal the exterior annually
Start by establishing a routine. After each gardening session, give your tools a quick wipe-down before tucking them away. This simple habit prevents moisture buildup and keeps rust at bay.
I like to keep a small towel hanging inside the cabinet for easy access.
Next, focus on the cabinet itself. Every few months, give it a thorough inspection. Look for signs of wear and tear, like peeling paint or loose hardware.
A little touch-up goes a long way in preserving your cabinet’s weather resistance and overall appearance.
Frequently Asked Questions
Can I Repurpose an Old Refrigerator as a Garden Tool Storage Cabinet?
Repurposing an old fridge as a garden tool storage cabinet is a brilliant idea. I’ve seen this done, and it’s fantastic!
Here’s why it works:
- Weather-resistant: Already built to withstand moisture
- Spacious: Plenty of room for tools, seeds, and supplies
- Organized: Use shelves and door compartments for easy sorting
Plus, it’s eco-friendly and budget-friendly.
Just make sure to clean it thoroughly, remove any harmful components, and maybe add a fun paint job. Your tools will thank you!
How Do I Prevent Pests From Nesting in My Outdoor Storage Cabinet?
You’ve got to be proactive to keep those pesky critters out! Here’s what I do:
- Seal gaps and cracks with caulk or weatherstripping
- Use cedar blocks or lavender sachets as natural repellents
- Install mesh screens over vents
- Keep the cabinet clean and dry
- Regularly inspect for signs of pests
I once found a family of mice in my old cabinet – what a surprise!
Now, I’m vigilant about maintenance.
What’s the Best Way to Secure My Cabinet Against Theft?
To secure your cabinet against theft, you’ve got a few great options!
First, install a sturdy padlock or combination lock on the door. I love using a weatherproof lock that’s resistant to rust.
Next, consider anchoring the cabinet to a concrete pad or wall – it’s worked wonders for me!
Motion-sensor lights are another fantastic deterrent.
Can I Add Wheels to Make My Garden Tool Storage Cabinet Portable?
Adding wheels to your garden tool storage cabinet is a brilliant idea. You’ll love the flexibility it offers.
Here’s what you can do:
- Choose heavy-duty casters that can handle outdoor terrain.
- Attach them to a sturdy base plate for extra stability.
- Install locking wheels to keep your cabinet in place when needed.
I’ve done this to my own cabinet, and it’s a game-changer!
Just remember to secure your tools inside before moving it around. Trust me, I’ve learned that lesson the hard way!
How Can I Incorporate Solar-Powered Lighting Into My Storage Cabinet Design?
You’re illuminating your storage, empowering your gardening! Here’s how to add solar-powered lighting:
- Choose weatherproof LED strips or puck lights
- Install a small solar panel on the cabinet’s roof
- Connect lights to the panel with weatherproof wiring
- Add a battery pack for nighttime use
I’ve done this, and it’s a game-changer! No more fumbling in the dark for tools.
Pro tip: use motion sensors to conserve energy. It’s like having a mini sun in your cabinet – minus the sunburn!


