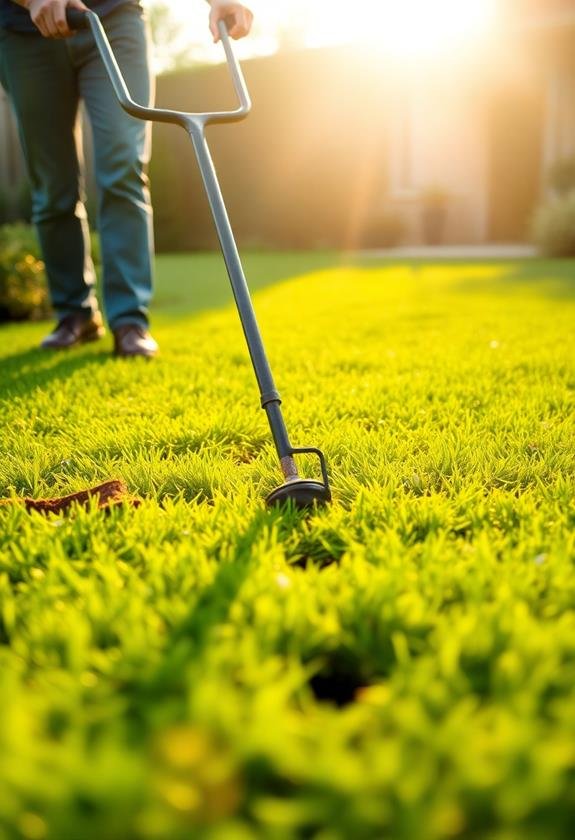
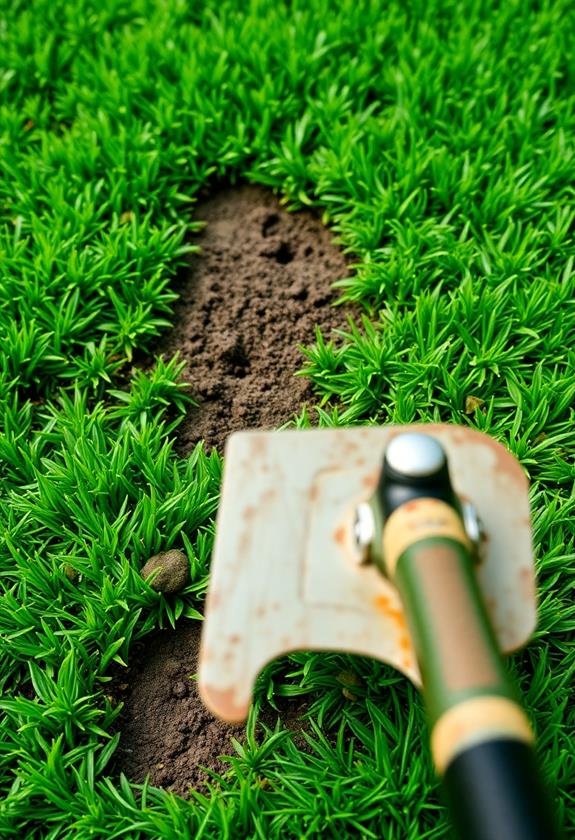
Aerating your lawn yourself is a game-changer for your green space! You’ll save a bundle compared to hiring pros, and you’ll gain valuable insights into your soil’s health. By DIY-ing it, you can tailor the timing to your lawn’s needs and focus on problem areas. Trust me, there’s nothing quite like the satisfaction of seeing those little soil plugs dotting your grass. You’ll develop a keen eye for lawn issues and build long-term care skills. Plus, it’s a great workout! From cost savings to a deeper connection with your outdoor oasis, self-aeration is a win-win. Ready to roll up your sleeves and dig deeper into the world of lawn care?
Key Takeaways
- Cost-effective: DIY aeration significantly reduces expenses compared to hiring professionals, with long-term savings on lawn maintenance.
- Flexible timing: Perform aeration when it’s most beneficial for your lawn, accommodating weather conditions and seasonal needs.
- Tailored approach: Address specific lawn issues by focusing on compacted areas and adjusting techniques based on grass type.
- Deeper understanding: Hands-on experience provides insights into soil composition, root health, and overall lawn ecosystem.
- Immediate response: Regular DIY aeration allows for quick identification and resolution of lawn problems as they arise.
Cost-Effective Lawn Maintenance

Your lawn’s health doesn’t have to come with a hefty price tag. By aerating your lawn yourself, you’ll save a bundle while giving your grass the TLC it needs. I remember the first time I tackled this task – armed with a pair of spiked shoes and determination, I marched across my yard like a well-intentioned Godzilla!
Here’s why DIY aeration is a wallet-friendly choice:
- Equipment costs: Renting an aerator is far cheaper than hiring a pro.
- Frequency control: You decide when and how often to aerate.
- Learning opportunity: Gain valuable lawn care skills.
Trust me, the satisfaction of seeing those little soil plugs scattered across your lawn is worth the effort.
Plus, you’ll develop a keen eye for your grass’s needs. I’ve found that annual aeration in spring or fall works wonders for my lawn’s health.
Pro tip: Combine aeration with overseeding for maximum impact. It’s like giving your lawn a spa day and a makeover all at once!
Flexible Timing and Scheduling
One of the biggest advantages of DIY lawn aeration is the flexibility it offers in timing and scheduling. When you’re in charge, you can choose the perfect moment to aerate based on your lawn’s specific needs and your local climate. No more waiting for a busy lawn care company to fit you into their packed schedule!
I remember the first time I aerated my own lawn. It was a crisp fall morning, and I’d noticed my grass looking a bit lackluster. With my trusty aerator in hand, I was able to tackle the job right then and there. What a difference it made!
Here’s why flexible timing is so important:
- Seasonal sweet spots: You can hit that ideal window between summer heat and winter frost.
- Weather-watching: No need to reschedule if rain’s in the forecast – just wait it out!
- Spontaneous action: Notice signs of soil compaction? Aerate on the spot!
Plus, you can break the job into manageable chunks if you’re short on time. Maybe do the front yard one weekend and the back the next. It’s your lawn, your schedule – how’s that for convenience?
Tailored Approach to Soil Health

While professional services often take a one-size-fits-all approach, DIY lawn aeration allows you to tailor your soil health strategy precisely to your lawn’s needs.
You’re the expert on your yard’s quirks and challenges, so why not use that knowledge to your advantage? I remember when I first started aerating my own lawn, I was amazed at how much control I’d over the process.
Here’s how you can create a customized aeration plan:
- Soil testing: Conduct your own soil tests to identify specific nutrient deficiencies.
- Problem areas: Focus on compacted spots or areas with poor drainage.
- Grass type: Adjust your approach based on your specific grass variety.
Deeper Understanding of Your Lawn
Hands-on experience with lawn aeration leads to a deeper understanding of your yard’s unique ecosystem. As you push that aerator across your grass, you’ll notice things you might’ve missed before.
You’ll feel the changes in soil density, spot areas that need extra attention, and even discover hidden issues like compaction or drainage problems.
Here’s what you’ll learn:
- Soil composition: You’ll see firsthand the different layers of soil and how they affect your lawn’s health.
- Root system: Observe how deep and healthy your grass roots are.
- Thatch layer: Get a close-up view of this often-overlooked component.
I remember the first time I aerated my lawn – it was like reading a book about my yard’s secret life!
I discovered a patch of clay soil I didn’t know existed and realized why that area always struggled.
Personalized Equipment Selection
In light of your newfound understanding of your lawn, it’s time to select the right aeration equipment for your specific needs.
You’ve got several options, each with its own pros and cons:
- Manual core aerators: These are great for small lawns and tight budgets. I remember using one on my first tiny yard – it was a workout, but oddly satisfying!
- Push aerators: A step up from manual, these cover more ground faster. They’re perfect for medium-sized lawns and won’t break the bank.
- Tow-behind aerators: If you’ve got a riding mower and a larger lawn, this is your best bet. They’re efficient and save your back from strain.
- Power aerators: The big guns of lawn aeration. These are ideal for large properties or if you’re planning to aerate frequently.
When choosing, consider:
- Your lawn size
- Your physical capabilities
- Storage space
- Budget
Pro tip: If you’re unsure, rent different types to test them out.
I once rented a power aerator for my modest lawn – talk about overkill! But it helped me realize a push aerator was just right for my needs.
Immediate Response to Lawn Issues
Sharp eyes and quick action can save your lawn from disaster. When you’re aerating your lawn yourself, you’ll become more attuned to its needs. You’ll notice brown patches, thinning areas, or compacted soil before they become major problems.
This heightened awareness allows you to address issues immediately, rather than waiting for a professional to point them out.
I remember spotting a small patch of crabgrass in my lawn last summer. Because I was regularly aerating and inspecting, I caught it early and prevented a full-blown invasion.
Here’s what you can do when you spot issues:
- Identify the problem quickly
- Research solutions online or consult a local nursery
- Take immediate action (e.g., spot-treat weeds, adjust watering)
- Monitor the affected area closely
Enhanced Sense of Accomplishment
Regularly aerating your lawn yourself brings an undeniable sense of pride and accomplishment. As you watch those tiny soil plugs pop up across your yard, you’ll feel a rush of satisfaction knowing you’re nurturing your turf from the roots up.
It’s not just about the end result; it’s about the journey of learning and mastering a new skill.
Think about it: you’re becoming a true lawn care expert! You’ll find yourself enthusiastic about sharing your newfound knowledge with neighbors, perhaps even offering to help them aerate their lawns.
This hands-on approach allows you to:
- Develop a deeper connection with your outdoor space
- Gain a better understanding of your soil’s health
- Customize the aeration process to your lawn’s specific needs
Plus, there’s something oddly satisfying about operating that aerator machine. It’s like giving your lawn a spa day, and you’re the massage therapist!
As you see your grass become lusher and healthier over time, you’ll beam with pride, knowing it’s all thanks to your dedication and hard work.
Trust me, that first cold beverage on your perfectly aerated lawn will taste extra sweet.
Long-Term Lawn Care Skills
Aerating your lawn yourself is just the beginning of your journey into advanced lawn care. As you master this skill, you’ll find yourself equipped to tackle other lawn maintenance tasks with confidence.
You’ll develop an eye for identifying soil compaction, thatch buildup, and drainage issues – problems that once seemed mysterious but now make perfect sense.
With each passing season, you’ll hone your ability to:
- Read your lawn’s needs
- Time interventions perfectly
- Select the right tools for each job
Trust me, there’s nothing quite like the satisfaction of spotting a potential lawn issue before it becomes a full-blown problem.
You’ll become the neighborhood’s go-to lawn expert, fielding questions about everything from fertilizer schedules to weed control strategies.
But here’s the real kicker: these skills aren’t just for show. They’ll save you money in the long run by reducing the need for professional interventions.
Plus, you’ll have a deeper connection to your outdoor space. It’s like becoming fluent in the language of your lawn – suddenly, every blade of grass has a story to tell.
Who knew that poking holes in your yard could lead to such a rewarding hobby?
Frequently Asked Questions
How Often Should I Aerate My Lawn?
You’ll want to aerate your lawn once or twice a year, depending on your soil type and grass condition.
For most lawns, spring or fall is ideal. If you’ve got heavy clay soil or lots of foot traffic, aim for twice yearly.
Keep an eye out for signs like water pooling or compacted soil – that’s your cue to aerate!
I remember when I first aerated my lawn; the difference was night and day.
Your grass will thank you with lush, green growth!
What’s the Best Time of Year to Aerate?
The best time to aerate your lawn depends on your grass type and climate.
For cool-season grasses, like Kentucky bluegrass, aim for early fall or early spring. Warm-season grasses, such as Bermuda, prefer late spring to early summer.
You’ll want to aerate when the soil is moist but not waterlogged. I’ve found that aerating just before a light rain is ideal – it helps those little soil plugs break down faster.
Can I Aerate a Newly Seeded Lawn?
You shouldn’t aerate a newly seeded lawn, as it can disrupt the delicate seedlings. I learned this the hard way when I tried it once!
Wait at least 3-4 months after seeding before aerating. This gives your grass time to establish strong roots.
Instead, focus on watering and gentle care for your new lawn. Once it’s mature, you’ll be ready to aerate and give those roots some breathing room.
Trust me, patience pays off in lush, healthy grass!
Are There Any Risks Associated With DIY Lawn Aeration?
Like David taking on Goliath, DIY lawn aeration can seem intimidating.
You’ll face a few risks: potential damage to hidden irrigation systems or utility lines, over-aerating causing stress to your lawn, or using the wrong equipment for your soil type.
I’ve learned the hard way that improper technique can leave your yard looking like a patchwork quilt!
But don’t worry, with proper research and care, you can avoid these pitfalls and give your lawn the breathing room it needs.
What Type of Grass Benefits Most From Aeration?
You’ll find that most grass types benefit from aeration, but some really thrive after this treatment.
Cool-season grasses like Kentucky bluegrass, fescue, and ryegrass are top contenders. They love the extra breathing room!
Warm-season grasses like Bermuda and Zoysia also appreciate a good aeration.
In my experience, lawns with heavy clay soil or lots of foot traffic show the most dramatic improvements.


