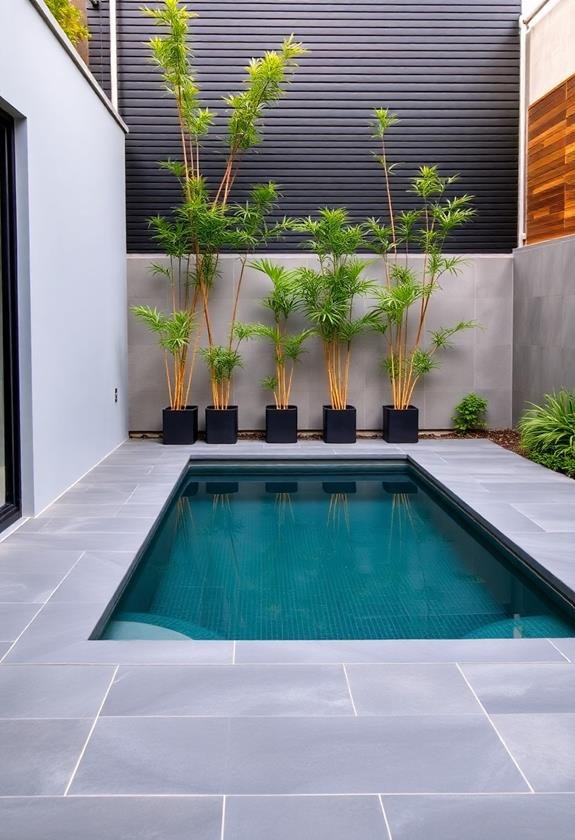
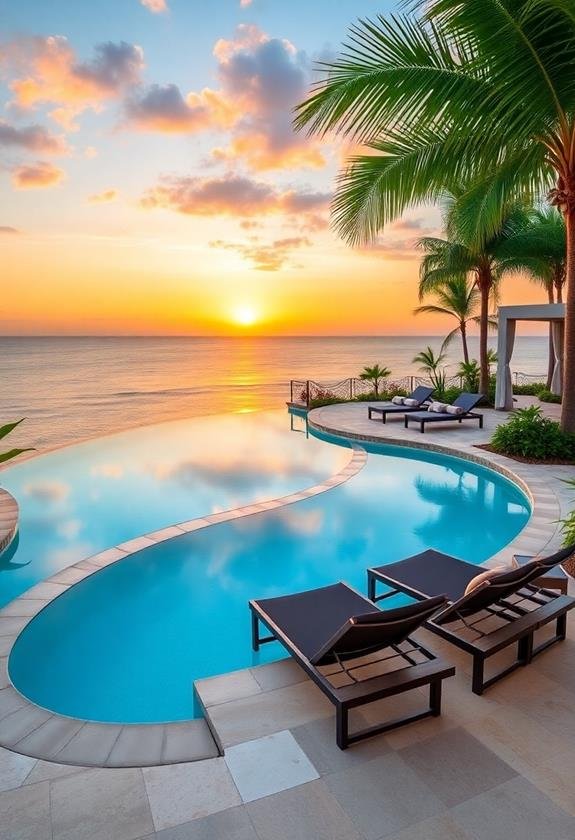
Natural stone pool surrounds can transform your backyard into a luxurious retreat, and you’ve got fantastic options to evaluate. Popular choices like travertine and bluestone offer slip-resistant surfaces that stay cool underfoot, while granite provides unmatched durability for high-traffic areas. You’ll want to explore classic patterns like running bond for timeless appeal, or try an ashlar pattern for added visual interest. When selecting colors, stick to a three-color palette of complementary tones that blend with your landscape. With proper installation and regular maintenance using pH-neutral cleaners, your stone surround will look stunning for decades. There’s so much more to discover about creating your perfect poolside paradise.
Key Takeaways
- Travertine and limestone create a timeless Mediterranean atmosphere with their warm honey tones and natural aging characteristics.
- Mix different-sized stones in an Ashlar pattern to achieve a sophisticated, random appearance that adds visual interest around pools.
- Combine three complementary stone colors maximum, focusing on warm earth tones or cool grays for a cohesive design.
- Create dramatic focal points using concentric circle patterns around spa areas or curved pool sections.
- Integrate premium stones like granite in high-traffic areas while using more affordable options in less visible spaces.
Popular Natural Stone Pool Materials
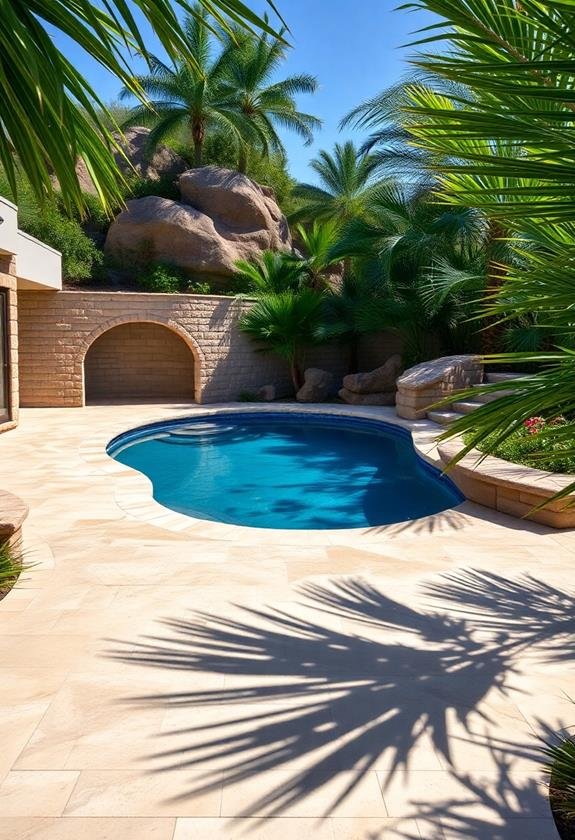
Among the many options for pool surrounds, natural stone stands out as a premium choice that combines durability with aesthetic appeal.
You’ll find several stunning materials that’ll transform your poolscape into a resort-worthy retreat.
Travertine remains the go-to choice for many homeowners, and I’ve installed it countless times. It’s naturally slip-resistant, stays cool under the summer sun, and comes in beautiful honey and cream tones that’ll complement any landscape.
You’ll love how it ages gracefully, developing a charming patina over time.
Bluestone’s making quite a splash lately, and it’s easy to see why. This dense, durable stone offers deep blue-gray hues that create a sophisticated look, especially when you’re going for that modern aesthetic.
Just remember to seal it properly – trust me, I learned that lesson the hard way!
Other popular options include:
- Granite: incredibly hard-wearing and perfect for high-traffic areas
- Limestone: offers a timeless Mediterranean feel
- Slate: provides excellent traction and dramatic color variations
- Sandstone: delivers a warm, earthy vibe that’s particularly striking in desert-inspired designs
Each material has its sweet spot, and you’ll want to contemplate your climate and lifestyle when making your selection.
Design Layouts and Patterns
When planning your natural stone pool surround, the layout pattern plays an essential role in both aesthetics and functionality. You’ll want to reflect on how the stones flow together while ensuring they’re safe and comfortable to walk on.
I’ve found that classic running bond patterns work beautifully for rectangular pools, while circular patterns can transform a freeform pool into a stunning focal point.
Contemplate these popular layout options:
- Ashlar pattern – mixing different-sized stones for a sophisticated, random look
- Herringbone design – perfect for creating visual movement and interest
- Concentric circles – ideal for round pools or spa areas
- Stack bond – modern and clean-lined for contemporary spaces
- Fan pattern – elegant for curved pool edges and corners
You’ll also need to think about connections between different areas. I once worked on a project where we used larger stones near the pool’s edge and gradually decreased the size as we moved outward – it created a beautiful sense of depth.
Don’t forget to factor in drainage when planning your pattern; slight variations in height can help direct water away from your pool area while maintaining a cohesive design.
Color Selection and Combinations
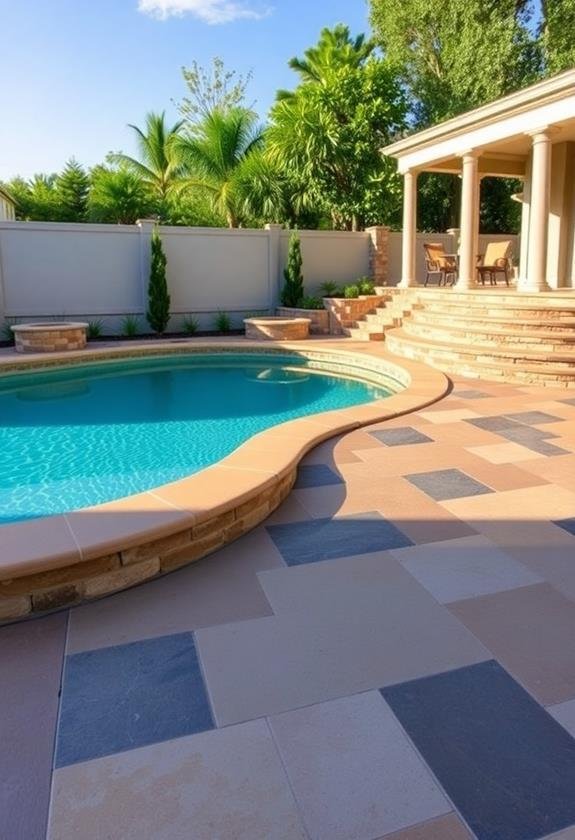
Building on your pattern choices, the color palette of your natural stone pool surround will shape the entire atmosphere of your outdoor space.
When selecting colors, you’ll want to take into account both your home’s exterior and the natural landscape around your pool area.
Popular Color Combinations:
- Warm earth tones: Blend sandy beiges with rich browns and rust-colored stones
- Cool gray schemes: Mix slate grays with blue-tinted stones for a modern look
- Mediterranean palette: Combine cream-colored limestone with terracotta accents
I’ve found that testing stone samples when they’re wet is essential, as they’ll look different when splashed with pool water.
You’d be surprised how many homeowners skip this step and end up with unexpected results! For a foolproof approach, stick to no more than three complementary stone colors in your design.
Pro Tips for Color Selection:
- Take into account your climate – lighter stones stay cooler in hot regions
- Match at least one stone color to your home’s exterior
- Use darker stones strategically to hide water spots
- Add visual interest with contrasting border stones
- Remember that heavily veined stones can make small spaces feel busy
Maintenance and Care Guidelines
In accordance with proper care protocols, natural stone pool surrounds require regular maintenance to preserve their beauty and functionality.
You’ll want to establish a consistent cleaning schedule that includes weekly sweeping and monthly deep cleaning to prevent buildup of pool chemicals, dirt, and debris.
To keep your stone looking its best, here’s what you’ll need to do:
- Seal your stone every 2-3 years with a high-quality penetrating sealer
- Clean spills immediately to prevent staining
- Use pH-neutral cleaners specifically designed for natural stone
- Avoid harsh chemicals, bleach, or acidic solutions
I’ve found that treating your stone surround like fine furniture pays off in the long run.
Just last summer, my travertine pool deck looked brand new after five years, thanks to proper maintenance.
Don’t forget to:
- Pressure wash gently once per year
- Check for loose stones or deteriorating grout
- Remove leaf stains promptly in fall
- Protect stone from metal furniture with proper pads
During winter months, if you’re in a freeze-thaw climate, be sure to use only non-corrosive ice melt products to protect your investment.
Installation Best Practices
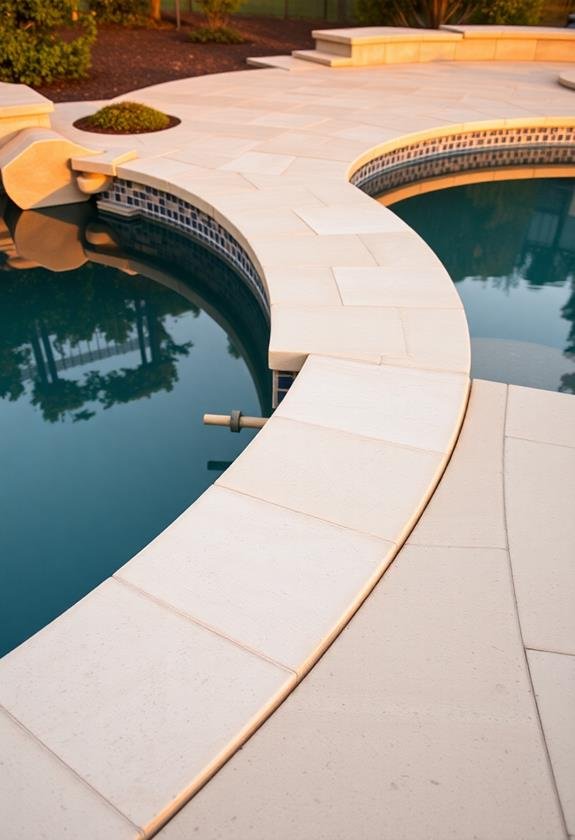
Proper installation sets the foundation for successful long-term maintenance of your natural stone pool surround. When you’re ready to begin, you’ll need to guarantee your base is perfectly level and properly compacted, as any shifting can lead to cracked stones down the line.
Trust me, I’ve seen beautiful travertine installations ruined by poor foundation work!
Here’s your essential installation checklist:
- Create a 4-6″ crushed stone base, compacted in 2″ layers
- Install drainage systems before laying stones
- Use high-quality polymeric sand between joints
- Maintain consistent 1/8″ to 1/4″ spacing between stones
- Slope the surface 1″ per 8 feet away from your pool
You’ll want to work in small sections, especially on hot days when your mortar can dry quickly.
I always tell my clients to think of it like putting together a puzzle – take your time matching pieces and patterns.
Don’t forget to seal your stones immediately after installation, but wait 48 hours before allowing foot traffic.
And here’s a pro tip: keep extra stones on hand for future repairs, as natural stone batches can vary in color and texture.
Cost Planning and Budgeting
Planning your natural stone pool surround budget requires careful contemplation of multiple cost factors.
You’ll need to account for the stone material itself, which can range from $15 to $100 per square foot, depending on whether you choose limestone, travertine, or high-end granite. I’ve found that adding a 10% buffer to your material costs helps cover unexpected needs or waste during installation.
The installation costs typically make up 40-60% of your total budget, and here’s what you’ll need to take into account:
- Base preparation: $3-8 per square foot
- Professional installation labor: $12-25 per square foot
- Cutting and fitting: $5-10 per linear foot
- Sealing and finishing: $2-4 per square foot
Don’t forget to factor in these often-overlooked expenses:
- Equipment rental
- Drainage solutions
- Lighting integration
- Permits and inspections
Pro tip: If you’re working with a tight budget, you might think about mixing materials – I’ve seen stunning designs where homeowners used premium stone in high-impact areas and more affordable options in secondary spaces.
Frequently Asked Questions
How Long Does Natural Stone Take to Heat up Around a Pool?
You’ll find that natural stone’s heating time around your pool varies based on several factors.
In direct sunlight, darker stones like slate or granite will heat up within 1-2 hours, while lighter stones like limestone take 2-3 hours.
You’ll want to be careful during peak sun hours (10am-4pm), as these stones can get quite hot – sometimes reaching 120°F!
That’s why it’s smart to contemplate lighter colors for comfort.
Can Natural Stone Pool Surrounds Affect Water Chemistry?
Yes, natural stone around your pool can affect water chemistry, particularly if you’re using limestone or other calcium-rich stones.
When rainwater or pool splash runs over these stones, they’ll slowly release minerals into your pool water, which can increase alkalinity and hardness levels.
You’ll want to test your water more frequently and might need to adjust your chemical balance more often than pools with non-reactive surrounds like concrete or slate.
Do Certain Stones Create Better Grip When Wet Than Others?
Yes, different stones offer varying levels of traction when wet.
You’ll find that textured stones like slate, quartzite, and rough-cut limestone provide excellent grip due to their naturally uneven surfaces.
If you’re looking for the safest options, go with flamed or thermal-finished granite or sandblasted travertine – they’re specifically treated to enhance slip resistance.
Avoid polished marble or smooth stones, as they’ll become dangerously slippery when wet.
What’s the Average Lifespan of Natural Stone in Pool Environments?
You’ll typically get 20-25 years from properly sealed natural stone around your pool, though that lifespan varies based on climate and maintenance.
I’ve seen well-maintained travertine last over 30 years!
Just remember, you’ll need to reseal every 3-5 years and promptly repair any cracks or chips.
Salt water pools can be a bit harder on stone, so you might need more frequent maintenance if that’s what you’ve got.
Are Natural Stone Pool Surrounds Safe for Saltwater Pools?
You’ll find that most natural stones work well with saltwater pools, but you’ll need to seal them properly.
Take my client in Florida who used travertine – it’s held up beautifully for 8 years with annual sealing.
While salt can potentially affect some stones like limestone, you can protect them with a high-quality penetrating sealer.
Just don’t use marble, as it’s too reactive with salt.
Regular maintenance and the right sealer are your best friends here.


