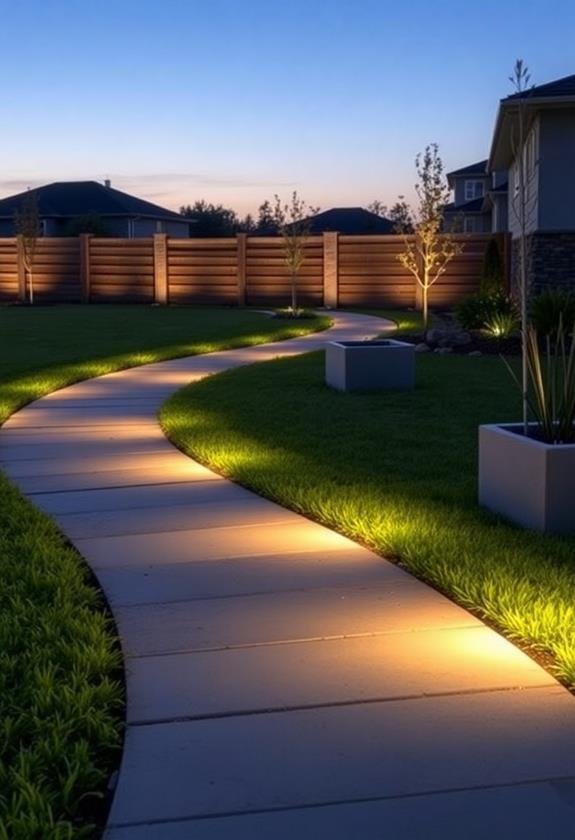
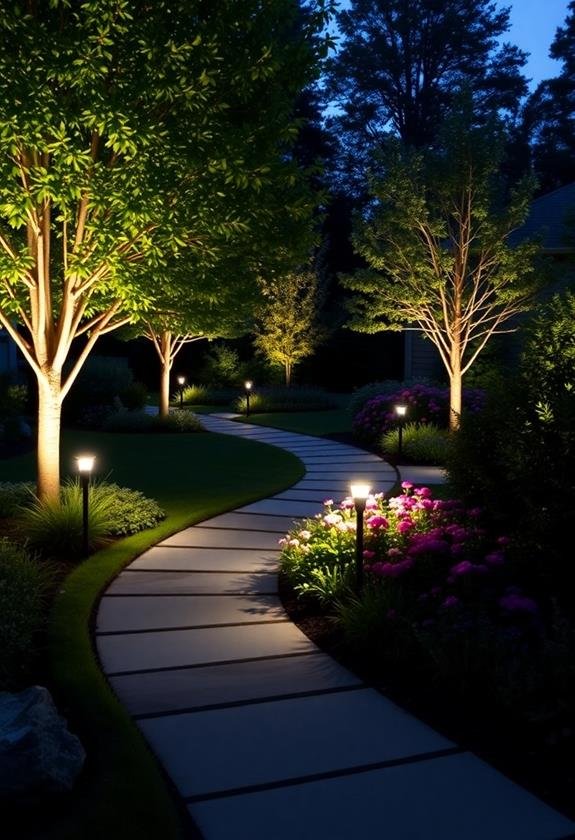
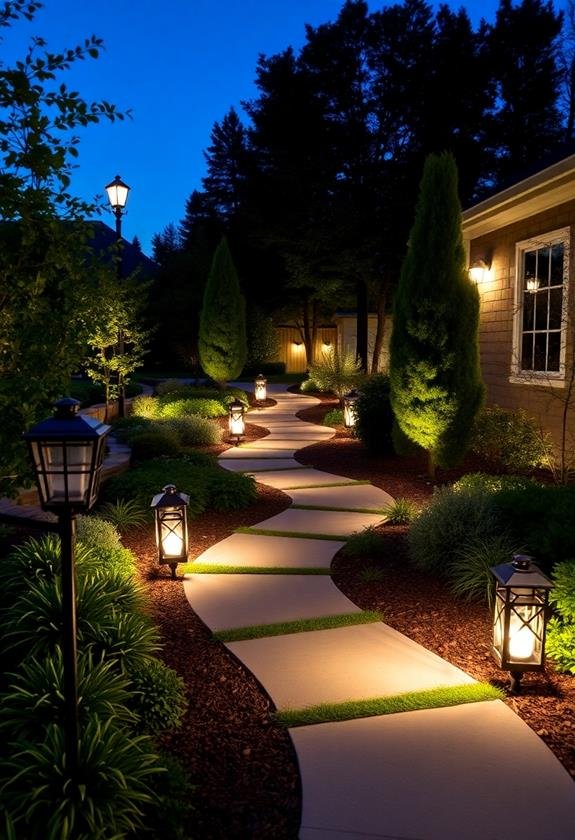
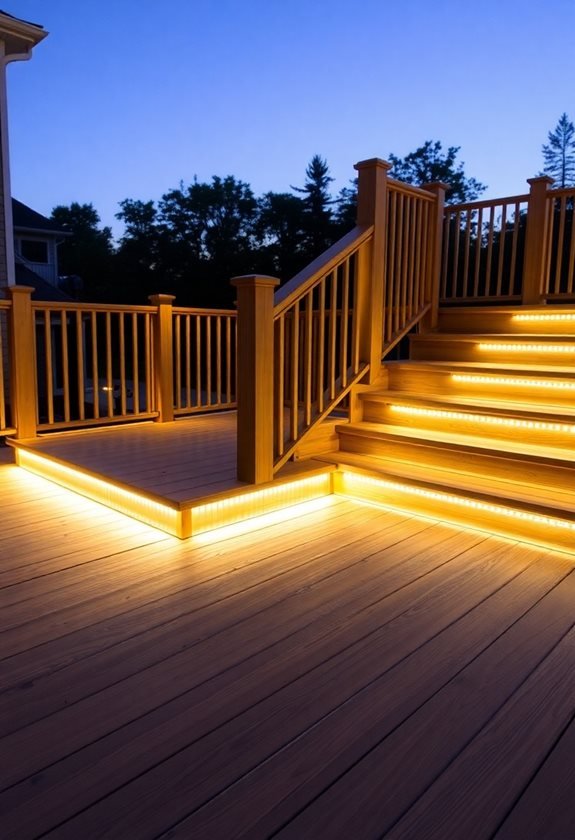
Five sophisticated path lighting options will transform your minimalist backyard into a modern oasis. Modern steel bollards offer clean industrial lines and reliable dusk-to-dawn operation, while flush-mount ground markers provide an ultra-sleek invisible presence at surface level. For a bold statement, geometric LED posts feature striking angles and smart home compatibility, and solar-powered metal stakes deliver sustainable illumination with a minimalist aesthetic. Finally, architectural glass column lights create stunning reflections, especially near water features. Whether you’re lighting a zen garden or contemporary patio, these low-maintenance fixtures blend seamlessly with your outdoor design while promising years of energy-efficient illumination. Let’s explore each option’s unique features and perfect placement strategies.
Key Takeaways
- Modern steel bollards with clean lines offer industrial elegance while providing reliable dusk-to-dawn pathway illumination.
- Flush-mount ground markers deliver ultra-sleek aesthetics with warm white LEDs that sit invisibly within walking surfaces.
- Geometric LED posts combine striking angular designs with smart home features for customizable outdoor lighting control.
- Solar-powered metal stakes present a sustainable lighting solution with minimalist profiles and warm 3000K illumination.
- Architectural glass columns create sculptural lighting elements while maintaining clean lines and energy-efficient LED technology.
Modern Steel Bollard Lights
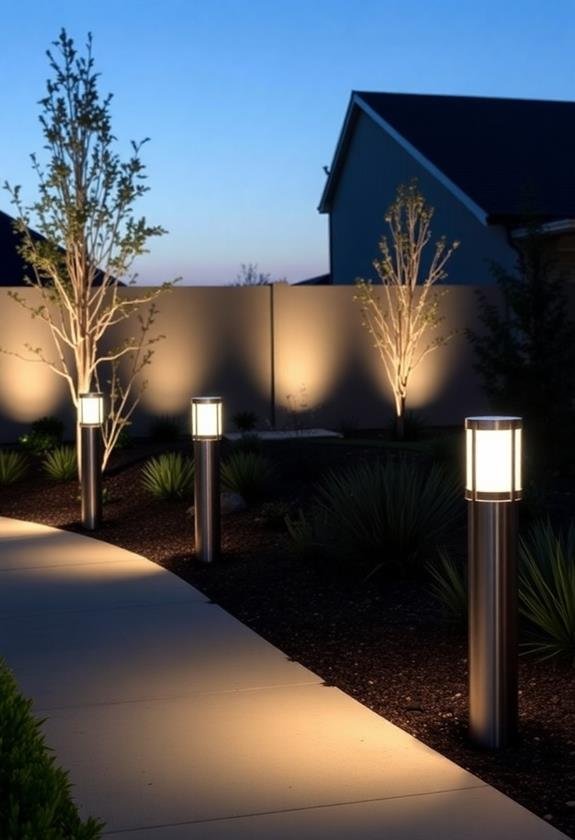
Modern steel bollard lights stand out from among traditional garden fixtures with their clean lines and industrial aesthetic. You’ll love how these sleek illuminators create defined pathways while adding a contemporary edge to your outdoor space.
I’ve installed dozens in minimalist gardens, and they’re truly game-changers for modern landscaping. Many models feature automatic dusk-to-dawn operation, simplifying the user experience and ensuring your paths are always illuminated when needed.
When you’re selecting steel bollards, you’ll want to take into account these key features:
- Height options (typically 24-36 inches)
- Light direction (360° or focused downward)
- Finish type (brushed, matte, or powder-coated)
- Energy efficiency (LED is your best bet)
Here’s a pro tip I’ve learned from experience: space your bollards about 6-8 feet apart for ideal pathway lighting. You don’t want to create an airport runway effect!
The best part about these fixtures is their versatility – they work beautifully alongside concrete pavers, gravel paths, or modern deck installations.
For maintenance, you’ll find they’re incredibly low-fuss. Just wipe them down occasionally with a damp cloth, and they’ll keep their sharp appearance for years.
I’ve had mine for five years now, and they still look as fresh as the day I installed them.
Flush-Mount Ground Markers
Along the cutting edge of minimalist lighting design, flush-mount ground markers offer an ultra-sleek alternative to traditional path lights.
You’ll love how these fixtures sit perfectly level with your walkway or patio surface, creating an almost invisible presence during daylight hours. When night falls, they transform your space with a sophisticated glow that won’t overwhelm your clean landscape design. Much like waterproof outdoor rugs, these lights are designed to withstand various weather conditions and complement your outdoor living space seamlessly.
Installation Tips:
- Choose fixtures with high-quality stainless steel or aluminum housings
- Verify proper drainage beneath each unit
- Space markers 4-6 feet apart for best lighting coverage
- Select warm white LEDs (2700-3000K) for natural ambiance
I’ve installed these in dozens of modern gardens, and here’s what you’ll appreciate most: they’re practically maintenance-free.
You won’t need to worry about hitting them with your lawnmower, and fallen leaves tend to blow right over them. The best part? They’re incredibly energy-efficient – most models use less than 3 watts per fixture.
For maximum impact, try installing them in a zigzag pattern along your path rather than straight lines. This creates subtle movement and draws the eye forward naturally, while maintaining that streamlined look you’re after.
Geometric LED Posts
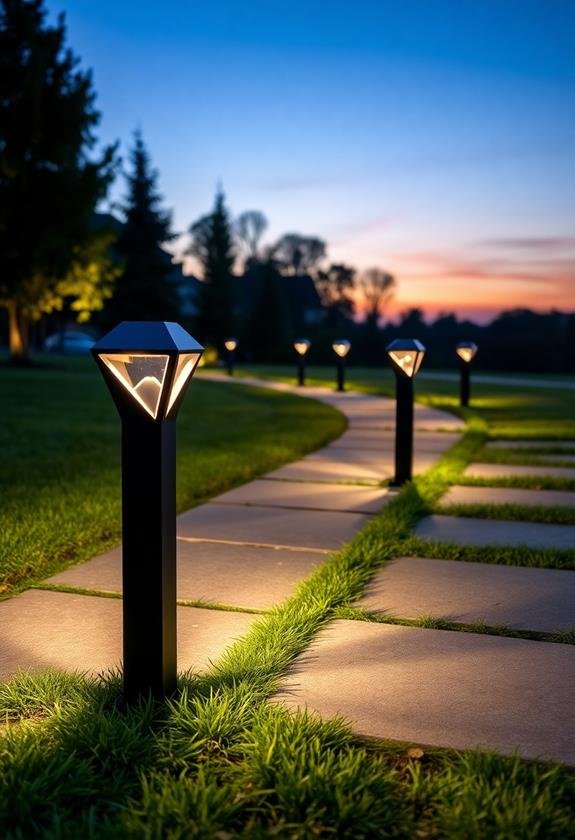
Simplicity drives the appeal of geometric LED posts, which combine sharp angles and clean lines to create striking visual elements in your garden.
You’ll find these modern fixtures in various heights and shapes, from slim rectangular columns to bold cubic designs that’ll make your outdoor space feel like a contemporary art gallery. These sleek fixtures often feature adjustable brightness levels and RGB lighting options, allowing you to customize the ambiance of your outdoor space.
When you’re selecting geometric LED posts, consider these key features:
- Adjustable light intensity
- Color temperature options (3000K warm white is ideal)
- Weather-resistant materials
- Smart home compatibility
I’ve installed several geometric posts in my own minimalist landscape, and I’ve learned that spacing them 8-10 feet apart creates the perfect balance of illumination and aesthetic impact.
You’ll want to position them slightly off-center from your path’s edge – it’s a designer’s trick that adds depth and interest to your lighting scheme.
For maintenance, you’ll appreciate how these fixtures rarely need more than an occasional wipe-down. Their sealed construction keeps out moisture and debris, while their energy-efficient LEDs can last up to 50,000 hours.
That’s nearly six years of continuous illumination, though you’ll likely use them just 4-6 hours each evening.
Solar-Powered Metal Stakes
Solar-powered metal stakes offer a sustainable alternative to hardwired LED posts while maintaining that coveted minimalist aesthetic.
You’ll love how these sleek fixtures disappear into your landscape during the day, only to create stunning light patterns once the sun sets.
When you’re choosing solar stakes for your path, consider these key features:
- Height options (12-24 inches work best for most paths)
- Metal finish (brushed steel and matte black are trending)
- Light color temperature (3000K creates a warm, welcoming glow)
I’ve installed dozens of these in my own garden, and here’s what I’ve learned: You’ll want to position them about 4-6 feet apart for ideal lighting coverage.
Pro tip: Before permanent installation, try placing them temporarily for a few nights to test the light distribution – you’d be surprised how many times I’ve had to adjust their spacing!
The best part? There’s no complicated wiring to deal with.
Just make sure your stakes receive 6-8 hours of direct sunlight daily, and they’ll illuminate your path for up to 8 hours each night.
Trust me, your utility bill will thank you!
Architectural Glass Column Lights
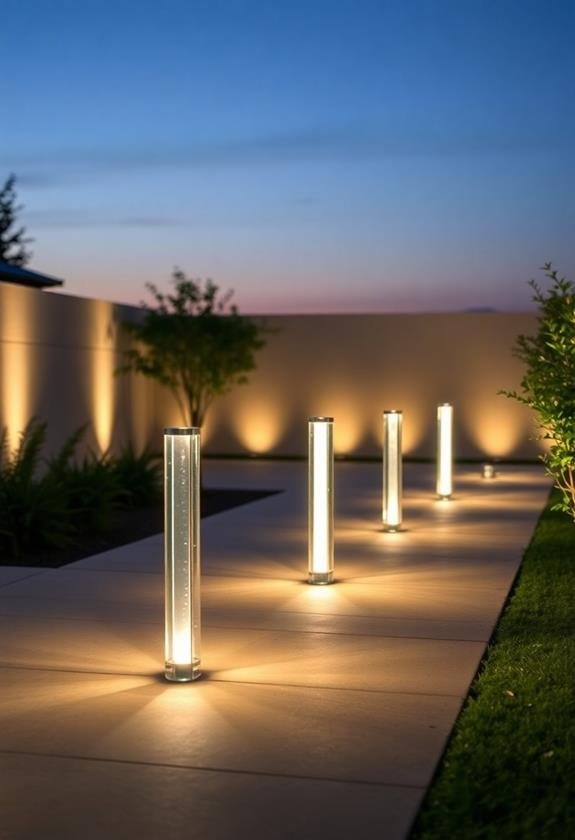
Modern minimalism’s perfect companion, architectural glass column lights blend seamlessly with contemporary outdoor spaces while making a bold design statement.
You’ll love how these striking fixtures transform your garden paths into gallery-worthy installations, especially during evening hours when they cast their ethereal glow.
Key Features:
- Tempered glass construction that’s weather-resistant
- LED technology for energy efficiency
- Heights ranging from 24″ to 48″
- Clean lines and geometric shapes
- Frosted or clear glass options
I’ve installed these beauties in dozens of gardens, and here’s what you’ll need to take into account:
Installation Tips:
- Space columns 8-10 feet apart for ideal lighting
- Choose a consistent height series for visual harmony
- Install near architectural features for maximum impact
- Think about uplighting surrounding plants for depth
You’ll find that glass column lights work particularly well near water features, where they’ll create stunning reflections.
They’re not just lights – they’re sculptural elements that’ll define your space.
While they’re pricier than standard path lights, you’re investing in both illumination and art.
Trust me, your neighbors will definitely want to know where you got them!
Frequently Asked Questions
How Long Do LED Garden Path Lights Typically Last Before Needing Replacement?
Did you know that quality LED garden lights can illuminate your paths for an impressive 50,000 hours?
That’s about 11 years of nighttime use! You’ll typically get 5-7 years from well-made LED path lights when they’re running 8 hours daily, though cheaper models might only last 2-3 years.
To maximize lifespan, you’ll want to protect them from moisture, clean them regularly, and guarantee they’re not overheating.
I’ve had mine going strong for 6 years now.
Can Garden Path Lights Be Safely Installed Near Swimming Pools?
Yes, you can install garden path lights near pools, but you’ll need to follow specific safety guidelines.
Make certain you choose fixtures that are UL-listed for wet locations and rated for outdoor use with a proper IP65 or higher waterproof rating.
Keep electrical connections at least 5 feet from the pool’s edge, and always use GFCI-protected circuits.
I’d recommend working with a licensed electrician to guarantee everything’s up to local safety codes.
What Is the Average Cost to Professionally Install Pathway Lighting?
Like stars illuminating your pathway, professional landscape lighting installation typically costs between $2,000 to $4,500 for a medium-sized project.
You’ll find that individual lights run $100-300 each, while labor costs about $350-500 per fixture.
Remember, you’re not just paying for installation – you’re investing in expertise that guarantees proper wiring, weatherproofing, and ideal light placement.
Don’t forget to factor in potential trenching costs and transformer installation.
Do Motion Sensors Work Effectively With Minimalist Garden Path Lights?
Yes, motion sensors work great with garden path lights!
You’ll find they’re especially effective when you integrate them with LED fixtures, which respond instantly to movement. While they can add about 20-30% to your initial costs, you’ll save on energy bills in the long run.
Just be sure to position the sensors strategically – I’ve learned that placing them 4-6 feet high and angling them slightly downward works best for catching movement while avoiding false triggers.
How Far Apart Should Path Lights Be Placed for Optimal Lighting Coverage?
You’ll want to space your path lights 6-8 feet apart for the best coverage, though I’ve found that adjusting this based on your path’s width makes a difference.
For wider paths, you might need to go closer to 5 feet, while narrower paths can handle up to 10 feet between lights.
Don’t forget to take into account your lights’ brightness levels – I learned that higher lumens let you space them further apart!

