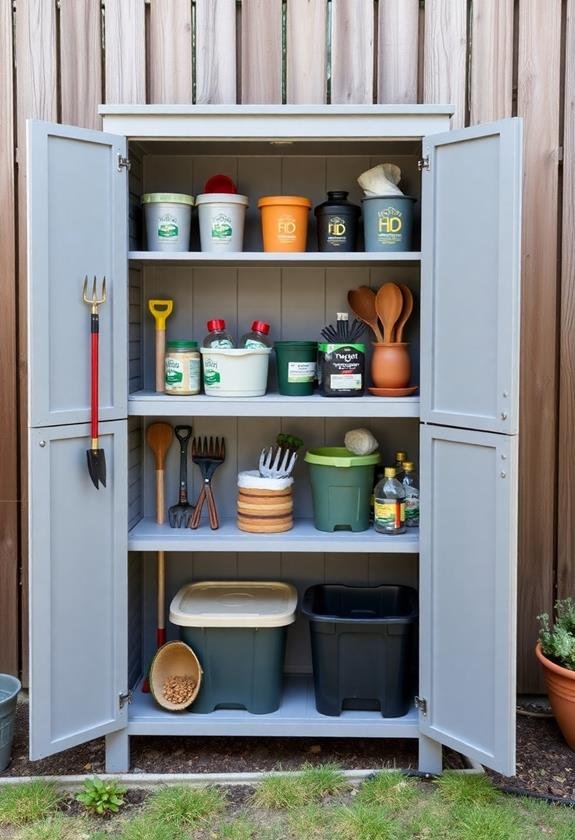
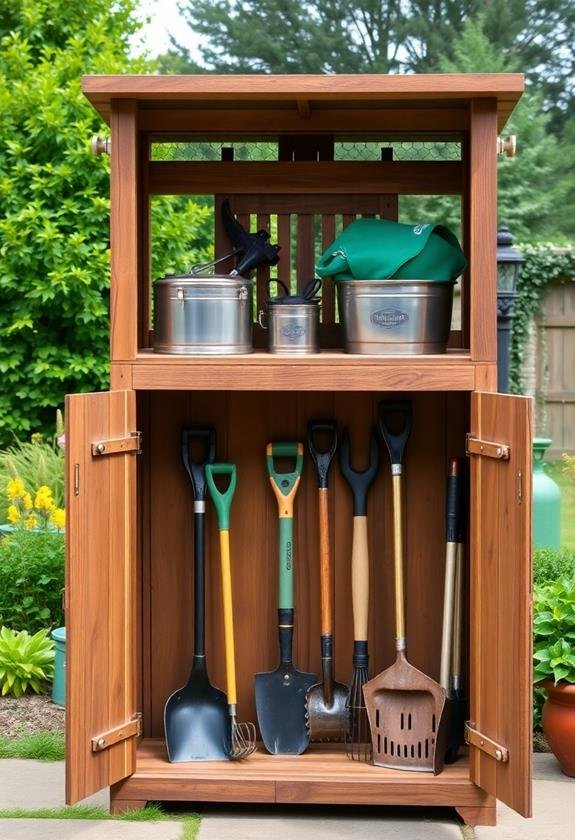
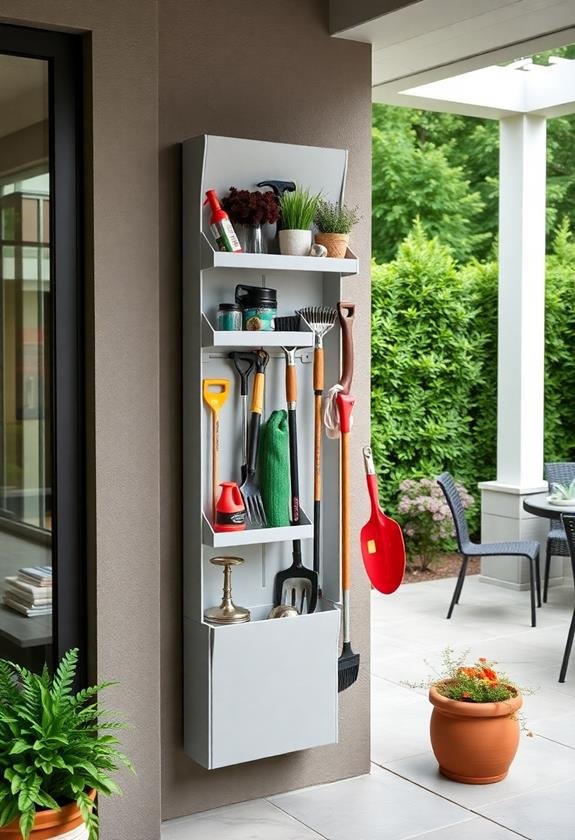
Building your perfect outdoor storage cabinet starts with smart planning and the right materials. You’ll want to choose weather-resistant lumber like cedar or pressure-treated wood, and plan for dimensions that fit your space (typically 6-7 feet tall, 4-5 feet wide). Add a sloped roof and raised platform to prevent water damage, and use galvanized hardware that won’t rust. Install adjustable shelving tracks for flexibility, and don’t forget to seal every surface with exterior-grade protectant. For best results, add 20% extra space for future items and incorporate pull-out drawers for easy access. With proper weather protection and organization, your outdoor cabinet will serve you well for years – and there’s so much more to discover about customizing it perfectly.
Key Takeaways
- Choose weather-resistant materials like pressure-treated lumber or marine-grade plywood, ensuring protection against moisture and UV damage.
- Build a sturdy frame with recommended dimensions of 6-7 feet height, 4-5 feet width, and 2-3 feet depth.
- Install adjustable shelving tracks with brackets to customize shelf heights and maximize vertical storage space.
- Apply multiple coats of exterior wood sealer and add weatherstripping around doors to protect contents from moisture.
- Elevate the cabinet on adjustable feet and include a sloped roof design to prevent water accumulation.
Planning Your Cabinet Design
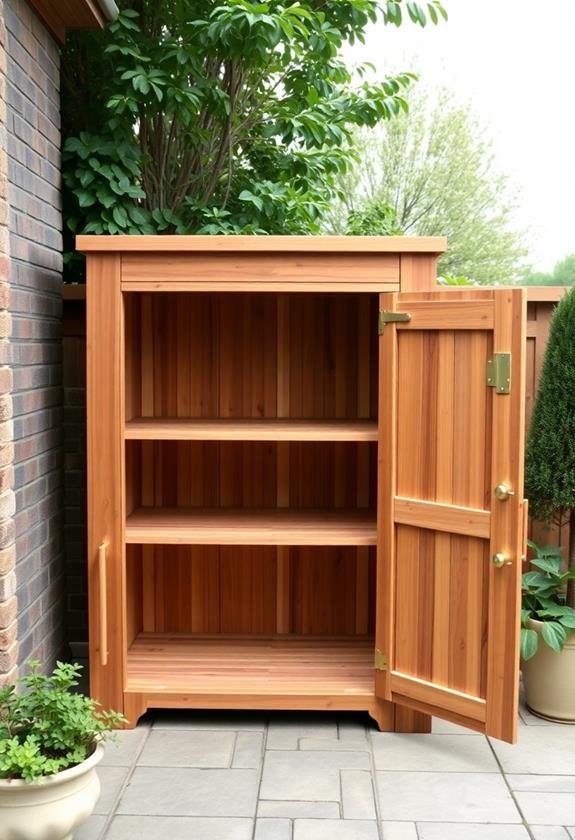
Three key factors drive a successful outdoor storage cabinet design: size requirements, weather protection, and material selection.
Before you grab your tools, let’s break down the planning process to guarantee you’ll create a cabinet that’s both functional and durable.
First, measure your space and make a list of everything you’ll store. I learned this the hard way when I built my first cabinet too small for my garden tools!
You’ll want to add about 20% extra space for future items. Typical dimensions might be:
- Height: 6-7 feet
- Width: 4-5 feet
- Depth: 2-3 feet
Next, consider your climate. If you’re in a rainy area like I am, you’ll need proper drainage, sloped roofing, and weather stripping around the doors.
For sunny spots, UV-resistant materials are essential. When choosing materials, consider options that offer all-weather durability to guarantee your cabinet withstands various weather conditions throughout the year.
For materials, you’ve got options:
- Pressure-treated lumber (most affordable)
- Cedar or redwood (naturally weather-resistant)
- Marine-grade plywood (excellent durability)
- Composite materials (maintenance-free but pricey)
Don’t forget to sketch your design on paper, including shelf heights and door configurations.
Trust me, this step saves headaches later!
Gathering Tools and Materials
With your cabinet design finalized, it’s time to round up everything you’ll need for the build.
Let’s start with tools: you’ll want a circular saw or table saw, drill with various bits, measuring tape, level, pencil, and safety gear including goggles and work gloves. Trust me, those goggles have saved my eyes more than once!
For peak weather resistance, consider using multi-wall plastic materials or treated lumber that can withstand various outdoor conditions. This will help guarantee your cabinet stays in good shape for years to come.
Essential materials:
- Weather-resistant lumber (I prefer cedar or treated pine)
- Exterior-grade plywood for shelving
- Galvanized or stainless steel hinges
- Waterproof wood screws and nails
- Exterior-grade wood sealant or paint
- Door handles and latches
- Weather stripping
- Heavy-duty brackets for shelving
Pro tip: I always grab about 15% more materials than I think I’ll need – you’d be surprised how often a board has an unexpected knot or split that makes it unusable.
Also, don’t forget to pick up some exterior-grade caulk to seal any gaps. When I built my first outdoor cabinet, I skipped this step and learned the hard way when my gardening supplies got soaked during a spring storm!
Cutting and Assembly Steps
Precision marks the difference between a wobbly storage unit and a professional-grade cabinet. When I built my first outdoor cabinet, I learned that careful measuring and cutting can save hours of frustration later.
You’ll want to lay out all your pre-cut pieces on a flat surface, double-checking measurements before making any cuts. Consider incorporating versatile storage solutions that can adapt to your changing gardening needs, such as adjustable shelves or modular components.
Start with these essential assembly steps, which I’ve refined over dozens of builds:
- Cut your plywood sheets first, using a circular saw with a straight edge guide – you’ll get cleaner cuts than with a table saw for large pieces.
- Pre-drill all your screw holes, especially near edges where wood might split (I learned this the hard way when my first cabinet cracked).
- Assemble the frame first, making sure it’s square by measuring diagonally from corner to corner.
- Add the back panel before attaching the sides, which helps maintain the cabinet’s rigidity.
Remember to apply weatherproof wood glue at each joint before screwing pieces together.
You’ll want to work in a shaded area, as direct sunlight can cause your wood glue to dry too quickly. Trust me, I’ve had joints fail because I rushed this step.
Weather Protection Techniques
Effective weather protection makes the difference between a cabinet that lasts decades and one that rots within months.
You’ll want to start with a quality exterior wood sealer, and I’ve found that applying at least two coats gives the best results. Trust me, I learned this the hard way when my first outdoor cabinet didn’t make it through a rainy season!
For maximum protection, you’ll need to:
- Apply water-resistant caulk along all seams
- Install rubber weatherstripping around the doors
- Add a sloped top cap to prevent water pooling
- Use stainless steel or brass hardware to prevent rusting
I recommend treating the wood with a copper-based preservative before sealing – it’s saved my projects from both insects and rot.
Don’t forget to raise the cabinet off the ground using adjustable feet or a platform. You’ll want at least 2 inches of clearance to prevent moisture wicking up from the ground.
For exposed areas, consider adding drip edges or metal flashing. I like to use marine-grade varnish for extra protection, especially if you’re in a high-rainfall area.
Remember to reapply your protective coatings annually – it’s much easier than building a new cabinet!
Smart Storage Solutions
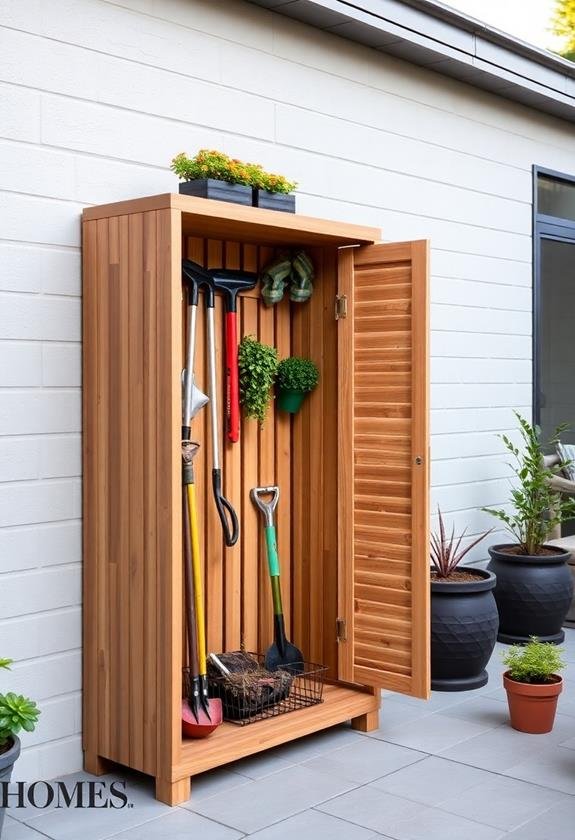
Creating smart storage solutions starts with maximizing every inch of your outdoor cabinet‘s space.
You’ll want to think vertically and horizontally, just like I learned when reorganizing my own garden storage last spring. With careful planning, you can transform a basic cabinet into an organizational masterpiece that’ll make your neighbors envious.
Let’s explore four game-changing storage strategies that’ll revolutionize your outdoor cabinet:
- Install adjustable shelving tracks on both sides of the cabinet, allowing you to modify shelf heights as your storage needs change throughout the seasons.
- Add door-mounted organizers for smaller items like garden gloves, pruning shears, and seed packets – they’re perfect for those items you’ll need quick access to.
- Incorporate pull-out drawers or bins on slides, which make it easier to reach items stored in the back (trust me, you don’t want to be digging around blindly!)
- Use clear, weatherproof containers with labels to group similar items together, making it simple to find what you need when you’re in a hurry.
You’ll find that these solutions not only maximize space but also help maintain order throughout the busy gardening season.
Frequently Asked Questions
How Long Will an Outdoor Storage Cabinet Typically Last Before Needing Replacement?
Did you know that a well-built outdoor storage cabinet can last 10-15 years on average?
You’ll get the longest life from your cabinet if you choose weather-resistant materials like cedar, treated pine, or marine-grade plywood.
To maximize durability, you’ll want to seal it annually, keep it elevated off the ground, and guarantee proper drainage.
With regular maintenance and protection from direct elements, you can extend its lifespan even beyond 15 years.
Can I Attach the Cabinet Directly to My House’s Exterior Wall?
Yes, you can attach your storage cabinet to an exterior wall, but you’ll need to take some important precautions.
First, verify you’re anchoring into studs, not just siding, using appropriate lag bolts or masonry anchors.
You’ll also want to add flashing above the cabinet and leave a small gap between the wall and cabinet for airflow to prevent moisture damage.
Check your local building codes first, as some areas require permits.
What’s the Maximum Weight Capacity Each Shelf Can Safely Hold?
For standard DIY outdoor shelving, you’ll want to limit each shelf to around 50-75 pounds, depending on your construction method.
If you’re using 3/4-inch plywood with proper support brackets every 24 inches, you can safely hold up to 75 pounds per shelf.
I’ve learned from experience that it’s best to distribute weight evenly and keep heavier items on bottom shelves.
You’ll sleep better knowing you’re well within safe limits!
Will Extreme Temperature Changes Cause the Cabinet Doors to Warp?
Yes, temperature changes can affect your cabinet doors, but you can prevent warping with a few smart moves.
I’d recommend using weather-resistant materials like cedar or treated plywood, which I’ve found hold up beautifully through seasonal shifts.
You’ll also want to apply a quality sealant and guarantee proper ventilation.
In my experience, adding rubber weatherstripping around the door frames helps maintain stability and prevents moisture-related warping.
Should I Elevate the Cabinet off the Ground for Better Drainage?
Did you know that just 1 inch of rainfall on a 10×10 foot area produces 62 gallons of water?
That’s why you’ll definitely want to elevate your cabinet 4-6 inches off the ground. You can use pressure-treated lumber blocks, concrete pavers, or adjustable deck supports.
I’ve learned from experience that direct ground contact leads to rot and mold – even with treated wood. Plus, you’ll get better airflow underneath to keep things dry.

