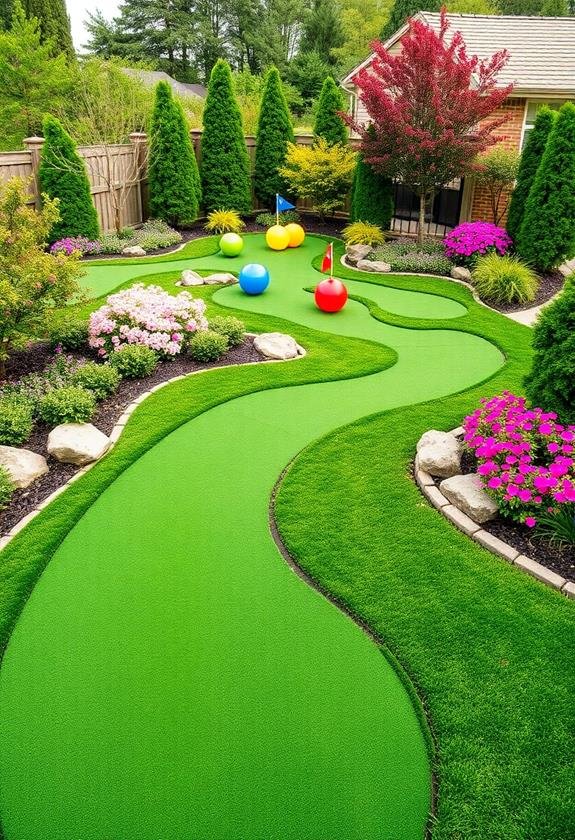
Transform your backyard into a mini golf paradise with a DIY course! Start by planning your layout, considering sun exposure and terrain. Gather materials like lumber, artificial turf, and PVC pipes. Build sturdy base structures, then get creative with obstacles – think tunnels, ramps, and even a windmill! Create smooth putting surfaces using artificial turf or low-maintenance grass alternatives. Install borders for a polished look, and add fun decorative elements that match your theme. Don’t forget to maintain your course regularly to keep it in top shape. With a bit of imagination and elbow grease, you’ll have a unique backyard attraction that’ll be the talk of the neighborhood. The possibilities for customization are endless!
Key Takeaways
- Plan your course layout by sketching ideas, determining hole count and length, and incorporating obstacles.
- Gather essential materials like lumber, artificial turf, and PVC pipes, along with tools such as shovels and drills.
- Build base structures by excavating, filling with gravel and sand, and framing holes with pressure-treated lumber.
- Design creative obstacles and hazards, including tunnels, bridges, ramps, and whimsical elements like windmills.
- Install putting surfaces using artificial turf or real grass, ensuring they’re smooth and free of bumps.
Planning Your Course Layout
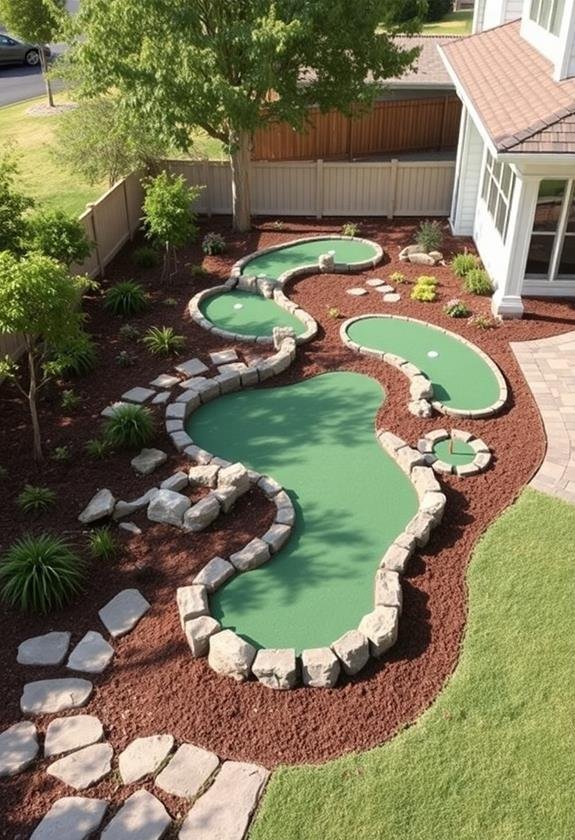
Your backyard’s layout is the foundation for a great mini golf course. Start by walking your yard, noting sunny spots, shady areas, and any terrain changes.
Consider incorporating decorative garden edging to define your course boundaries and add visual interest. These elements can serve both functional and aesthetic purposes, enhancing the overall design. I remember when I first planned my course, I was surprised by how many unique features I’d overlooked!
Next, sketch out your ideas on paper. Consider these key elements:
- Number of holes: Aim for 9 to 18, depending on space.
- Hole length: Vary from 10 to 30 feet for diversity.
- Obstacles: Incorporate natural elements like trees or rocks.
- Theme: Choose a cohesive design, like “Tropical Paradise” or “Miniature World Wonders.”
When planning, remember:
- Leave room for paths between holes
- Guarantee proper drainage to avoid puddles
- Consider visibility from your house for supervision
Pro tip: Use garden hoses to outline your course on the ground. This allows you to visualize and adjust before committing.
I’ve found this trick invaluable for tweaking layouts.
Gathering Materials and Tools
Once you’ve planned your course layout, what’s the next step? It’s time to gather your materials and tools!
As a DIY enthusiast who’s built a few mini-golf courses in my day, I can tell you that having everything on hand before you start is essential. When selecting materials, consider eco-friendly options like recycled plastics or reclaimed wood for a more sustainable project.
Here’s what you’ll need:
- Construction materials:
- Lumber for borders (I prefer pressure-treated wood)
- Artificial turf or outdoor carpet
- PVC pipes for obstacles
- Landscape fabric to prevent weeds
- Tools:
- Shovel and rake
- Circular saw or handsaw
- Drill with various bits
- Level and measuring tape
- Extras:
- Golf balls and putters
- Paint for decorating obstacles
- Lighting (solar-powered is great!)
Don’t forget to grab some sunscreen and a floppy hat – you’ll be spending quite a bit of time outdoors!
I once forgot and ended up looking like a lobster. Trust me, it’s not a good look for your backyard golf debut.
Building the Base Structures
The foundation of your mini-golf course begins with building solid base structures. You’ll want to create a level playing surface that can withstand foot traffic and weather conditions. Start by clearing the area and marking out your course’s layout.
Then, excavate about 4 inches of soil for each hole, ensuring proper drainage. Fill the excavated areas with a layer of gravel, followed by compacted sand. This base will provide stability and prevent shifting over time. Consider incorporating weather-resistant materials like those used in outdoor storage benches to enhance durability and longevity of your course elements.
Next, frame your holes using pressure-treated lumber or composite decking boards. These materials are durable and resistant to rot, perfect for outdoor use. Remember to create slight slopes and contours for added challenge and interest.
As you build, keep these points in mind:
- Imagine sinking that perfect putt on your very own course!
- Picture friends and family laughing as they navigate tricky obstacles
- Envision lazy summer evenings spent perfecting your short game
- Think of the pride you’ll feel showing off your handcrafted creation
- Consider the endless possibilities for customization and expansion
As you work, don’t forget to periodically step back and assess your progress. I once built a course where the first hole was accidentally sloped backwards – talk about a challenging start!
Designing Obstacles and Hazards
Crafting obstacles and hazards is where your mini-golf course truly comes to life. This is your chance to let your creativity shine and make each hole unique and challenging.
When I built my backyard course, I found that a mix of natural and whimsical elements worked best.
Start by incorporating these classic mini-golf features:
- Tunnels and bridges
- Ramps and slopes
- Water hazards (use shallow trays for easy maintenance)
- Sand traps (kitty litter works great!)
Don’t be afraid to think outside the box. I once created a “windmill” hazard using an old box fan and some cardboard – it was a hit!
Here are some more ideas to spark your imagination:
- Use garden gnomes as obstacles
- Create a maze with paver stones
- Build a loop-de-loop with PVC pipe
- Add a “wishing well” target
Creating Putting Surfaces
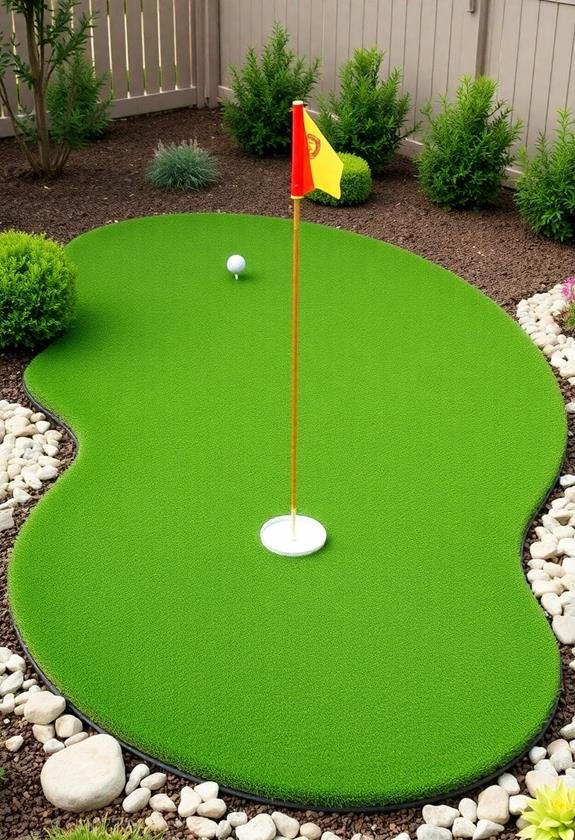
When it comes to creating putting surfaces for your DIY mini-golf course, you’ll need to strike a balance between playability and durability. I’ve learned from experience that artificial turf is often the best choice for backyard courses. It’s low-maintenance, weather-resistant, and provides a consistent roll.
Start by leveling the ground, then lay a base of crushed stone or sand before installing the turf. For a more natural look, you can use real grass, but be prepared for more upkeep. I once tried using a mix of clover and creeping thyme, which looked beautiful but required frequent mowing.
Whatever surface you choose, make sure it’s smooth and free of bumps or dips.
Here are some emotions you might experience while creating your putting surfaces:
- Excitement as you envision the finished course
- Frustration when leveling proves challenging
- Pride in your craftsmanship as the surface takes shape
- Anticipation of future family gatherings and friendly competitions
- Joy when you sink your first putt on your homemade green
Installing Borders and Edging
Elevate your DIY mini-golf course by installing borders and edging. This step not only defines your course’s boundaries but also adds a professional touch to your backyard masterpiece.
Trust me, I’ve learned the hard way that skipping this can lead to some seriously wonky putts!
To get started, you’ll need:
- Landscape edging materials (e.g., plastic, metal, or wood)
- Garden stakes or spikes
- A rubber mallet
- A shovel or edging tool
Here’s how to install your borders:
- Mark your course boundaries with spray paint or string.
- Dig a shallow trench along the marked lines.
- Place your edging material in the trench, ensuring it’s level.
- Secure the edging with stakes or spikes every few feet.
- Backfill with soil and tamp down to stabilize.
Pro tip: Consider using flexible edging for curved areas – it’ll save you a headache and make those tricky corners look smooth as butter.
Adding Decorative Elements
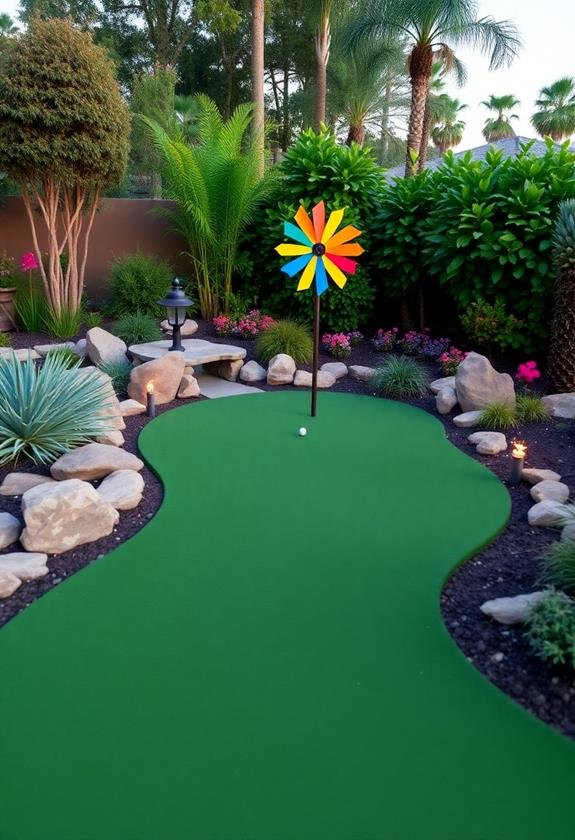
With your course layout in place, it’s time to plunge into adding decorative elements. This is where your mini golf course really comes to life! I remember how excited I was when I reached this stage in my own backyard project.
You’ll want to choose items that fit your overall theme and create a fun, whimsical atmosphere.
Consider these decorative elements to add charm and challenge:
- Colorful flower beds to frame each hole
- Quirky obstacles like windmills or tunnels
- Strategically placed rocks or driftwood
- Miniature water features or ponds
- Novelty flags or creative hole markers
Start by sketching out your ideas for each hole. Don’t be afraid to get creative – the quirkier, the better! For my course, I repurposed old garden gnomes as obstacles, and they’re always a hit with guests.
Remember to keep safety in mind, especially if you have young children playing. Secure any large items and avoid sharp edges.
As you add your decorations, step back occasionally to assess the overall look. You want each hole to be unique but still fit cohesively with the entire course.
Have fun with it, and don’t hesitate to make adjustments as you go along.
Maintaining Your Mini Golf Course
Now that you’ve created your dream backyard mini golf course, it’s time to think about keeping it in top shape. Regular maintenance is key to ensuring your course remains playable and visually appealing for years to come. Trust me, I’ve learned this the hard way!
Here are some essential maintenance tasks:
- Mowing and trimming: Keep the grass short and even, just like a real golf course. I recommend mowing twice a week during peak growing season.
- Weed control: Pesky dandelions can ruin your putting surface. Apply an eco-friendly weed killer or pull them by hand.
- Obstacle upkeep: Check your obstacles regularly for wear and tear. Touch up paint, tighten screws, and replace any damaged parts.
- Drainage management: After heavy rain, inspect for water pooling. You might need to add more drainage or adjust the slope of certain areas.
- Winter preparation: In colder climates, store portable obstacles indoors and cover permanent features to protect them from harsh weather.
Frequently Asked Questions
How Long Does It Typically Take to Complete a DIY Mini Golf Course?
You’re in for a fun project! The time to complete a DIY mini golf course can vary greatly, depending on your design’s complexity and the number of holes.
For a basic 9-hole course, you might spend a weekend or two. More elaborate setups could take several weeks of dedicated work.
Remember, it’s not just about construction – you’ll need time for planning, gathering materials, and perfecting those tricky obstacles.
Don’t rush it; half the fun is in the creative process!
Can I Build a Mini Golf Course on Uneven Terrain?
You can absolutely build a mini golf course on uneven terrain! In fact, it’ll add an exciting challenge to your game.
Start by leveling the tee-off areas and putting greens, but embrace the natural contours for fairways. Use retaining walls or terracing to manage steep slopes.
I’ve seen some creative courses that incorporate hills as fun obstacles. Just remember to guarantee proper drainage to prevent water pooling.
With a bit of creativity and planning, your uneven terrain can become a unique, thrilling mini golf adventure!
What’s the Average Cost to Build a Backyard Mini Golf Course?
Ready to tee off in your own backyard? The cost of building a mini golf course can be as varied as the greens themselves!
On average, you’re looking at $500 to $5,000, depending on your ambitions. I’ve seen DIY enthusiasts create simple 3-hole courses for under $1,000, while more elaborate setups with water features and lighting can stretch your budget.
Your biggest expenses will likely be materials like artificial turf, obstacles, and landscaping. Remember, creativity can often trump costly additions!
Are There Any Legal Considerations or Permits Required for Building a Course?
You’ll want to check with your local zoning office before swinging into action on your backyard mini golf course.
While many areas don’t require permits for small personal projects, some might’ve regulations about landscaping changes or structures. It’s always better to be safe than sorry!
I learned this the hard way when I built a treehouse without checking first. Trust me, a quick call can save you headaches down the line.
Don’t forget to take into account noise levels and lighting if you’re planning evening putt-putt sessions!
How Many Holes Should I Include in My Backyard Mini Golf Course?
When it comes to your backyard mini golf course, you’ve got options!
I’d recommend starting with 6 to 9 holes. This range is perfect for most spaces and keeps the game fun without being overwhelming. Remember, you can always expand later!
I built a 7-hole course in my yard, and it’s been a hit with family and friends.
Consider your available space, budget, and the time you’re willing to invest in maintenance.
Whatever you choose, you’ll have a blast creating your own putting paradise!

