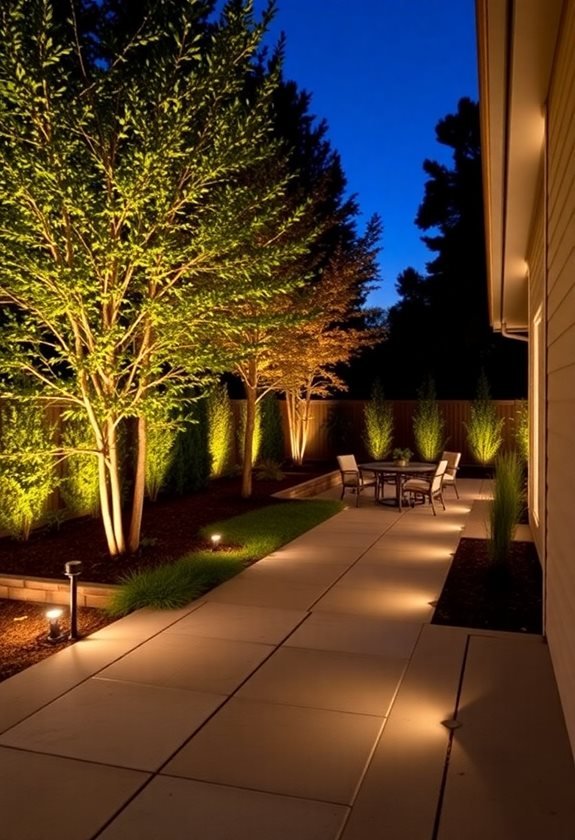
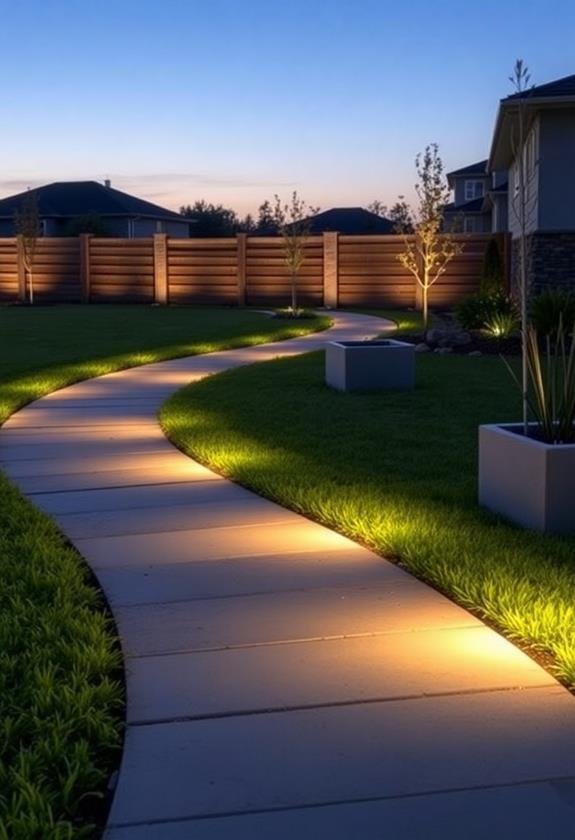
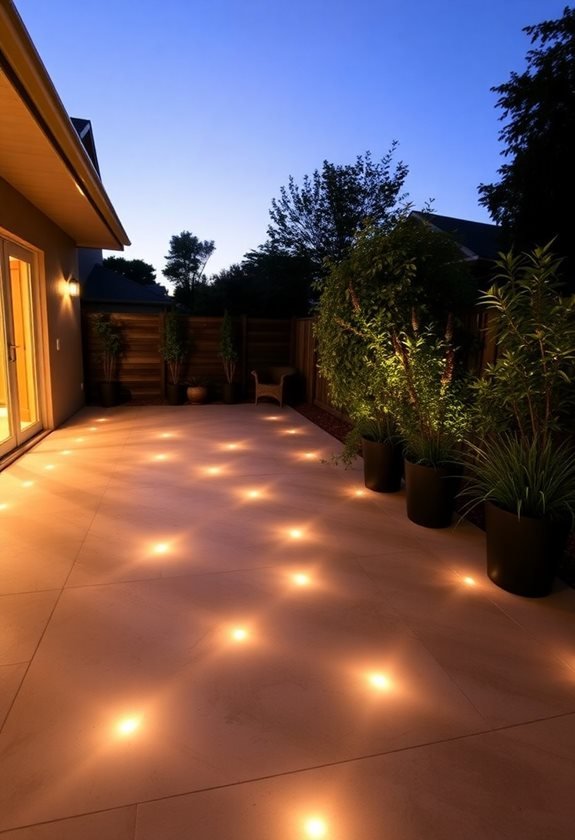
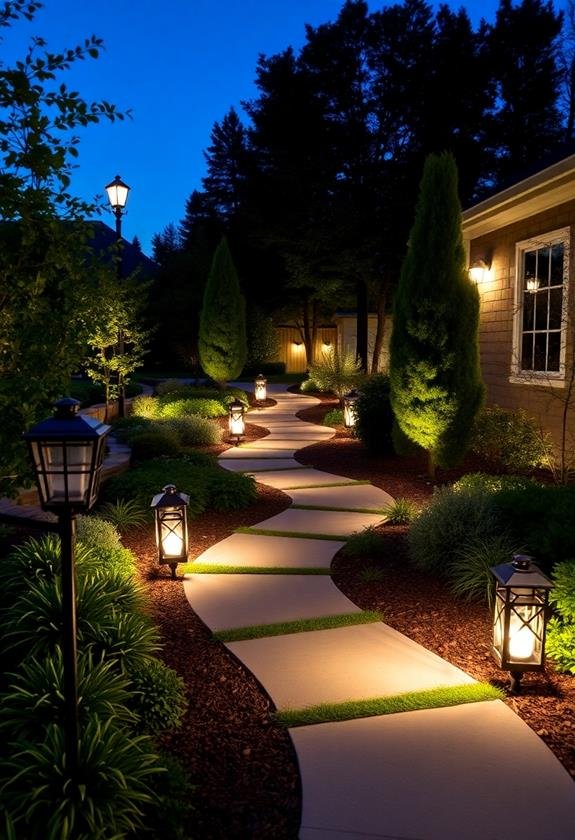
We’ll help you change your backyard lighting in minutes with today’s smart technology. Start by mapping your outdoor space and identifying key areas that need illumination – pathways, entertainment zones, and security spots. Using a central hub like Rachio, you can easily program different lighting zones through your smartphone, setting schedules for sunset-to-sunrise operation and customizing light intensity (1,200-2,400 lumens for driveways, 150 lumens for walkways). Connect everything to your smart home system for voice control, and create specific scenes for different occasions. The right planning now will open up endless possibilities for your outdoor paradise.
Key Takeaways
- Download a smart lighting app like Kichler Connects and connect your outdoor fixtures to establish instant smartphone control.
- Create distinct lighting zones for pathways, accent features, and security areas using your system’s mapping interface.
- Set automated schedules for sunset-to-sunrise operation and configure motion sensors for energy-efficient security lighting.
- Program custom lighting scenes with appropriate lumens: 150 for walkways, 300-700 for security, and dimmer settings for ambiance.
- Configure voice commands through smart home integration for hands-free control of your outdoor lighting system.
Getting Started With Smart Controls
Modern smart lighting controls convert ordinary backyard spaces into mechanized, energy-efficient environments.
We’ve found that getting started with smart controls is easier than you might think, especially with today’s user-friendly apps and voice-activated systems. Our favorite approach is to begin with a central hub, like Rachio, which lets us manage multiple lighting zones from our smartphones. Lumary’s smart technology makes customization effortless through intuitive controls.
Let’s break down your smart control options. First, you’ll want to decide between app-based control or voice commands – we use both in our yard since they’re wonderfully convenient for different situations.
Motion sensors are another revolutionary aspect; we’ve installed them along our pathways, and they automatically light up the way when someone walks by. If you’re working with existing outdoor lighting, don’t worry! Smart transformers can upgrade your current setup without replacing all your fixtures.
For DIY enthusiasts like us, Arduino-based solutions offer endless customization possibilities. However, if you’re not technically inclined, simple smart plugs are an excellent starting point.
They’ll alter your traditional transformer into a smart one, letting you schedule your lights and control them remotely – we’ve even set ours to mimic occupancy while we’re away.
Essential Tools for Lighting Installation
Once you’ve planned your smart lighting setup, gathering the right tools makes installation straightforward and safe.
We’ve learned through countless installations that having the right equipment not only speeds up the process but helps avoid common pitfalls that can lead to frustration later.
Let’s start with the basics: you’ll need quality wire strippers, a reliable screwdriver set, and a drill for mounting.
We can’t stress enough how important good wire strippers are – they’re the workhorses of any lighting project!
When we’re working outdoors, we always grab our waterproof wire connectors and direct burial wire, which have saved us from many headaches during rainy seasons.
For outdoor work, we’ve found that a sturdy trenching tool and flat-blade shovel are essential for creating clean cable paths. Calling utility companies first ensures you won’t accidentally damage underground lines while digging.
Don’t forget about safety gear – we never start a project without our work gloves and safety glasses.
Trust us, you’ll want these when you’re dealing with dirt, rocks, and electrical components!
Finally, we recommend investing in a quality voltage tester; it’s better to double-check connections than risk any surprises during the final setup.
Mapping Your Outdoor Space
Creating an accurate map of your outdoor space lays the foundation for a successful lighting design. We’ve found that combining aerial imagery with good old-fashioned field notes gives us the most precise results.
Let’s start by printing out a satellite view of your property, which we’ll use as our base map for marking important features. A helpful tip is to align your imagery with existing structures rather than the other way around.
Next, we’ll want to walk the space together and note key elements that’ll need lighting: pathways, focal points, and structural features. We recommend using Field Papers, which are perfect for jotting down measurements and sketching lighting zones while you’re outside.
Don’t forget to mark potential power source locations – this’ll save us headaches later!
For complex spaces, we often use grid cell analysis to evaluate spatial openness and identify dark corners that might need extra attention.
Think of your yard as a series of connected zones, each with its own lighting needs. We’ll mark gathering areas that need bright, welcoming light, changes that require subtle guidance lighting, and special features worthy of dramatic uplighting or moonlighting effects.
Plan to space your lights approximately every 8 feet along pathways to ensure consistent illumination throughout your landscape.
Understanding Light Programming Basics
A solid grasp of light programming fundamentals will change your backyard lighting from basic to brilliant.
We’ve found that smart lighting systems offer incredible flexibility, letting us create the perfect ambiance while maximizing energy efficiency. Modern systems can achieve over 80% savings through LED technology and intelligent controls.
Let’s investigate how to make the most of these modern lighting solutions.
First, we’ll want to establish our lighting zones and schedules. Just like we map out our garden beds, we’ll create distinct areas for path lights, spotlights, and ambient lighting.
For optimal pathway coverage, maintain 6-10 feet spacing between lights to ensure consistent illumination throughout your landscape.
Using a smart lighting app, we can program these zones to activate at specific times or in response to motion, which is particularly useful for those late-night garden strolls.
The real magic happens when we start creating custom scenes. We might set up “Evening Entertainment” with string lights at 50% brightness and uplighting on key trees, or “Security Mode” with strategic path lights and motion-activated spots.
Here’s what we typically program:
- Sunset-to-sunrise automated schedules
- Motion-triggered security lighting
- Special event scenes with multiple light combinations
- Energy-saving dimming sequences
- Weather-responsive adjustments
Setting Up Scheduling Systems
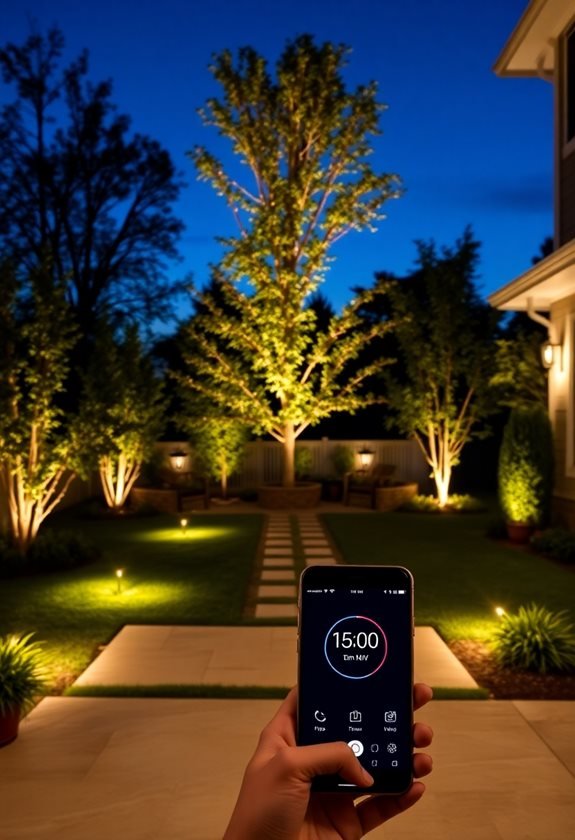
Every successful backyard lighting design starts with a well-planned scheduling system.
We’ve found that choosing the right controller makes all the difference in creating that perfect ambiance while keeping things practical and energy-efficient. Modern systems help achieve significant energy savings through automated scheduling.
Whether you’re looking to brighten pathways or create a cozy entertainment space, today’s scheduling options offer something for every need.
Let’s examine the main types of controllers you can choose from:
- Basic manual timers – perfect for beginners and simple setups
- Photocell sensors – great for hassle-free dusk-to-dawn operation
- Digital programmable timers – ideal for creating multiple lighting scenes
- Smart Wi-Fi controllers – excellent for tech-savvy homeowners
- Hybrid systems – combining different control methods for maximum flexibility
We recommend starting with a simple setup and gradually expanding as you become more comfortable with the technology.
When installing your system, remember to position photocells away from artificial light sources and protect outdoor controllers from the elements.
Don’t forget to test your schedule during different seasons – what works in summer might need adjusting come winter.
And here’s a pro tip: add a 15-minute buffer to your sunset times to guarantee proper brightness as daylight fades.
Creating Custom Lighting Zones
When planning your backyard lighting, dividing your space into distinct zones can alter both its functionality and visual appeal. We’ve found that starting with a simple diagram of your yard helps identify key areas that need different types of lighting, from pathways to feature spots. Central control panels make managing multiple zones simple and efficient.
Let’s break down your yard into practical zones. We recommend grouping fixtures by their purpose – think security lights near entry points, soft ambient lighting for entertainment areas, and accent lights to highlight your favorite landscaping features. For optimal visibility, consider lamps with 40 lumens brightness for task-specific areas.
In our experience, keeping the number of zones manageable (usually 4-5) prevents the system from becoming too complex.
Smart technology makes controlling these zones a breeze. We’re big fans of using low-voltage lighting systems with separate transformers for each zone, which lets you dim the party area while keeping the security lights bright.
Plus, you’ll save energy by only illuminating the zones you need. For maximum flexibility, we suggest layering your lighting with a mix of techniques – maybe some uplighting on that beautiful maple tree, combined with gentle path lights leading to your patio.
It’s extraordinary how different combinations can completely alter your outdoor space!
Programming Light Intensity Levels
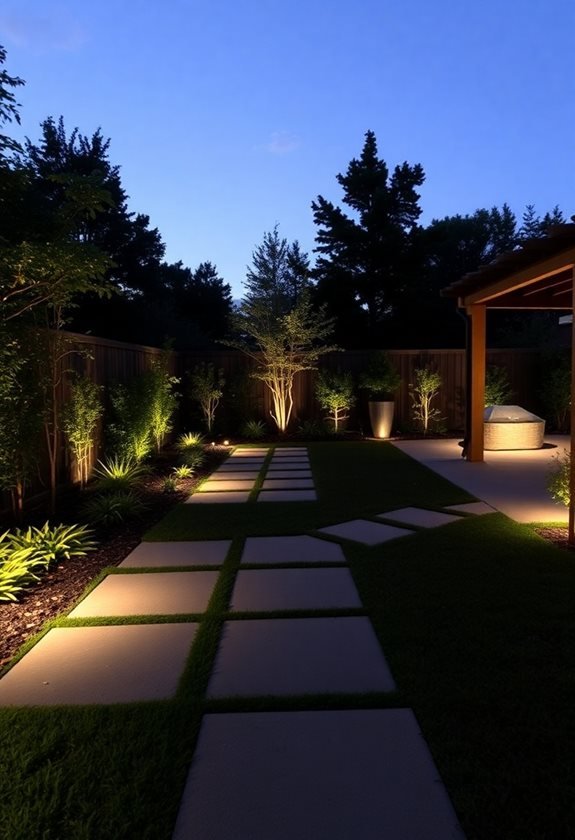
Through proper programming of light intensity levels, you’ll change your backyard from merely lit to perfectly bright. We’ve found that different areas need varying amounts of light, and we’ll help you get it just right. For driveways, we recommend 1,200 to 2,400 lumens to guarantee safety, while walkways need about 150 lumens per foot. Motion sensor lights provide targeted illumination between 300-700 lumens.
Let’s look at the key zones where smart lighting makes all the difference:
- Grilling areas need bright, task-oriented lighting for food preparation.
- Conversation spaces work best with softer, ambient lighting around 100-200 lumens.
- Garden features pop with 300-800 lumens of strategic uplighting.
- Pathways require consistent, moderate lighting for safe passage.
- Relaxation zones benefit from dimmable, warm lighting.
We love using smart systems like the Kasa Smart Wi-Fi Outdoor Dimmer to fine-tune our lighting throughout the evening.
By setting up automation schedules, we can shift from bright, functional lighting during dinner to a cozy atmosphere for late-night conversations.
Syncing With Mobile Devices
Modern backyard lighting control now fits right in your pocket. With today’s smart lighting systems, we can adjust our outdoor ambiance right from our phones, whether we’re relaxing on the patio or away on vacation.
We’ve found that apps like Kichler Connects make it incredibly simple to create the perfect mood for any occasion. Many homeowners are upgrading from their basic landscape transformers to smart-enabled versions for enhanced control capabilities.
Let’s look at what’s possible with mobile syncing:
- Create custom lighting schedules that automatically adjust with seasonal changes
- Control individual light zones and color schemes with a few taps
- Integrate with smart home systems for voice commands through Alexa or Google Home
- Set up music synchronization for those backyard parties we all love hosting
The best part? You don’t need to be a tech wizard to set these systems up.
We’ve installed plenty of smart controllers in waterproof enclosures, connected them to our home networks, and gotten them running in under an hour.
Most systems now come with user-friendly apps that walk you through the setup process.
Plus, if you’re feeling adventurous, you can even build your own custom setup using components like Raspberry Pi Zero W and relay boards.
Weather Protection and Maintenance
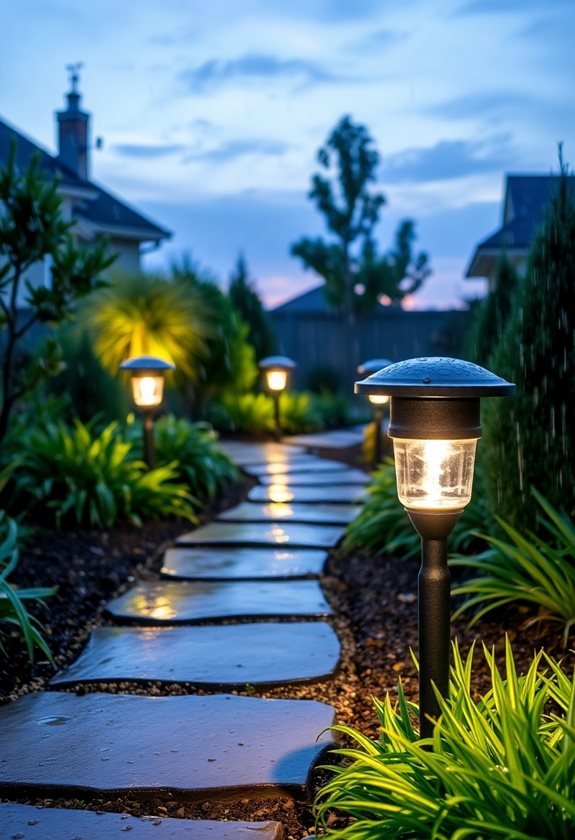
The harsh elements of nature pose constant challenges for outdoor lighting systems. We’ve learned that proper protection and regular maintenance are essential for keeping our backyard lighting looking beautiful and functioning efficiently all year round.
Let’s start with the most vital weather protection measures we’ve found successful in our installations:
- Install fixtures on raised posts to prevent water damage
- Use weather-resistant materials like aluminum or brass
- Apply quality weatherproof sealants around bases
- Position lights strategically under protective structures
- Install surge protectors for circuit safety
When it comes to maintenance, we can’t stress enough how important it’s to establish a regular routine. Every month, we recommend inspecting your fixtures for damage and cleaning them with a mild detergent. Weather shields and covers can significantly extend your lighting system’s lifespan.
During winter months, we’ve found that LED bulbs perform exceptionally well in cold temperatures, and proper insulation of electrical connections is essential.
For long-term care, we suggest documenting all maintenance activities in a simple log. This helps track recurring issues and reminds us when it’s time for regular checks.
Trust us, a little preventive care goes a long way in extending the life of your outdoor lighting system.

