Let’s change those unruly shrubs into garden showstoppers with our proven 10-step approach. First, we’ll assess the shrub’s overall health and identify dead branches. Next, we’ll gather sharp bypass pruners and loppers before removing diseased growth. Third, we’ll establish our target shape – typically rounded, pyramidal, or vase-shaped. Fourth through seventh steps focus on strategic cutting: major branches first, then exterior growth, always following the one-third rule. Steps eight and nine involve stepping back to evaluate and cleaning up debris. Finally, we’ll water and fertilize properly. These time-tested techniques will have your shrubs looking magazine-worthy, and there’s so much more to investigate about perfect pruning.
Key Takeaways
- Begin with sharp bypass pruners and loppers, checking that all tools are clean and well-maintained for efficient cutting.
- Remove dead, diseased, and crossing branches first to establish a clear view of the shrub’s structure.
- Follow the 1/3 rule: never remove more than one-third of total growth to maintain shrub health and stability.
- Cut at 45-degree angles above growth nodes, working from the inside out to promote healthy new growth.
- Lay a tarp underneath before starting and gather trimmings as you work to save cleanup time afterward.
Assess Your Shrub’s Condition

Anyone looking to trim shrubs must begin with a thorough assessment of the plant’s condition.
We’ll want to walk around the shrub, taking note of its overall appearance and identifying any immediate concerns that catch our eye. In our years of gardening, we’ve learned that this initial evaluation saves time and prevents mistakes later on.
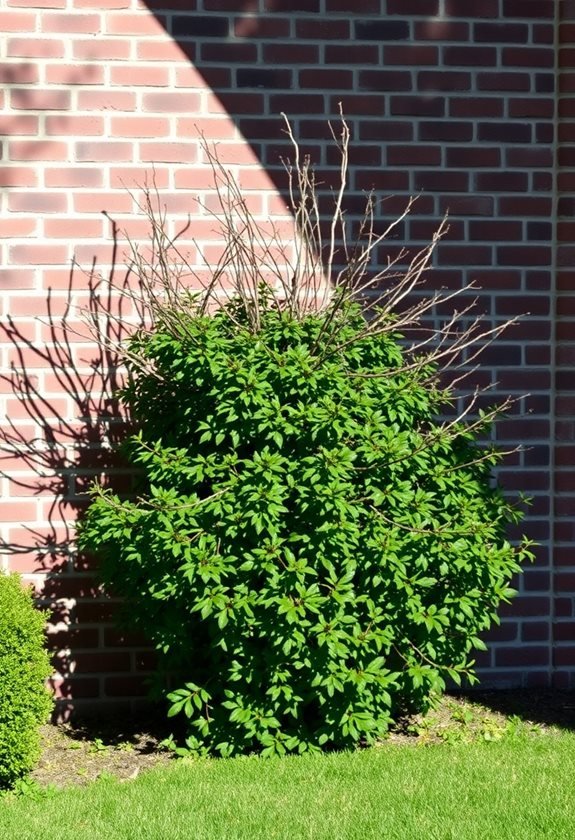
Let’s start by checking for dead or diseased branches – they’re usually easy to spot with their brown, brittle appearance. Having clean, sterilized tools ready before we begin will help prevent the spread of diseases between plants.
We’ll also want to examine how dense the shrub has become and whether it’s maintaining a balanced shape. If you’re like us, you might notice some branches crossing or rubbing against each other, which we’ll need to address.
Next, we’ll develop our pruning strategy.
We always recommend following the 1/3 rule – never remove more than one-third of the shrub’s growth at once. This approach has served us well, and we’ve found it prevents shock to the plant.
Remember to check the soil conditions too; we can’t tell you how many times we’ve seen beautiful shrubs struggling simply because of poor drainage.
Prepare Your Pruning Tools
Selecting the right tools marks the critical first step in preparing to trim your shrubs. Let’s walk through the essential tools we’ll need to tackle any unruly bush with confidence.
For most shrub trimming tasks, we’ll want to start with bypass pruners, which are perfect for those soft, green stems up to an inch thick. They’re our go-to tool since they make clean cuts without crushing the plant tissue. For best results, make sure to keep your pruners in top shape with regular oiling and sharpening.
We’ll also want to keep a pair of loppers handy – they’re like bypass pruners’ bigger, stronger cousins, perfect for branches up to 3cm thick. Trust me, your arms will thank you for that extra advantage!
For those hard-to-reach spots (and we all have them), a long-reach pruner will save us from wobbling on ladders.
If we’re dealing with any substantial branches over 1½ inches wide, we’ll definitely need a pruning saw. I’ve learned the hard way that trying to force smaller tools to do big jobs only leads to damaged plants and broken equipment.
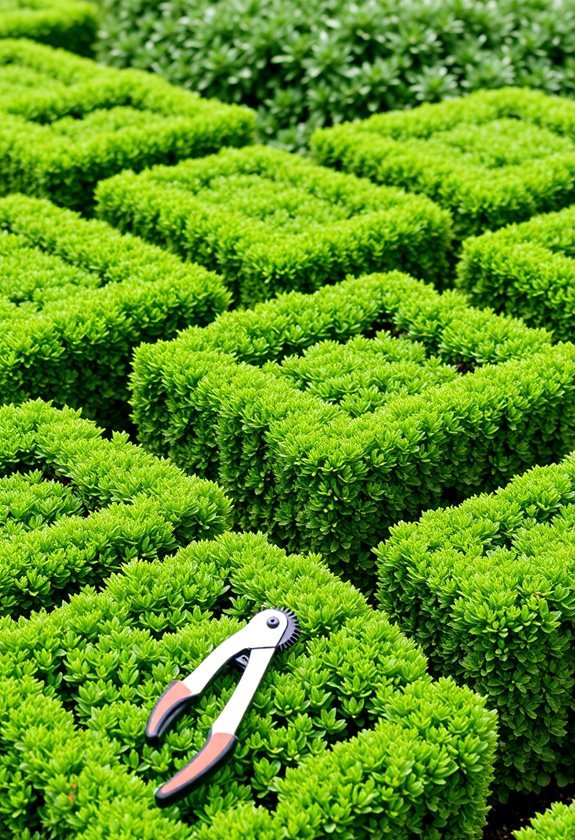
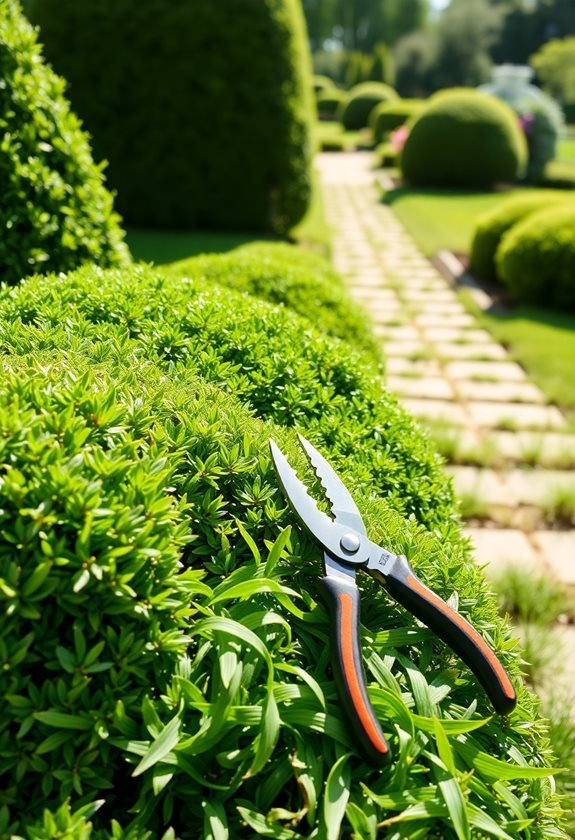
For detailed work, like shaping ornamental bushes, we’ll want to add a pair of hand shears to our toolkit.
Clear Dead and Diseased Branches

Now that our tools are ready, let’s tackle the critical task of removing dead and diseased branches from our shrubs.
We’ll start by identifying the problem areas – dead branches snap easily and lack that tell-tale green inside when we make a small test cut. Trust me, you’ll know it when you see it!
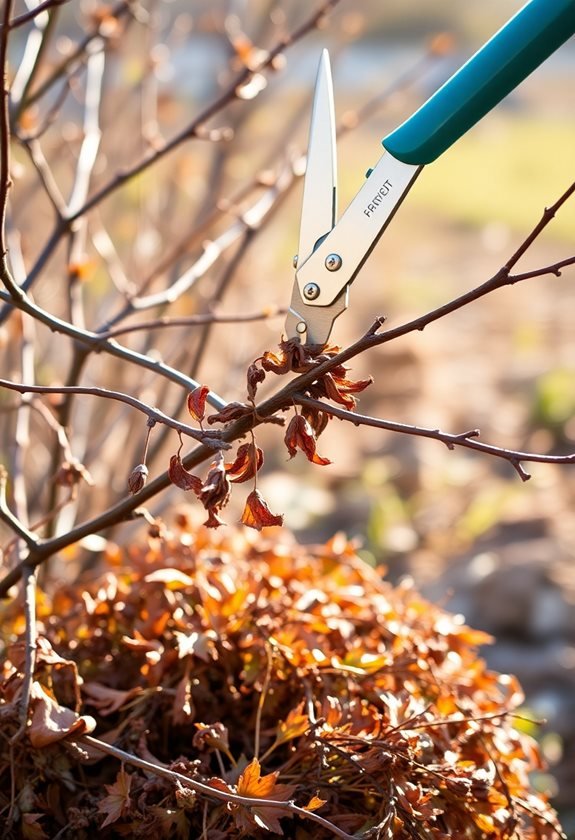
First, we’ll remove any completely dead branches right down to their base. For diseased sections, we’ll cut about six inches below where we see symptoms, making sure to disinfect our tools between cuts to prevent spreading the problem. Active growing season is an ideal time to remove these compromised branches.
I’ve learned the hard way that skipping this step can lead to bigger issues down the road.
When making our cuts, we’ll aim for a 45-degree angle just above a bud or lateral branch. This encourages new growth and helps water run off instead of pooling.
Remember, we don’t want to remove more than one-third of the shrub at once – it’s like giving your plant a trim, not a buzz cut!
As we work, we’ll also take care of any crossing or rubbing branches that could cause damage later on.
Establish the Target Shape
Before making any cuts, let’s visualize the ideal shape for your shrub based on its natural growth pattern.
Regular pruning promotes new growth and helps maintain the desired shape over time. We’ll want to work with, not against, the plant’s natural tendencies while ensuring it maintains good health and visual appeal. When I’m shaping shrubs, I always remember that the bottom should be slightly wider than the top, like a gentle pyramid, which allows sunlight to reach all parts of the plant.
Here are three key shapes we’re typically aiming for:
- Natural rounded form – perfect for flowering shrubs like hydrangeas, letting them keep their graceful arching branches.
- Gentle pyramid shape – ideal for evergreens and formal hedges, with a wider base tapering to the top.
- Vase shape – great for shrubs that naturally spread outward, creating an open center for air circulation.
We’ll combine thinning and heading cuts to achieve our target shape, but remember, we won’t get there in one session.
It’s better to work gradually over several seasons, removing no more than one-third of the growth at a time. Trust me, I’ve learned the hard way that rushing this process only leads to stressed plants and uneven growth.
Begin With Major Branches
Sharp pruning shears in hand, we’ll tackle the major branches first since they form the fundamental structure of your shrub.
Let’s start by examining those branches carefully, looking for any signs of disease or damage that need immediate attention. We’ve learned from experience that removing these problem areas first gives us a clearer view of what we’re working with. This practice helps improve air circulation throughout the shrub, which is essential for plant health.
Next, we’ll focus on those pesky crossing branches that often create chaos in the shrub’s interior. You’ll want to identify any branches that are rubbing against each other, growing inward, or sprouting straight up (those troublemakers are called water sprouts).
When we spot large branches that need removal, we’ll use our trusty three-cut method to prevent bark tearing.
Remember how I once ignored a crossing branch, only to find it had damaged its neighbor? That’s why we’re so careful now to make clean cuts just above a bud or lateral branch.
We’ll use the right tools for each job – hand pruners for smaller branches and a sharp handsaw for the bigger ones. Always disinfect your tools between cuts to prevent spreading any diseases that might be lurking.
Thin Out Dense Areas
After clearing out the major branches, we’ll focus on thinning the densest areas of your shrub.
When we evaluate a shrub’s density, we’re looking for spots where light can’t penetrate and air circulation is poor. I’ve found that walking around the shrub helps identify these trouble spots, much like a barber circling their client to find uneven patches. A gradual three-year plan works best when dealing with severely overgrown shrubs.
Let’s tackle dense areas with these key steps:
- Remove any crossing or rubbing branches first – they’re like rush-hour traffic in your shrub, causing congestion and damage.
- Cut back the oldest, thickest stems right at the base, making clean cuts that’ll heal quickly.
- Work from the inside out, removing no more than one-third of the total mass to maintain the shrub’s health.
Shape the Exterior Growth

Shaping a shrub’s exterior growth requires both precision and restraint to maintain its natural beauty. When we’re working with our garden shears, we’ll want to follow the shrub’s natural branch lines, making clean cuts just above branch nodes. Regular maintenance throughout the growing season promotes healthier shrub development.
Trust me, I’ve learned through trial and error that cutting midway between nodes only leads to unsightly twig growth!
Let’s follow these key principles for the best results. First, we’ll remove any dead wood and crossing branches, cutting them close to the ground or nearest live branch.
I’ve found it’s helpful to step back occasionally and check our work – we want the base slightly wider than the top to allow sunlight to reach those lower branches.
We’re aiming for a balanced, natural look that complements our other garden features.
Step Back and Evaluate
Before we make any cuts, taking time to evaluate our shrub’s needs sets us up for success.
I’ve learned through years of gardening that rushing into pruning without a clear plan often leads to regrettable results. Let’s take a thoughtful approach by examining our shrub’s current state and considering its natural growth pattern. The leafy growth presence can make it challenging to see the true structure, so careful observation is essential.
Here are three key aspects we’ll want to assess:
- Overall health – Look for dead, diseased, or damaged branches that need immediate removal.
- Growth pattern – Identify crossing branches and areas where the shrub looks overcrowded.
- Shape potential – Determine how we can improve the shrub’s natural form while maintaining its health.
When I’m evaluating shrubs in my garden, I always consider the timing too.
For spring-flowering beauties like lilacs or forsythia, we’ll want to wait until after they’ve bloomed to make our cuts. However, if we’re working with non-flowering shrubs or evergreens like boxwood, late winter or early spring is perfect for pruning.
Clean Up Your Work Area
A well-organized workspace makes pruning shrubs safer and more efficient. Before we start trimming, let’s lay down a tarp beneath our hedges – it’s a revolutionary tool for cleanup! We can secure it with a few rocks or pieces of wood, and if there are gaps between shrubs, we’ll just cut a small slit to accommodate them. Wide-toothed rakes can help gather any stray trimmings that miss the tarp.
Don’t have a tarp? No worries – garden fabric or burlap works just as well.
Safety’s our top priority, so we’ll want to inspect our tools and clear the area of any obstacles like toys or rocks. Let’s gear up with gloves, goggles, and a dust mask – trust me, you’ll be glad you did! We learned this the hard way after a few sneezing fits from airborne debris.
For cleanup, we’ve got options. If you’re working with a tarp, simply gather the trimmings toward the center and bundle them up. For those without a tarp, we can blow trimmings onto the lawn and rake them into neat piles.
Then, we’ll transfer everything to a wheelbarrow or rolling trash bin. Remember to check your local yard waste guidelines – some municipalities provide organic bins, which makes disposal super convenient.
Water and Fertilize Properly
Proper watering and fertilizing form the foundation of healthy shrubs. We’ll want to focus on deep, infrequent watering to encourage strong root systems, rather than frequent light sprinkles that create weak, shallow roots. I’ve learned through years of gardening that it’s better to water thoroughly once a week than to give your shrubs tiny sips every day. Using a moisture monitoring system like checking soil 6 inches deep will help determine if your watering is effective.
Let’s make sure we’re following these essential steps for ideal results:
- Water directly at the drip line where those feeder roots live, using about 3 gallons weekly for a typical 6-foot shrub.
- Apply fertilizer twice yearly using the broadcast method, spreading it evenly over the entire root zone.
- Monitor seasonal changes and adjust watering accordingly, cutting back in September to help plants prepare for winter.
When it comes to fertilizing, we’re better off splitting our applications into smaller doses rather than doing one big dump every few years. I always tell my gardening friends to think of it like feeding a child – regular, moderate meals work better than occasional feasts!
Remember to keep the soil moist but not waterlogged, and you’ll be rewarded with lively, healthy shrubs.


