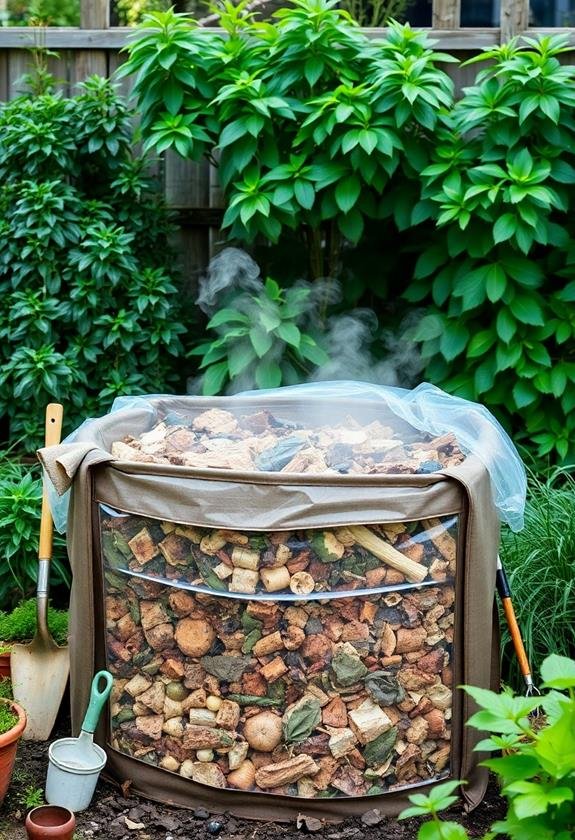
Looking to supercharge your compost? Try these seven hot composting techniques! The Berkley Method and Thermal Bin System are perfect for speed demons, while the Layered Pile Technique mimics nature’s own process. For small spaces, the Compost Tumbler Approach is a game-changer. Sheet Composting, also known as lasagna composting, is great for building new garden beds. Trench Composting keeps things hidden and pest-free. Finally, Bokashi Composting uses fermentation for rapid results. I’ve had great success with the Berkley Method in my backyard – it’s like cooking up gardener’s gold! Each technique offers unique benefits, so you’re sure to find one that fits your green thumb lifestyle.
Key Takeaways
- The Berkley Method focuses on speed, using a 3x3x3 feet pile with a 3:1 ratio of browns to greens and frequent turning.
- Thermal Compost Bin Systems use insulated bins to maintain high temperatures, requiring layering and regular mixing for quick results.
- The Layered Pile Technique mimics the forest floor, alternating carbon-rich and nitrogen-rich materials with soil layers in between.
- Compost Tumblers provide efficient aeration through tumbling action, ideal for small spaces and maintaining a 30:1 carbon-to-nitrogen ratio.
- Bokashi Composting uses fermentation to quickly break down a wide range of kitchen scraps, including meat and dairy.
Berkley Method
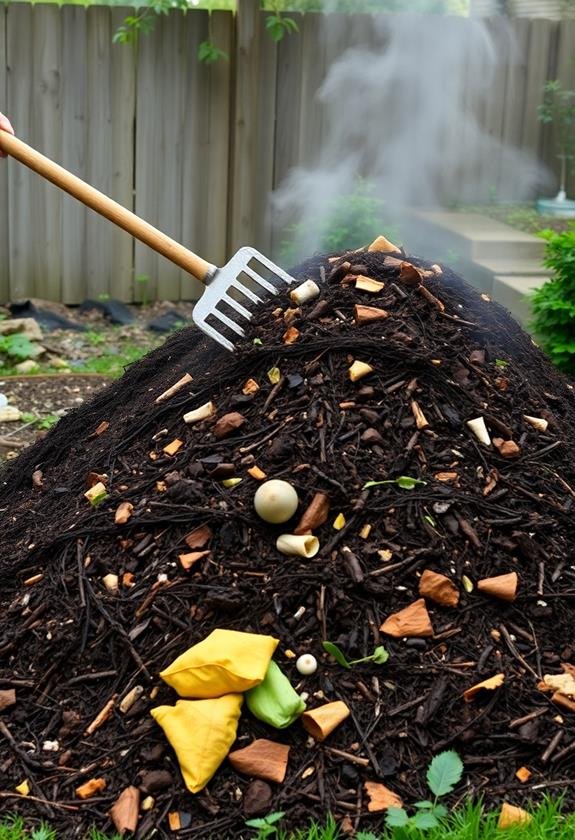
Mastering the Berkeley Method can revolutionize your composting game. This technique, developed at the University of California, Berkeley, is all about speed and efficiency. You’ll be amazed at how quickly you can turn your kitchen scraps and yard waste into nutrient-rich compost!
This method aligns well with sustainable gardening practices and supports local ecosystems by reducing waste and creating valuable soil amendments.
Here’s how it works:
- Build a pile: Aim for a 3x3x3 foot cube of mixed materials.
- Balance your greens and browns: Use a 3:1 ratio of carbon-rich to nitrogen-rich materials.
- Chop it up: Smaller pieces break down faster, so get chopping!
- Keep it moist: Think wrung-out sponge level.
- Turn, baby, turn: Mix it up every other day for 2-3 weeks.
I’ve used this method myself, and let me tell you, it’s a game-changer! The heat generated (up to 160°F) kills weed seeds and pathogens, leaving you with exceptional compost in record time.
Pro tip: Start your pile on a warm day for best results. And don’t forget to wear gloves – that steam can be intense!
With the Berkeley Method, you’ll be the envy of your gardening friends in no time.
Thermal Compost Bin System
For those seeking a more structured approach to hot composting, the Thermal Compost Bin System offers an excellent solution. This method uses insulated bins to maintain high temperatures, speeding up decomposition and killing weed seeds and pathogens.
You’ll love how quickly you can turn kitchen scraps and yard waste into black gold for your garden! Much like LED-lit fountains that enhance outdoor spaces, a thermal compost bin can be a valuable addition to your garden, providing nutrient-rich soil for your plants.
Here’s how to get started:
- Choose your bin: Look for a well-insulated, sturdy container with a lid and ventilation holes.
- Layer your materials: Alternate “greens” (nitrogen-rich) and “browns” (carbon-rich) in 3-4 inch layers.
- Monitor temperature: Use a compost thermometer to verify the pile reaches 130-150°F.
- Turn regularly: Mix the contents every 3-5 days to maintain heat and aeration.
I’ve been using this system for years, and it’s a game-changer! My favorite part? The satisfying steam that rises when you open the lid on a chilly morning.
It’s like your compost is saying, “Good morning, gardener!” Just remember to wear gloves – that steam can be hot!
Layered Pile Technique
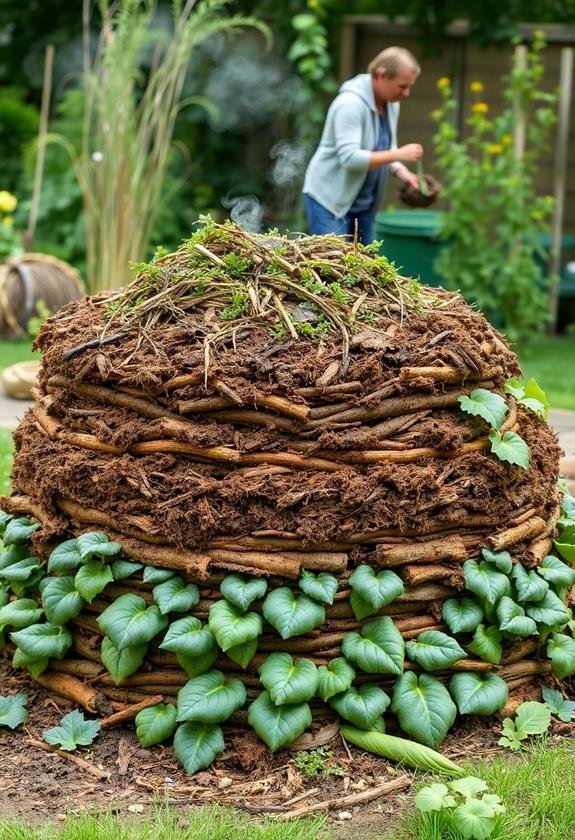
Nature’s layered approach to decomposition inspires the Layered Pile Technique, a simple yet effective method for hot composting.
You’ll love how this method mimics the forest floor, creating a perfect environment for microorganisms to thrive. I’ve used this technique for years, and it’s never failed to produce rich, crumbly compost.
This method is particularly effective for those with small backyards, as it maximizes vertical space and allows for efficient composting in a compact area.
Here’s how to create your own layered pile:
- Start with a 4-inch layer of brown materials (carbon-rich):
- Dry leaves
- Straw
- Shredded newspaper
- Add a 2-inch layer of green materials (nitrogen-rich):
- Fresh grass clippings
- Kitchen scraps
- Coffee grounds
- Sprinkle a thin layer of soil or finished compost.
- Repeat these layers until your pile is 3-4 feet tall.
Remember to water each layer as you go, aiming for the consistency of a wrung-out sponge.
I once forgot to water my pile and ended up with a sad, slow-decomposing mess! Trust me, you don’t want to make that mistake.
Keep your pile moist, and you’ll be rewarded with beautiful, nutrient-rich compost in no time.
Compost Tumbler Approach
With a spin of innovation, the Compost Tumbler Approach offers a convenient and efficient method for hot composting. You’ll love how easy it’s to use! I remember when I first got my tumbler – it was a game-changer for my garden.
Here’s why you should consider this approach:
- Faster decomposition: The tumbling action aerates the compost, speeding up the process.
- Space-saving: Perfect for small yards or patios.
- Odor control: Sealed design keeps smells contained.
- Pest prevention: Critters can’t access your compost heap.
To use a compost tumbler effectively:
- Fill it with a balanced mix of greens and browns.
- Aim for a 30:1 carbon-to-nitrogen ratio.
- Turn the tumbler every few days to mix thoroughly.
- Monitor moisture levels – it should feel like a wrung-out sponge.
Pro tip: Add some finished compost or soil to jumpstart the process. It’s like giving your compost a little microbial boost!
While tumblers can be pricier than traditional bins, they’re worth the investment if you’re short on space or time.
Plus, you’ll have finished compost in no time – ready to supercharge your garden beds!
Sheet Composting
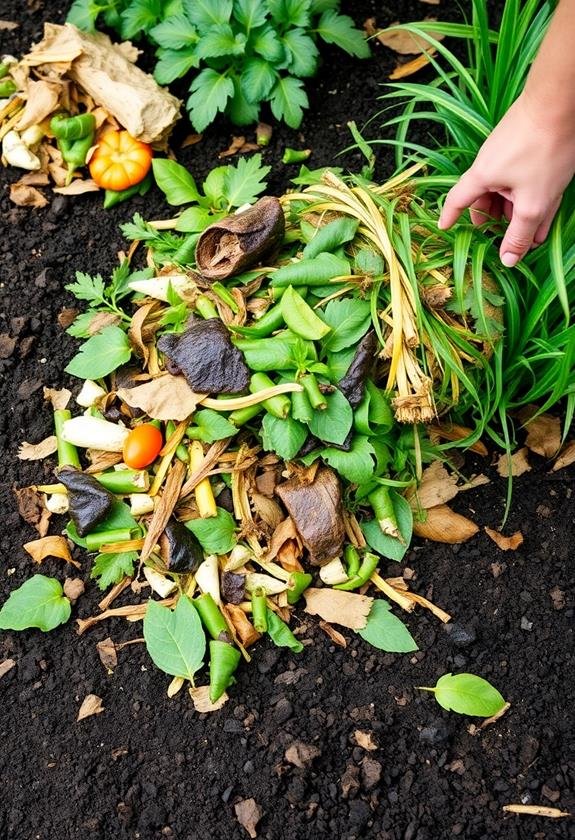
Sheet composting, also known as lasagna composting, offers a low-effort alternative to traditional hot composting methods.
It’s a technique I’ve used in my own garden with great success, and I’m excited to share it with you!
Here’s how it works:
- Choose your spot: Select an area where you want to create a new garden bed or improve soil quality.
- Layer your materials: Start with a layer of cardboard or newspaper to smother existing grass or weeds.
- Build your “lasagna”:
- Add a layer of “browns” (carbon-rich materials like leaves or straw)
- Follow with a layer of “greens” (nitrogen-rich materials like grass clippings or kitchen scraps)
- Repeat these layers, alternating browns and greens
The beauty of sheet composting is that it’s a “set it and forget it” method.
You’ll build your layers in the fall, and by spring, you’ll have rich, fertile soil ready for planting.
It’s like magic – nature does all the work while you sip hot cocoa by the fire!
One tip: Keep the layers relatively thin (2-3 inches) to guarantee proper decomposition.
Trust me, your plants will thank you for this nutrient-rich foundation!
Trench Composting
Beneath the surface lies another effective composting method: trench composting. This technique involves digging a trench in your garden and filling it with organic matter. It’s a great way to enrich your soil while keeping your compost out of sight. I’ve used this method in my vegetable garden, and it’s worked wonders for my tomatoes!
Here’s how to get started with trench composting:
- Choose a spot in your garden and dig a trench about 12 inches deep and 24 inches wide.
- Fill the trench with kitchen scraps, yard waste, and other compostable materials.
- Cover the organic matter with soil and let nature do its work.
You’ll find that trench composting is a low-maintenance approach to enriching your soil. It’s perfect for those who don’t want a visible compost pile or lack space for a bin.
Plus, it’s a sneaky way to compost without attracting pests! Remember, you can dig multiple trenches throughout your garden, rotating them each season.
This method’s beauty lies in its simplicity and effectiveness. Give it a try, and you’ll be amazed at how your plants thrive in the nutrient-rich soil it creates.
Bokashi Composting
Bokashi composting’s unique fermentation process sets it apart from traditional methods. It’s a fascinating technique that’ll have you composting like a pro in no time! Here’s how it works:
- Get started:
- Purchase a bokashi bucket and bokashi bran
- Collect kitchen scraps, including meat and dairy
- Layer and ferment:
- Add scraps to the bucket
- Sprinkle bokashi bran over each layer
- Press down to remove air pockets
- Drain liquid every few days (it’s great fertilizer!)
- Let it pickle:
- Once full, seal the bucket for 2 weeks
- The anaerobic process creates a pickled pre-compost
- Bury or mix:
- Dig a trench in your garden and add the fermented material
- Or mix it into your regular compost pile
I’ve been using this method for years, and let me tell you, it’s a game-changer!
The smell can be a bit tangy, but it’s not unpleasant. Plus, you’ll love how quickly it breaks down in your soil.
Give bokashi a try – your plants will thank you!
Frequently Asked Questions
How Long Does It Take for Hot Compost to Be Ready for Use?
Did you know that hot composting can break down organic matter up to 10 times faster than traditional methods? It’s true!
You’ll be thrilled to learn that your hot compost can be ready in just 4-8 weeks. The exact time depends on factors like your compost’s size, ingredients, and how often you turn it.
I’ve found that maintaining the right moisture balance and turning it every few days really speeds things up.
What’s the Ideal Carbon-To-Nitrogen Ratio for Successful Hot Composting?
For successful hot composting, you’ll want to aim for a carbon-to-nitrogen ratio of about 30:1.
This sweet spot balances “browns” (carbon-rich materials like dry leaves) with “greens” (nitrogen-rich materials like grass clippings).
I’ve found that mixing 3 parts browns to 1 part greens usually does the trick.
Remember, it’s not an exact science – you can adjust as needed.
If your pile’s too wet or smelly, add more browns.
Too dry? Toss in some greens.
Happy composting!
Can I Add Meat or Dairy Products to My Hot Compost Pile?
You’ll want to avoid adding meat or dairy to your hot compost pile.
Trust me, I learned this the hard way! These items can attract pests and create unpleasant odors. Plus, they break down slowly and may introduce harmful bacteria.
Instead, stick to plant-based materials like fruit and veggie scraps, coffee grounds, and yard waste.
If you’re determined to compost animal products, look into bokashi composting or consider a closed, tumbling composter.
Your neighbors (and nose) will thank you!
How Often Should I Turn or Aerate My Hot Compost Pile?
Oh, you thought composting was a “set it and forget it” deal? Nice try, lazy bones!
In reality, you’ll want to turn your hot compost pile every 3-5 days. It’s like giving your compost a spa day – aerating and mixing those microbes to keep them happy.
I’ve found that a good pitchfork is your best friend here. Remember, the more you turn, the faster you’ll get that black gold for your garden.
Just don’t overdo it – even compost needs its beauty sleep!
What Are the Signs That My Hot Compost Pile Is Working Effectively?
You’ll know your hot compost pile is working effectively when you see these signs:
- Heat: It should feel warm to the touch, often steaming in cool weather.
- Shrinking: The pile will reduce in size as materials break down.
- Dark, crumbly texture: As it matures, it’ll look like rich soil.
- Pleasant earthy smell: No foul odors here!
- Disappearing materials: Original ingredients become unrecognizable.
- Insects and worms: These decomposers indicate a healthy pile.
I’ve found these signs reassuring in my own composting journey!

