Revamp your backyard patio into a magical oasis with strategic floor lighting that's both beautiful and functional. We've found that spacing lights 6-8 feet apart creates the perfect gentle illumination, while mixing different lighting types adds depth and interest. Start with essential pathway lighting for safety, then layer in ambient overhead string lights and accent fixtures to highlight favorite features. For a professional look, we'll want to use outdoor-rated LED bulbs and GFCI outlets, securing everything with weatherproof clips rather than nails. With some basic tools and about an hour's time, we can create an enchanting outdoor space that'll make every evening feel special – and there's so much more to investigate about making your dream patio shine.
Key Takeaways
- Space floor lights 6-8 feet apart along pathways and edges to create balanced illumination and safe navigation throughout the patio area.
- Install low-voltage LED pathway markers for energy efficiency and durability, connecting them to a central transformer for simplified control.
- Use weather-resistant PVC pipes as hidden conduits for wiring, ensuring clean aesthetics and protection from moisture damage.
- Position accent lights near planters and structural features to highlight landscaping elements and create visual depth.
- Mount motion-activated floor spotlights near steps and transitions for enhanced safety during nighttime use.
Planning Your Patio Lighting Design
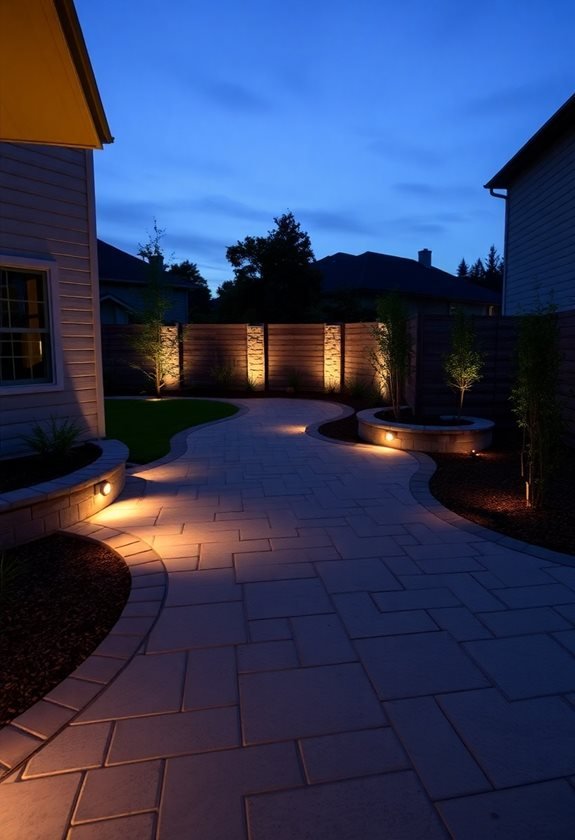
A well-planned lighting design changes your patio from a simple outdoor space into an inviting retreat after dark.
Let's explore creating a lighting plan that'll make your outdoor living area both beautiful and functional.
First, we'll need to map out your patio space, just as I did when planning my own backyard makeover.
Take measurements and note key features like seating areas, planters, and structural elements. Using dusk to dawn sensors will automate your lighting system for hassle-free operation.
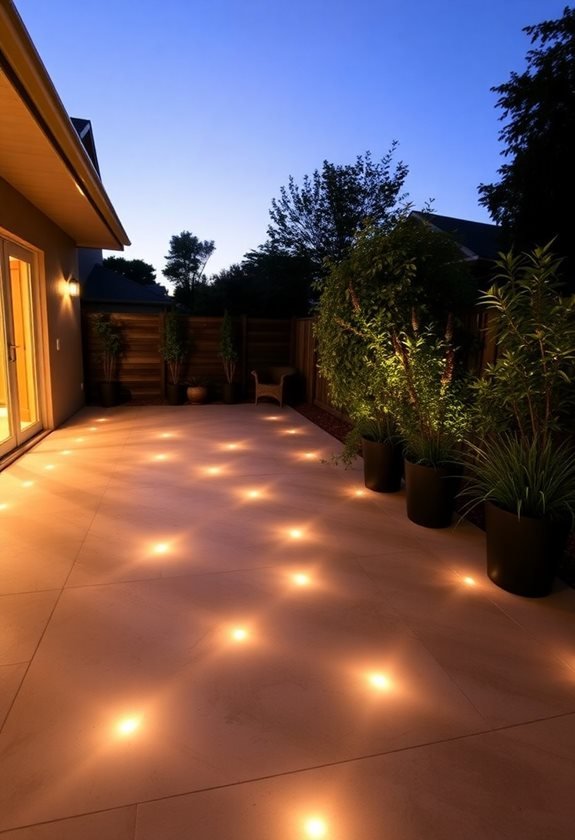
We've found that patio floor lights work best when spaced 6 to 8 feet apart, creating a gentle flow of illumination that guides movement through the space.
When positioning your lights, remember our golden rule: every light should serve a purpose.
For optimal durability, select fixtures with an IP65 rating to ensure protection against various weather conditions.
We'll want to focus on three main areas: path lighting for safety, ambient lighting for atmosphere, and accent lighting for visual interest.
In my experience, warm LED lights (around 3000K) create the most inviting atmosphere while being energy-efficient.
Consider starting with a simple layout: place lights along the patio's perimeter, then add focal point lighting near seating areas or special features.
Remember to run your 10-gauge cable from the power source before finalizing any fixture positions – it'll save you headaches later!
Essential Tools and Materials
Before diving into your patio lighting project, you'll need to gather up all the essential tools and materials. We've found that being well-prepared makes the installation process much smoother, and trust us, there's nothing worse than having to run to the hardware store mid-project!
Let's start with the must-have tools: you'll want a post hole digger and level for setting up poles, along with a reliable tape measure for precise spacing. The project typically takes one hour to complete from start to finish.
We always keep PVC cutters or a hacksaw handy for trimming poles to the perfect length, and a Phillips screwdriver for securing fixtures.
For materials, we recommend starting with sturdy PVC pipes or metal poles as your main supports. You'll also need no-dig ground anchors (they're fantastic time-savers compared to concrete), weather-resistant outdoor extension cords, and high-quality string lights.
Don't forget the finishing touches: carabiners and hooks for secure attachments, a light hanging kit for professional-looking results, and some adhesive for those permanent connections.
If you're planning a larger setup, you might also want to reflect on a transformer for low-voltage lighting – it's a true game-changer for energy efficiency and safety.
Safety Guidelines for Outdoor Lighting
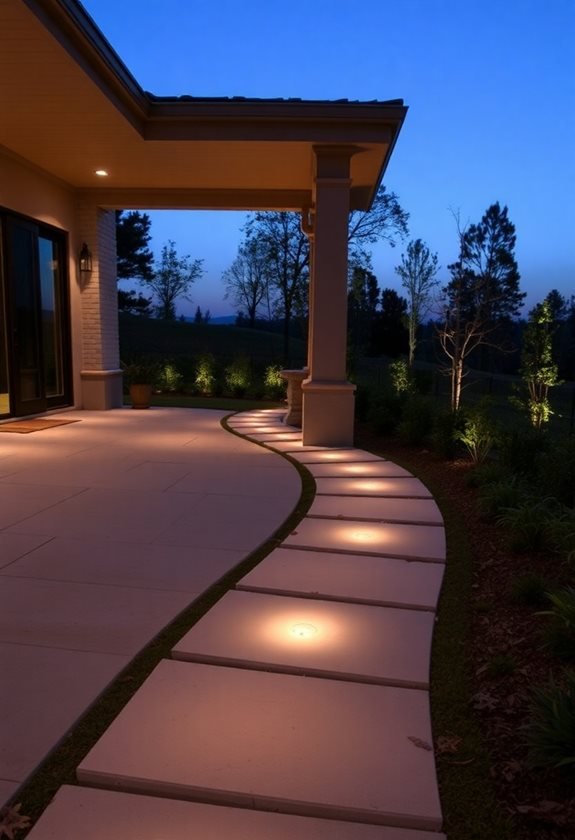
Safety's paramount importance in outdoor lighting can't be overstated, especially when electricity and weather elements combine. In our years of installing patio lighting, we've learned that taking proper precautions isn't just about following rules—it's about creating a space we can enjoy worry-free. We ensure our lighting choices are properly directed downward to minimize light pollution and neighborhood disturbance. Modern LED bug lights can help create a pest-free environment while consuming only 5-12 watts of power.
Let's start with the basics: we always turn off power at the circuit breaker before beginning any installation work. When we're selecting equipment, we make sure to use only UL-listed outdoor fixtures and GFCI outlets—trust us, this isn't a place to cut corners! We've seen what happens when people use indoor equipment outside, and it's not pretty.
For installation, we keep our ladders horizontal when carrying them and maintain that vital 10-foot distance from power lines.
Here's a pro tip we've learned: instead of using those tempting staples or nails to secure light strands, we opt for proper outdoor-rated clips or hooks.
Finally, we're big fans of installing motion sensors and timers, which not only save energy but also provide an extra layer of security.
Popular DIY Lighting Projects
Now that we've covered the safety basics, let's examine some exciting DIY lighting projects that'll alter your outdoor space.
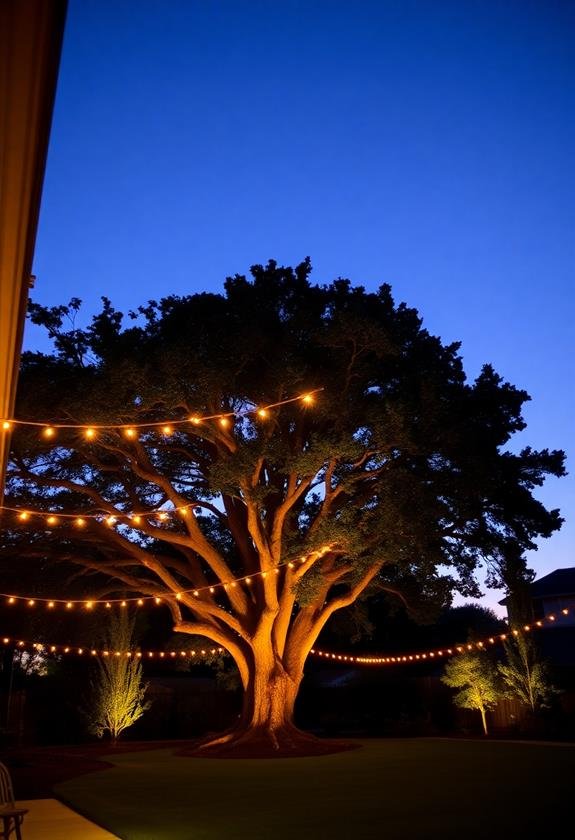
We've found that string lights offer incredible versatility – you can wrap them around tree trunks or create stunning overhead canopies using wooden poles. Using metal buckets filled with concrete provides stable support for your lighting arrangements. For optimal illumination, space your lights 6 to 10 feet apart along pathways and gathering areas. For a touch of whimsy, we love converting simple mason jars into magical light fixtures using solar lid inserts.
One of our favorite projects involves creating fairy light spheres with grapevines, which cast beautiful shadows across the patio floor. We've seen how these delicate orbs can change an ordinary backyard into an enchanting retreat.
For a more rustic approach, let's investigate tin can lanterns – they're surprisingly sophisticated when you freeze water inside them and punch decorative patterns with a nail and hammer.
Don't overlook the charm of Edison bulb string lights, which we've used countless times to add vintage appeal to outdoor spaces. Whether you're creating a cozy reading nook or planning a garden party, LED lanterns grouped on side tables provide both practicality and ambiance.
For maximum impact, we recommend combining different lighting styles – perhaps mixing solar-powered mason jars with overhead globe lights for a layered lighting effect.
Strategic Placement Tips
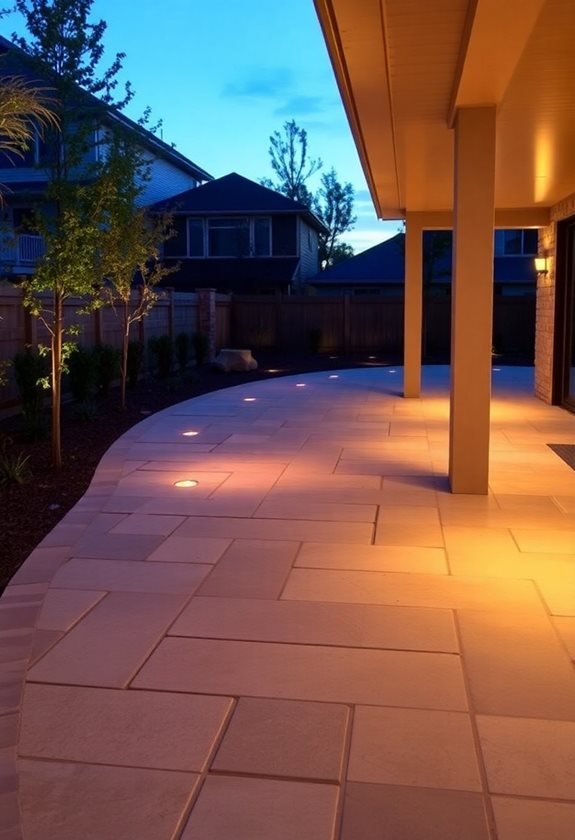
Strategic placement of patio floor lighting requires mastering three key principles: safety, functionality, and atmosphere.
When we're planning our outdoor lighting scheme, we've found that starting with pathways and entrances creates the foundation for a well-lit space. Let's position lights 6-8 feet apart along walkways, ensuring everyone can traverse safely after dark. Remember to use weather-resistant materials for all pathway fixtures to ensure longevity through all seasons.
For maximum impact, we'll want to layer our lighting approach. We love combining ambient overhead lighting with focused task lighting near cooking or seating areas.
Don't forget to add those wonderful accent lights – we've seen how strategically placed spotlights can change an ordinary garden feature into a nighttime showpiece!
When it comes to specific fixtures, we recommend starting with post lights around your patio's perimeter. They're like friendly sentinels, guarding the edges of your space while providing essential illumination.
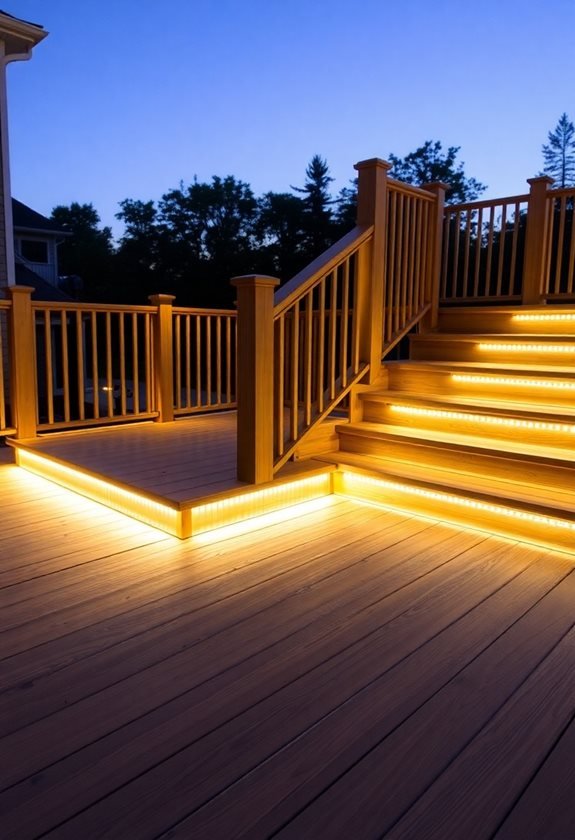
For stairs and steps, we always install dedicated step lights – there's nothing worse than stumbling in the dark!
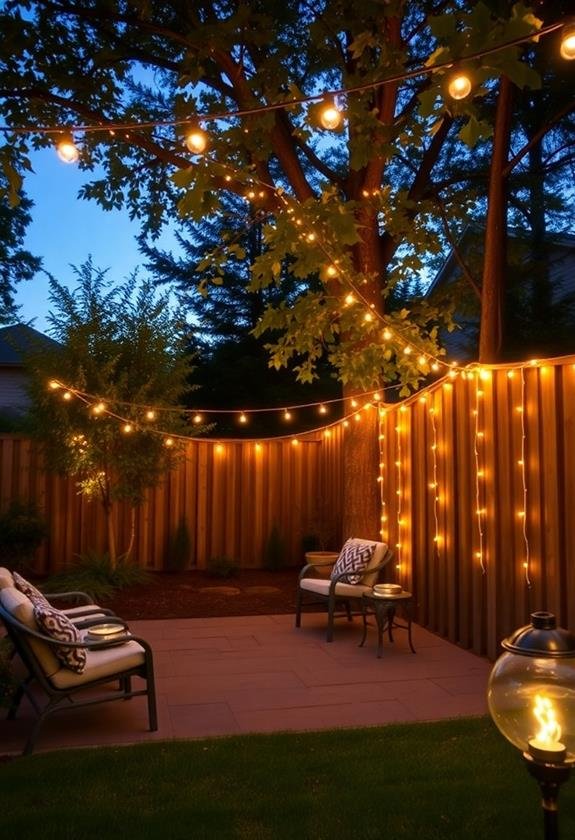
Finally, consider adding some charming string lights above seating areas. We've used them countless times, and they never fail to create that magical, intimate atmosphere that makes outdoor spaces so special at night.
Maintenance and Weather Protection
Once we've perfected our patio lighting placement, maintaining these outdoor fixtures becomes our next priority. Living in an area that sees all four seasons, I've learned that weather protection is just as vital as regular maintenance for keeping our patio lights shining bright year-round.
Let's focus on these essential maintenance steps that'll help protect our investment and keep our outdoor space looking magical:
- Start with monthly inspections of fixtures and bulbs, wiping them down with a gentle soap solution – you'd be amazed how much dirt can accumulate in just a few weeks! Always ensure your connections are secure when performing these inspections.
- Apply a quality weatherproof sealant around fixture bases and connections before each season change, especially if you're in an area with heavy rainfall.
- Trim back any encroaching plants or vines that might damage wiring or block light output – we don't want our carefully planned lighting design hidden behind overgrown foliage.
- Replace traditional bulbs with LED alternatives, which not only last longer but also stand up better to temperature fluctuations and moisture exposure.
Seasonal Lighting Adjustments
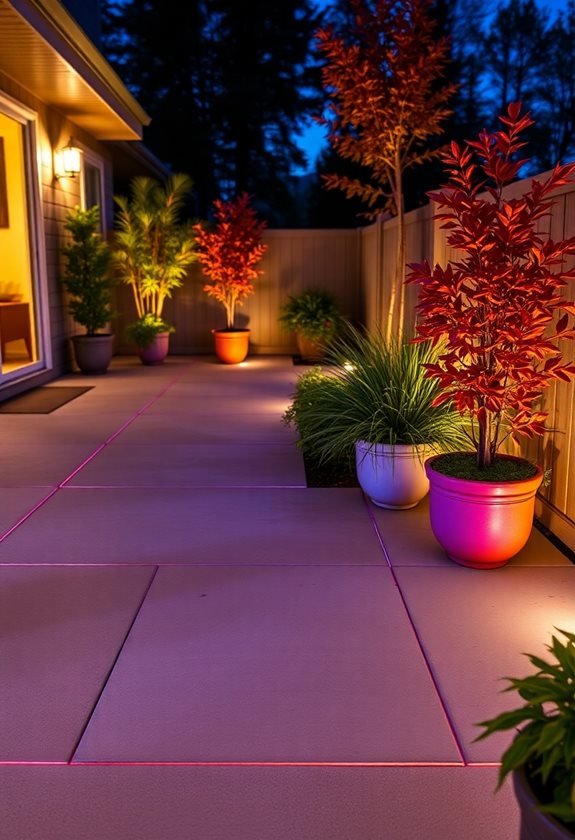
Seasonal changes demand thoughtful modifications to our patio floor lighting to maintain both functionality and ambiance throughout the year.
We've found that adjusting our lighting setup seasonally isn't just about aesthetics – it's about creating the perfect outdoor atmosphere for every month.
In spring and summer, we'll want to dial up the brightness and opt for warmer tones that complement those lovely evening gatherings.
We love using string lights woven through deck railings, combined with strategically placed spotlights to highlight flowering plants. Taking advantage of smart lighting systems allows effortless control over brightness levels and color schemes.
When fall arrives, we recommend switching to slightly dimmer, cooler tones that create a cozy feeling as the evenings get longer.
Winter calls for a different approach altogether.
We suggest incorporating cool white lights that mimic the crispness of the season, while adding extra pathway lighting for safety during those early dark evenings.
Don't forget to use timers and sensors – they're absolute lifesavers when daylight hours shift.
For maximum flexibility, we've learned that installing dimmer switches and smart lighting systems makes these seasonal adjustments much smoother, letting us modify our patio's ambiance with just a few taps.

